



Projects · Curtain planning
How to Calculate Fabric Width for Back-Pleat Curtains
For a curtain that spends most of its time parked, the calculation starts with the shape you want to see.
This article explains how I planned a sheer back-pleat curtain for a wide living-room opening. It covers the decisions behind the calculation: the parked width, front and back pleat rhythm, discreet joins, fabric direction, finished height and the relationship between the track, hook and heading. The Back-Pleat Curtain Calculator then turns those decisions into a fabric quantity.
This method has a specific purpose
It is for decorative back-pleat curtains that mainly sit at the sides of an opening. It is a planning path for new, plain or non-matched fabric, not a universal workroom specification.
Why the parked position comes first
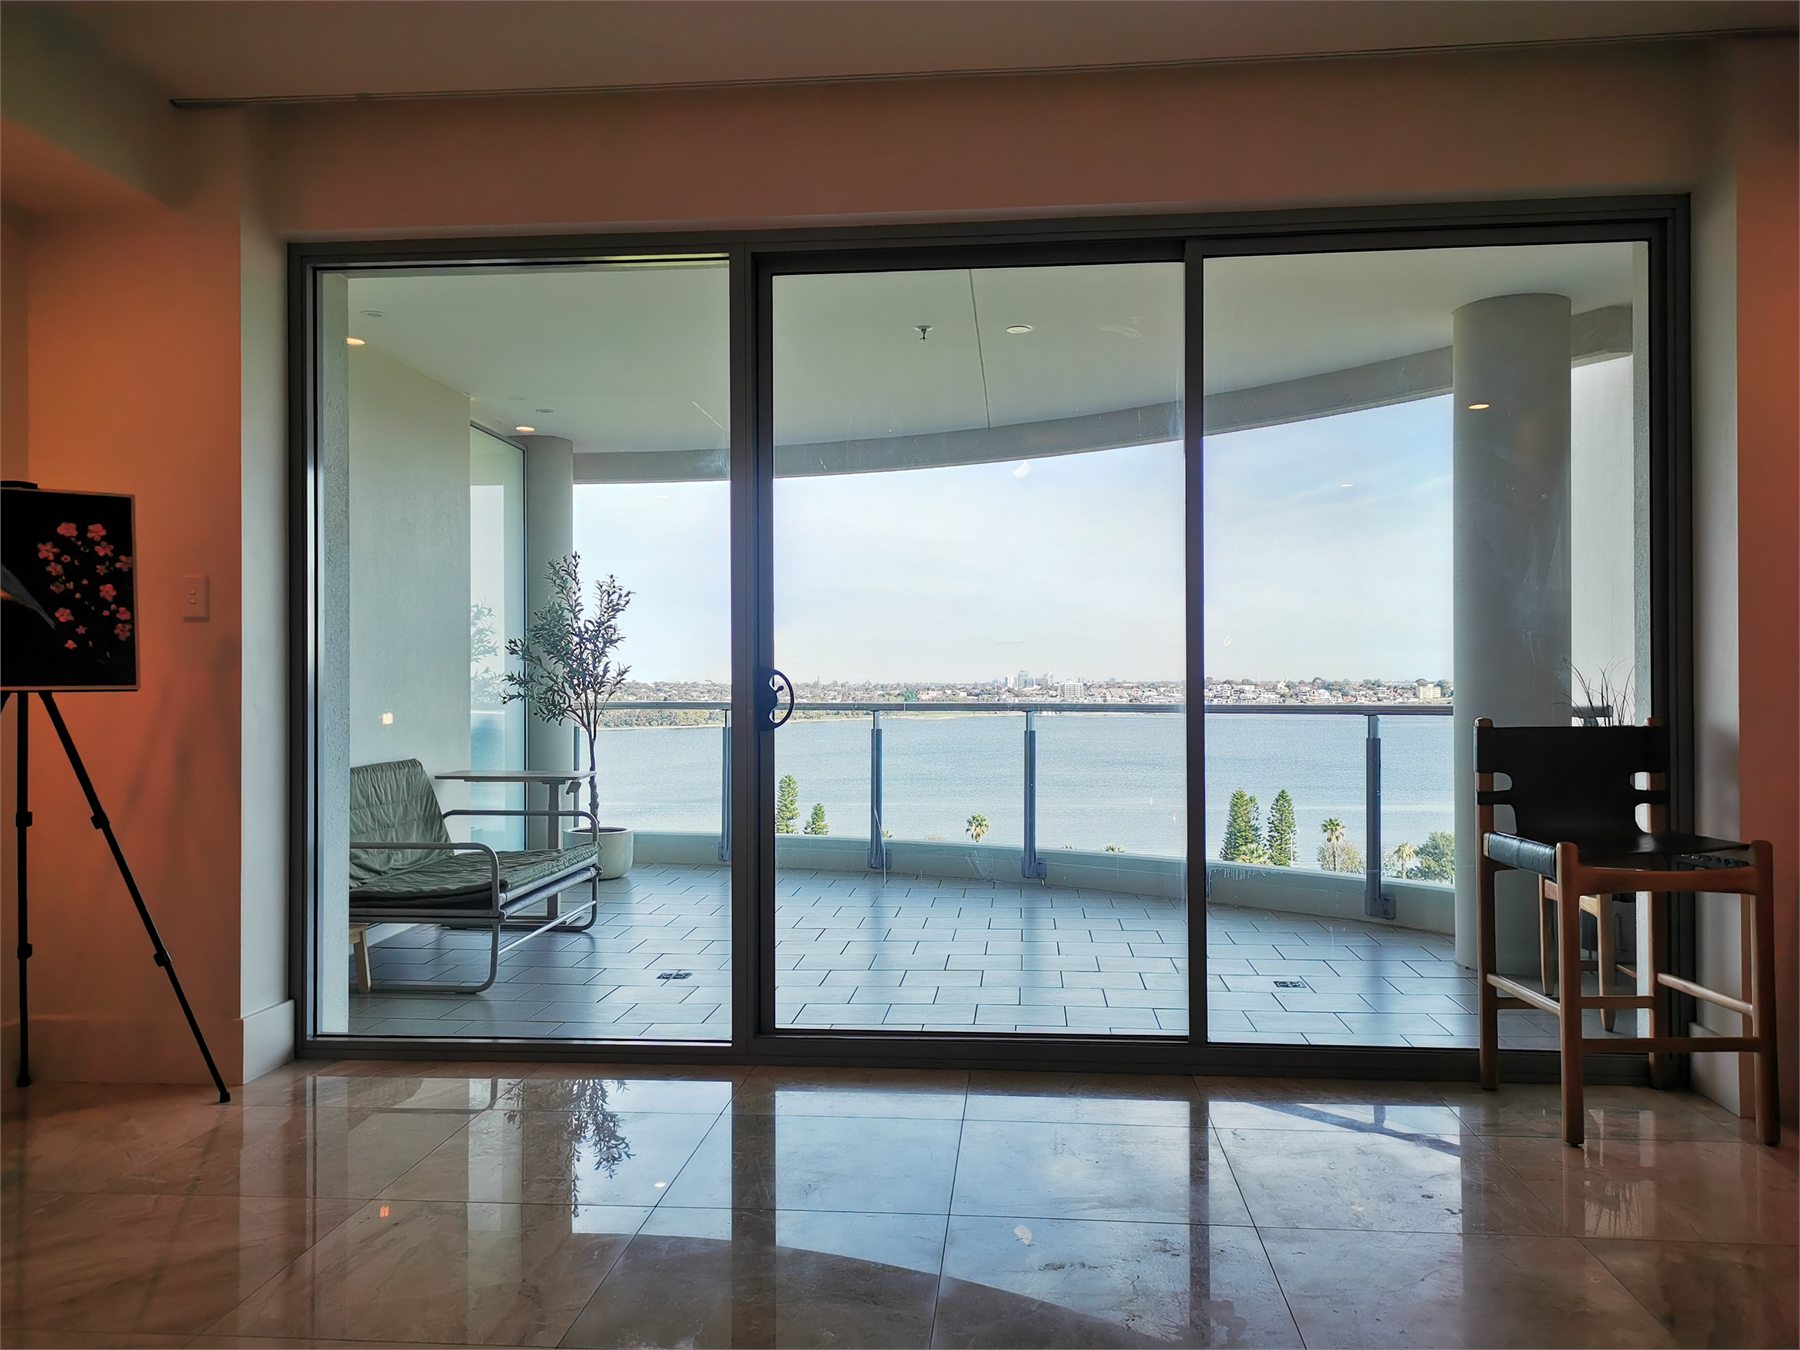
The opening in my living room leads to the balcony, and keeping the view clear matters. I wanted soft sheer curtains to frame the room from both sides. They did not need to travel across the glass every day.
The full opening still mattered for the track and installation, but it did not tell me how much curtain I wanted to see at each side. I started with how much of the curtain would remain visible when parked.
Stand in the room and decide how much fabric you want to see when one curtain is parked. Ask how much wall it should cover, how far it can overlap the opening and whether the stack should feel narrow or generous. A straight-on photograph makes this easier to judge because it shows the curtain as part of the room.
The calculator treats the parked curtain as 30 per cent of its working width. The calculator therefore divides the target parked width by 0.30. This ratio is a fixed assumption in this method, so the result should not be presented as a rule for every heading or track system.
Use the calculator once the visual decision is made
Enter the parked width you want for one curtain. The calculator expands it to the target working width, settles the complete pleat sequence and carries that width through to the fabric order.
How the pleat rhythm controls the width
In this design, the front section is the face you see and the back section folds behind it. Their relationship changes both the look of the stack and the clean fabric width.
A broader front face reads as calmer. A narrower back fold keeps the rhythm compact. The calculator uses the chosen front width as its target, then rounds the number of front pleats upward so the finished curtain reaches at least the required working width. The actual working width is the complete number of front pleats multiplied by that chosen width.
The sequence begins and ends with a front pleat. That means there is one fewer back pleat than front pleats. The back width comes from dividing the front width by the selected coefficient.
Fold a sample before committing to those proportions. A fine voile behaves differently from a stiff or heavily embroidered cloth, and the view from above matters as much as the front view. The edge should look deliberate rather than like a partial repeat left over at the end.
Give every join a place to disappear
Wide curtains often need joined fabric widths. In a sheer, an exposed join can catch the light and interrupt the pleat rhythm.
For this curtain, I treated the back fold as a hiding place. I planned the repeat so a vertical join could sit inside a back pleat instead of crossing a visible front face. Once folded, the seam became part of the shadow behind the curtain.
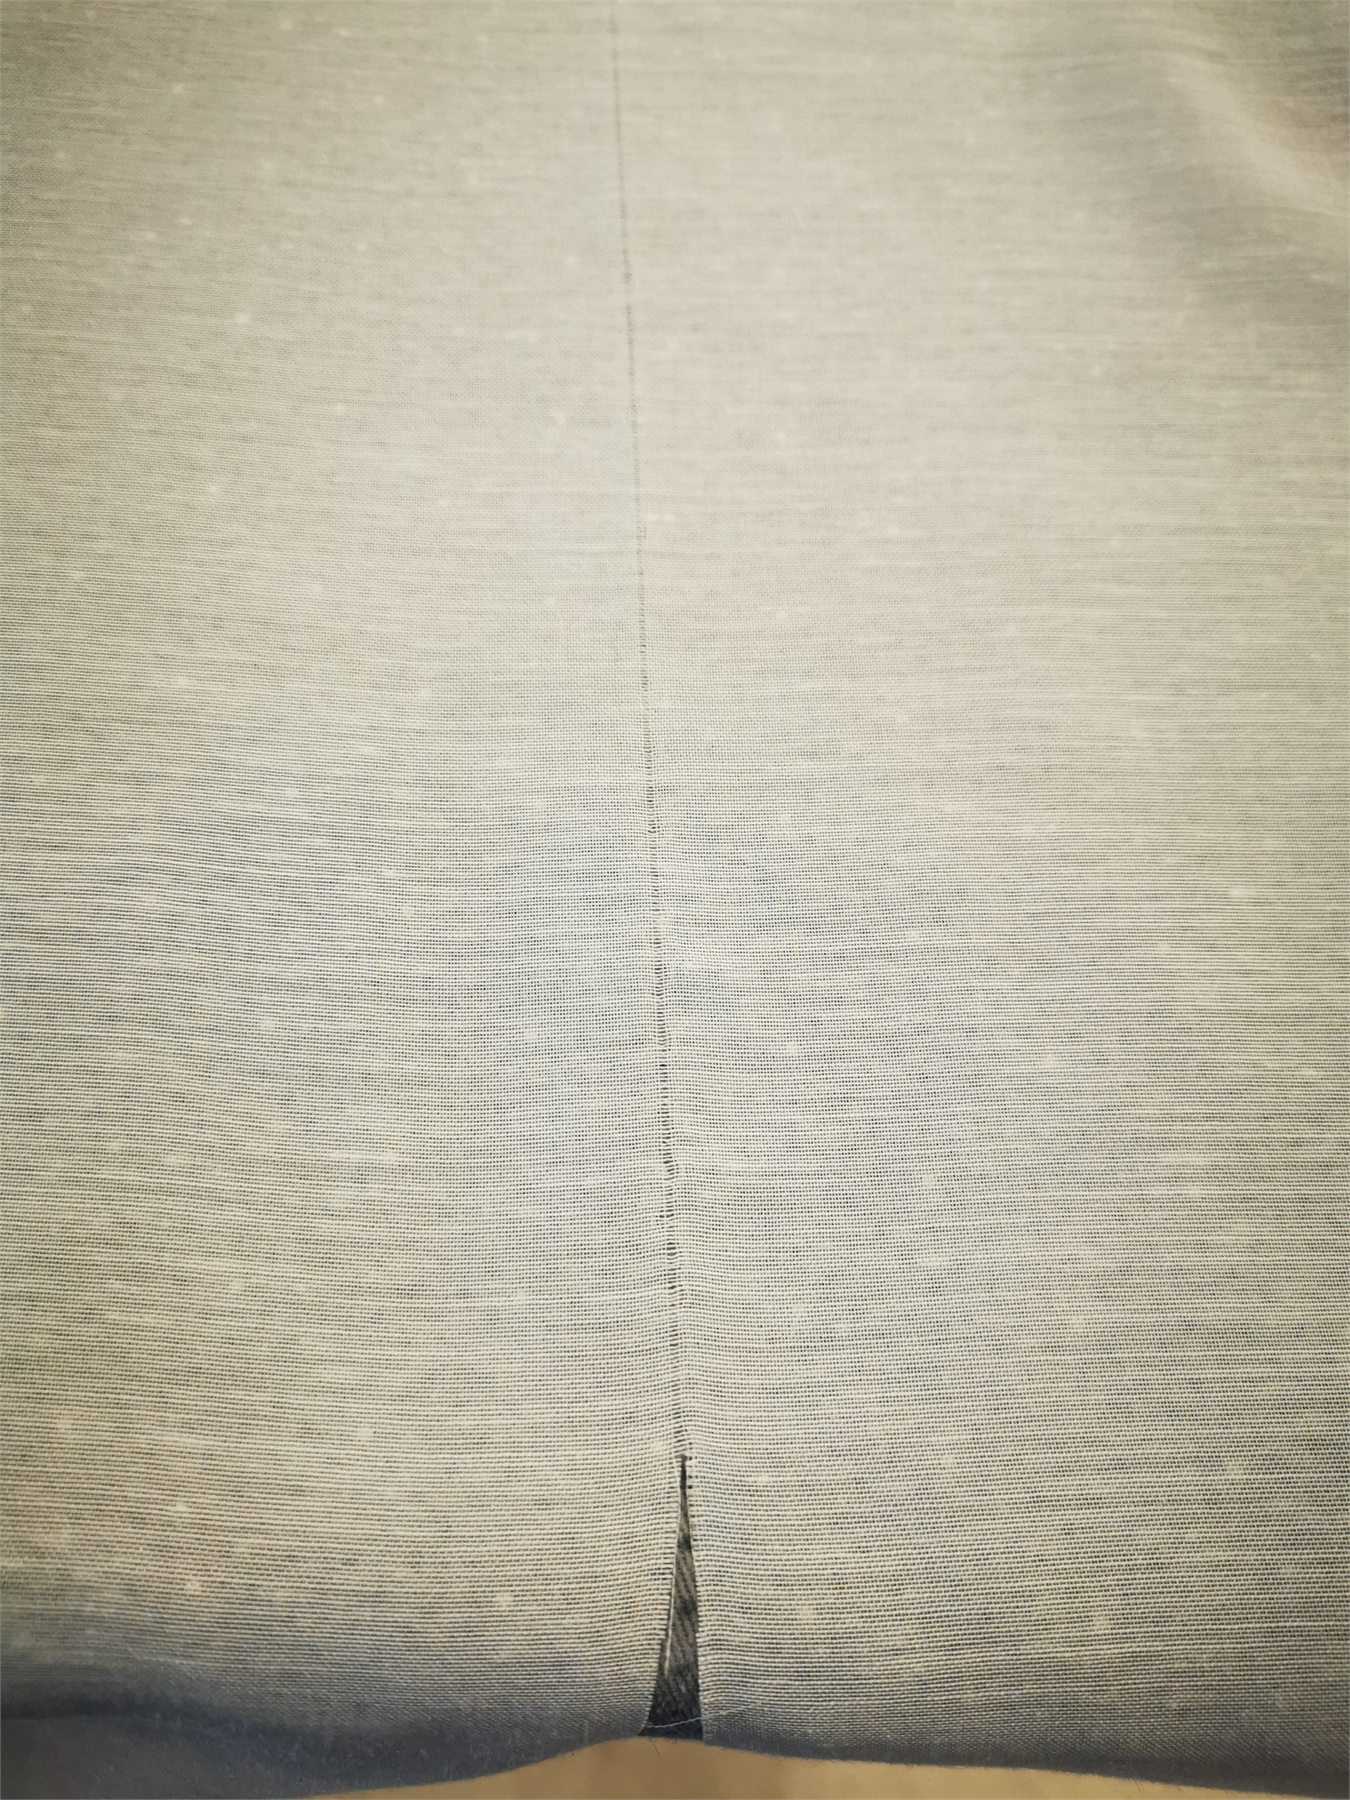
The calculator first finds the clean fabric width from all front and back sections. It then adds the left hem, right hem and any return. For a standard layout, it compares that pre-shrink width with the usable roll width and rounds up to whole drops. The usable width needs to be the real net width after selvedges or joining loss, not the nominal width printed on the roll.
This is still worth drawing before cutting. Mark the repeat across the planned width and check where each join lands. If a seam falls on the face, change the layout before the fabric is divided into drops.
Separate finished height from cut drop
The finished drop describes the hanging curtain. The pre-shrink cut drop describes the length of each standard fabric piece before construction.
The calculator adds the bottom hem, buckram depth and top turn to the finished drop. Shrinkage is then reversed across the combined amount. Keeping these entries separate makes the result easier to check and prevents the heading allowance from disappearing inside an unexplained total.
Measure from the real installed track position whenever possible. A ceiling-fixed track, hook and heading use vertical space that is easy to miss when measuring only from ceiling to floor.
Treat shrinkage as a fabric-specific input
The calculator applies the same shrinkage rate to the width and drop. It adds the construction allowances first, then calculates the larger pre-shrink dimensions.
The percentage still belongs to the fabric, not to the calculator. Use the supplier's information for the cloth you are buying and test a sample when the intended cleaning method leaves uncertainty. Do not borrow a default from an unrelated fabric.
Choose between standard drops and sideways fabric
The same curtain can produce a very different order depending on how the cloth runs. Choose the layout deliberately.
Standard drops
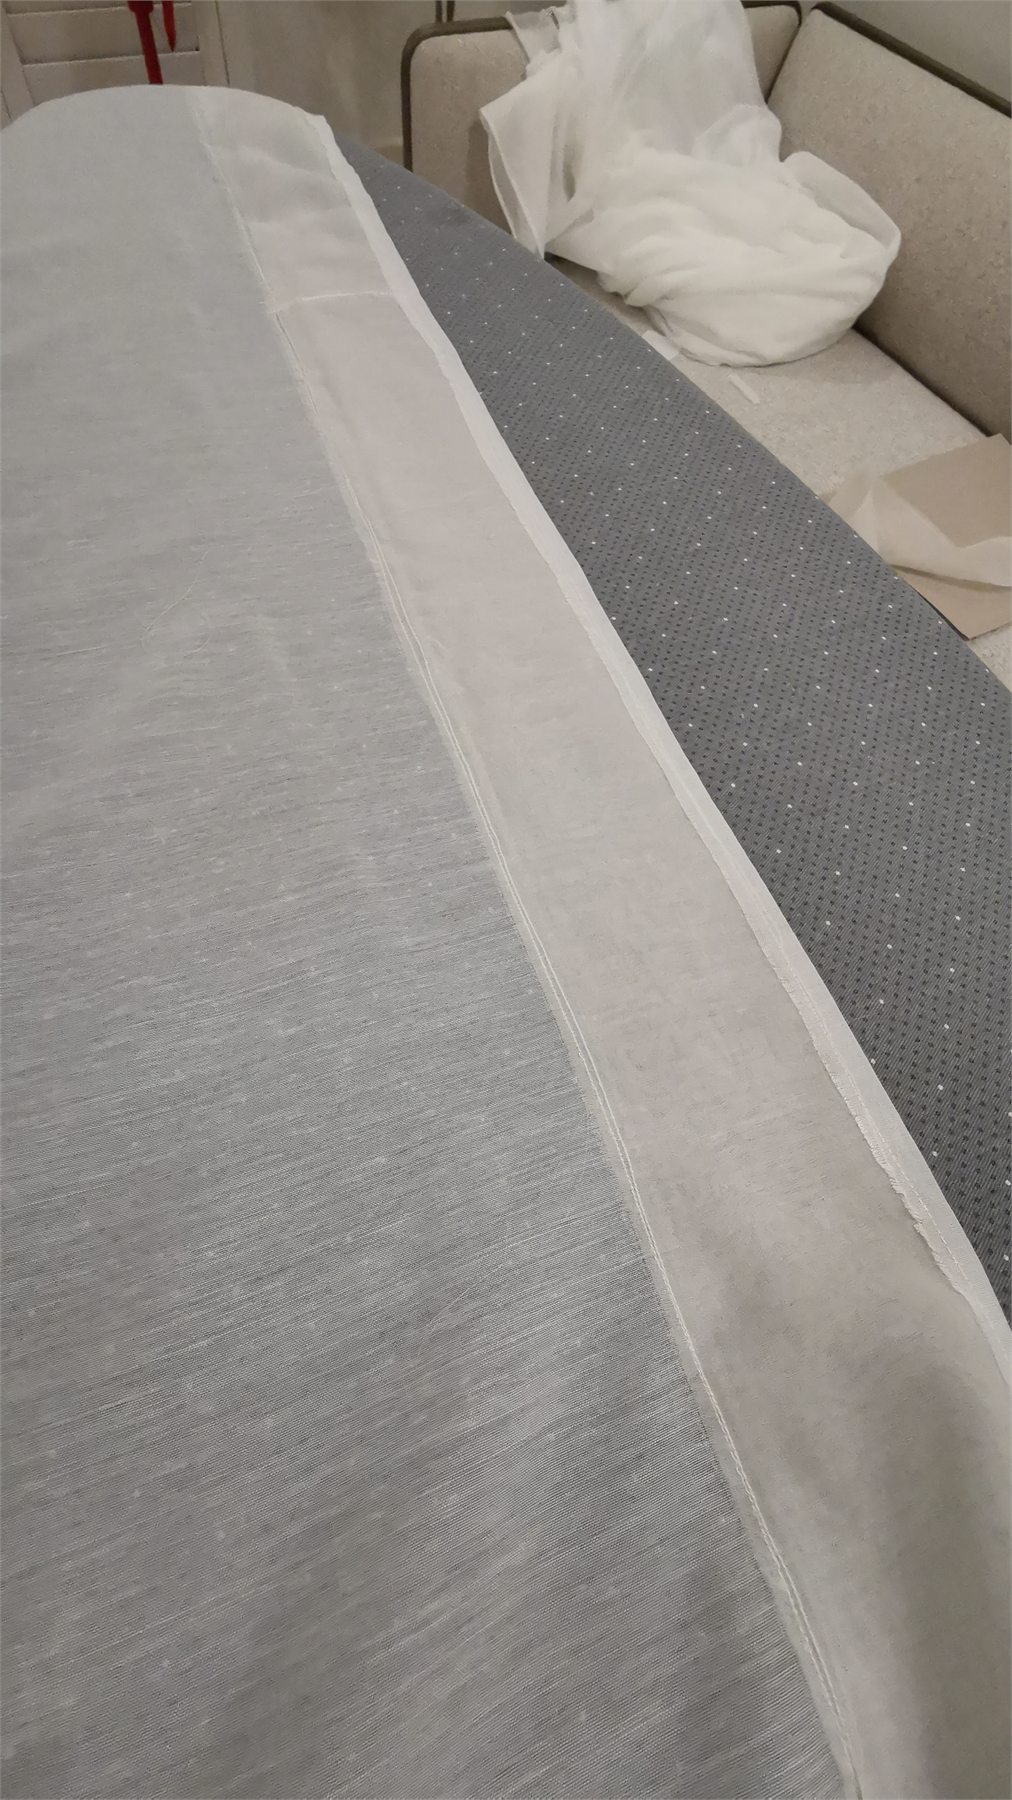
In a standard layout, the fabric runs vertically from the heading to the hem. The calculator divides the required pre-shrink width by the usable roll width and rounds upward to whole joined drops. Each piece is the pre-shrink cut drop. The raw total is the number of drops, multiplied by the cut drop and the number of identical curtains.
Sideways or railroaded fabric
Wide-width fabric can sometimes run sideways across the curtain and remove the need for vertical joins. The calculator uses this path only when it is selected explicitly and the usable roll width is at least as large as the pre-shrink cut drop. Each curtain then uses one continuous length equal to its pre-shrink fabric width.
Railroaded describes the fabric orientation; it does not guarantee that every cloth will hang correctly when turned. Check the supplier's specification and inspect the fabric in the intended direction. A directional design, surface effect or change in drape can rule out a sideways layout even when the roll is wide enough.
Choose the track, hook and heading together
The track, hook and heading form one small system. If one part is chosen in isolation, the curtain can hang at the wrong height or the stiffened heading can press into the ceiling.
I discovered this with my ceiling-fixed track. The readily available buckram I examined was deeper than the useful hanging depth created by the hook and track. Leaving part of the back pleat loose did not give me the compact fold I wanted, so I needed a heading that suited the space.
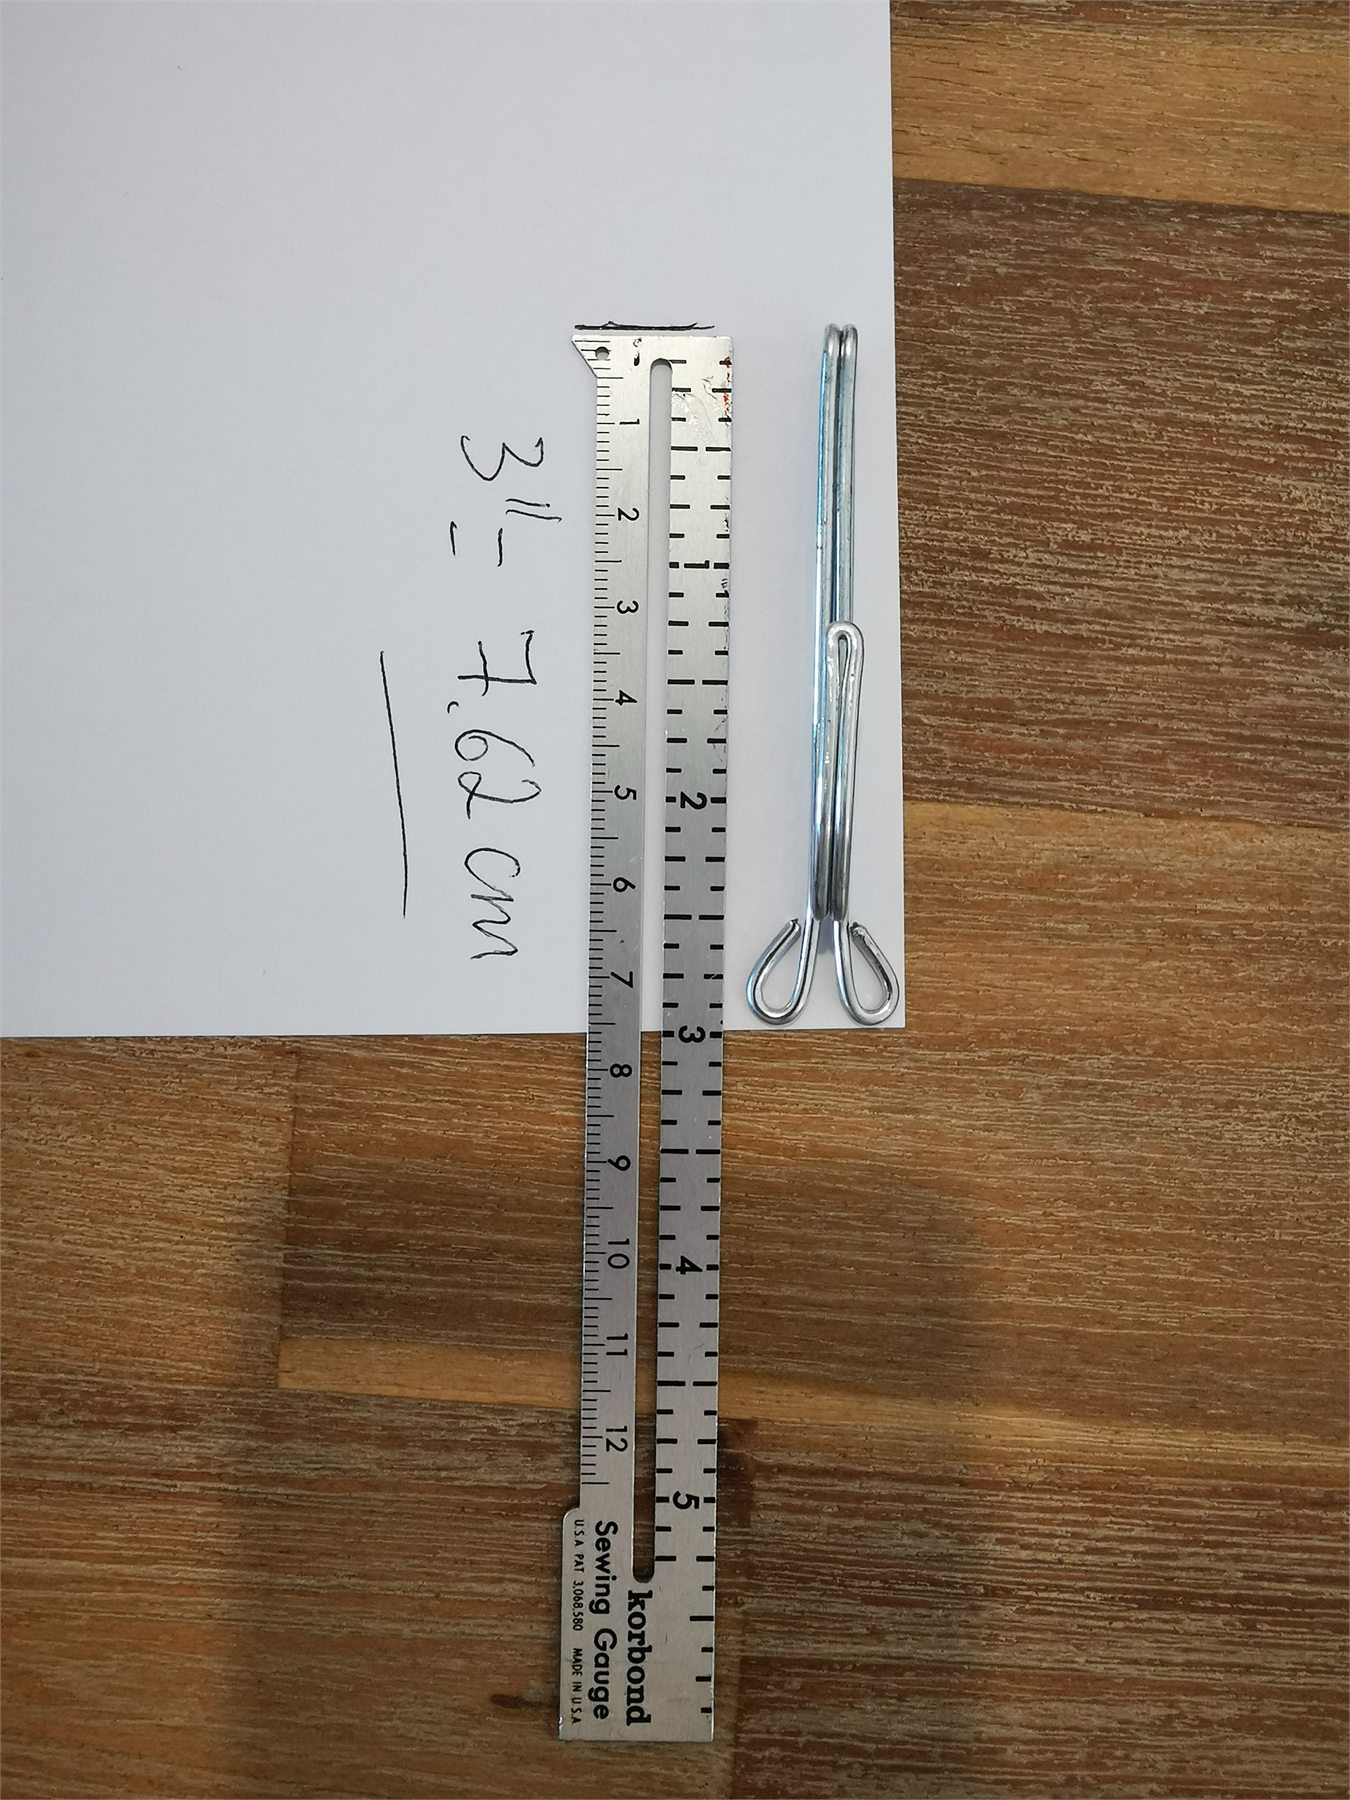
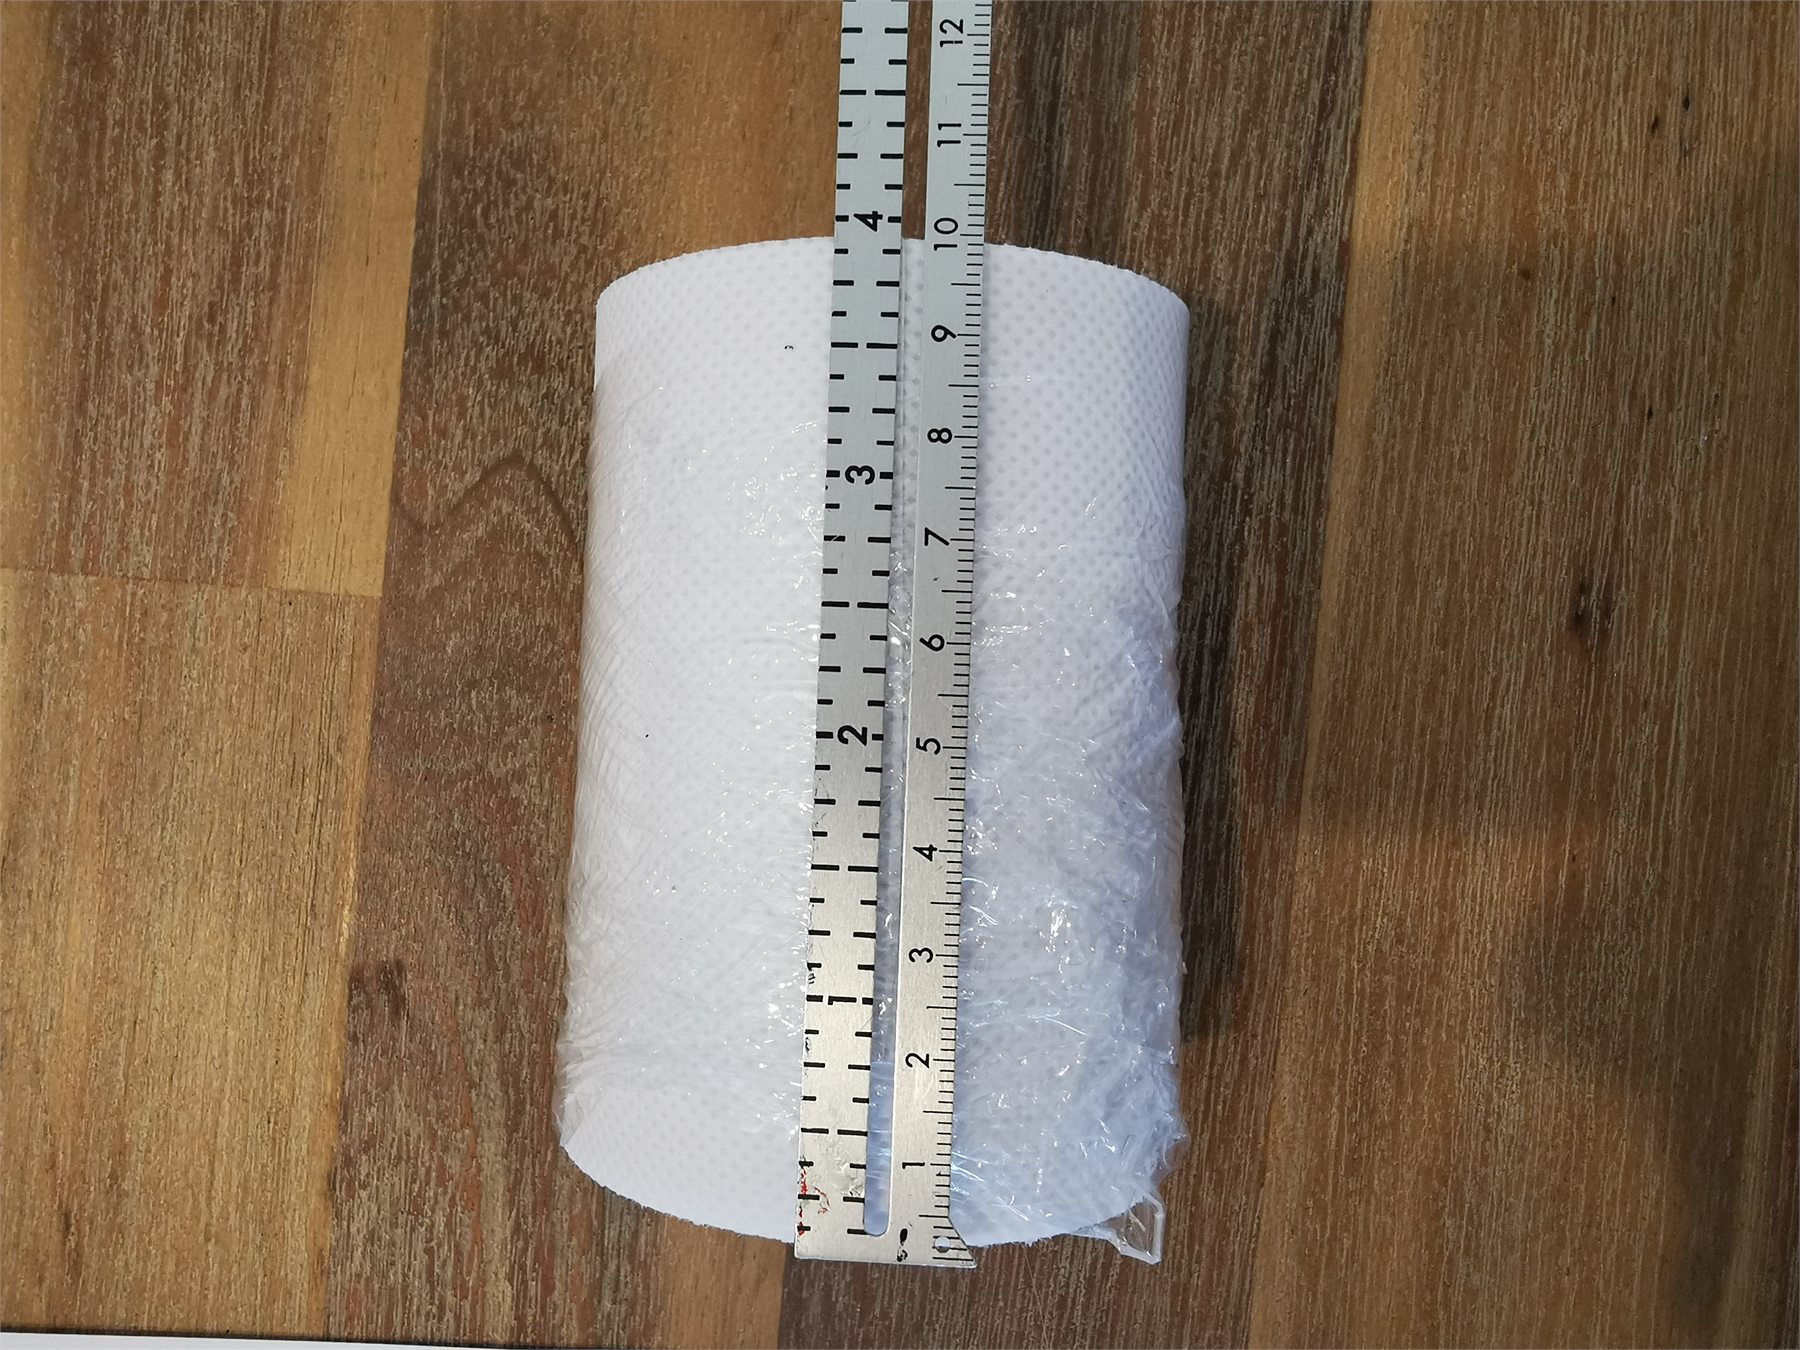
For the voile, I tested a heading made from two layers of organza. It gave me control over the depth without forcing the full shop-bought strip into the available area. A small heading sample hung from the real track will reveal this kind of conflict before the full curtain is made.
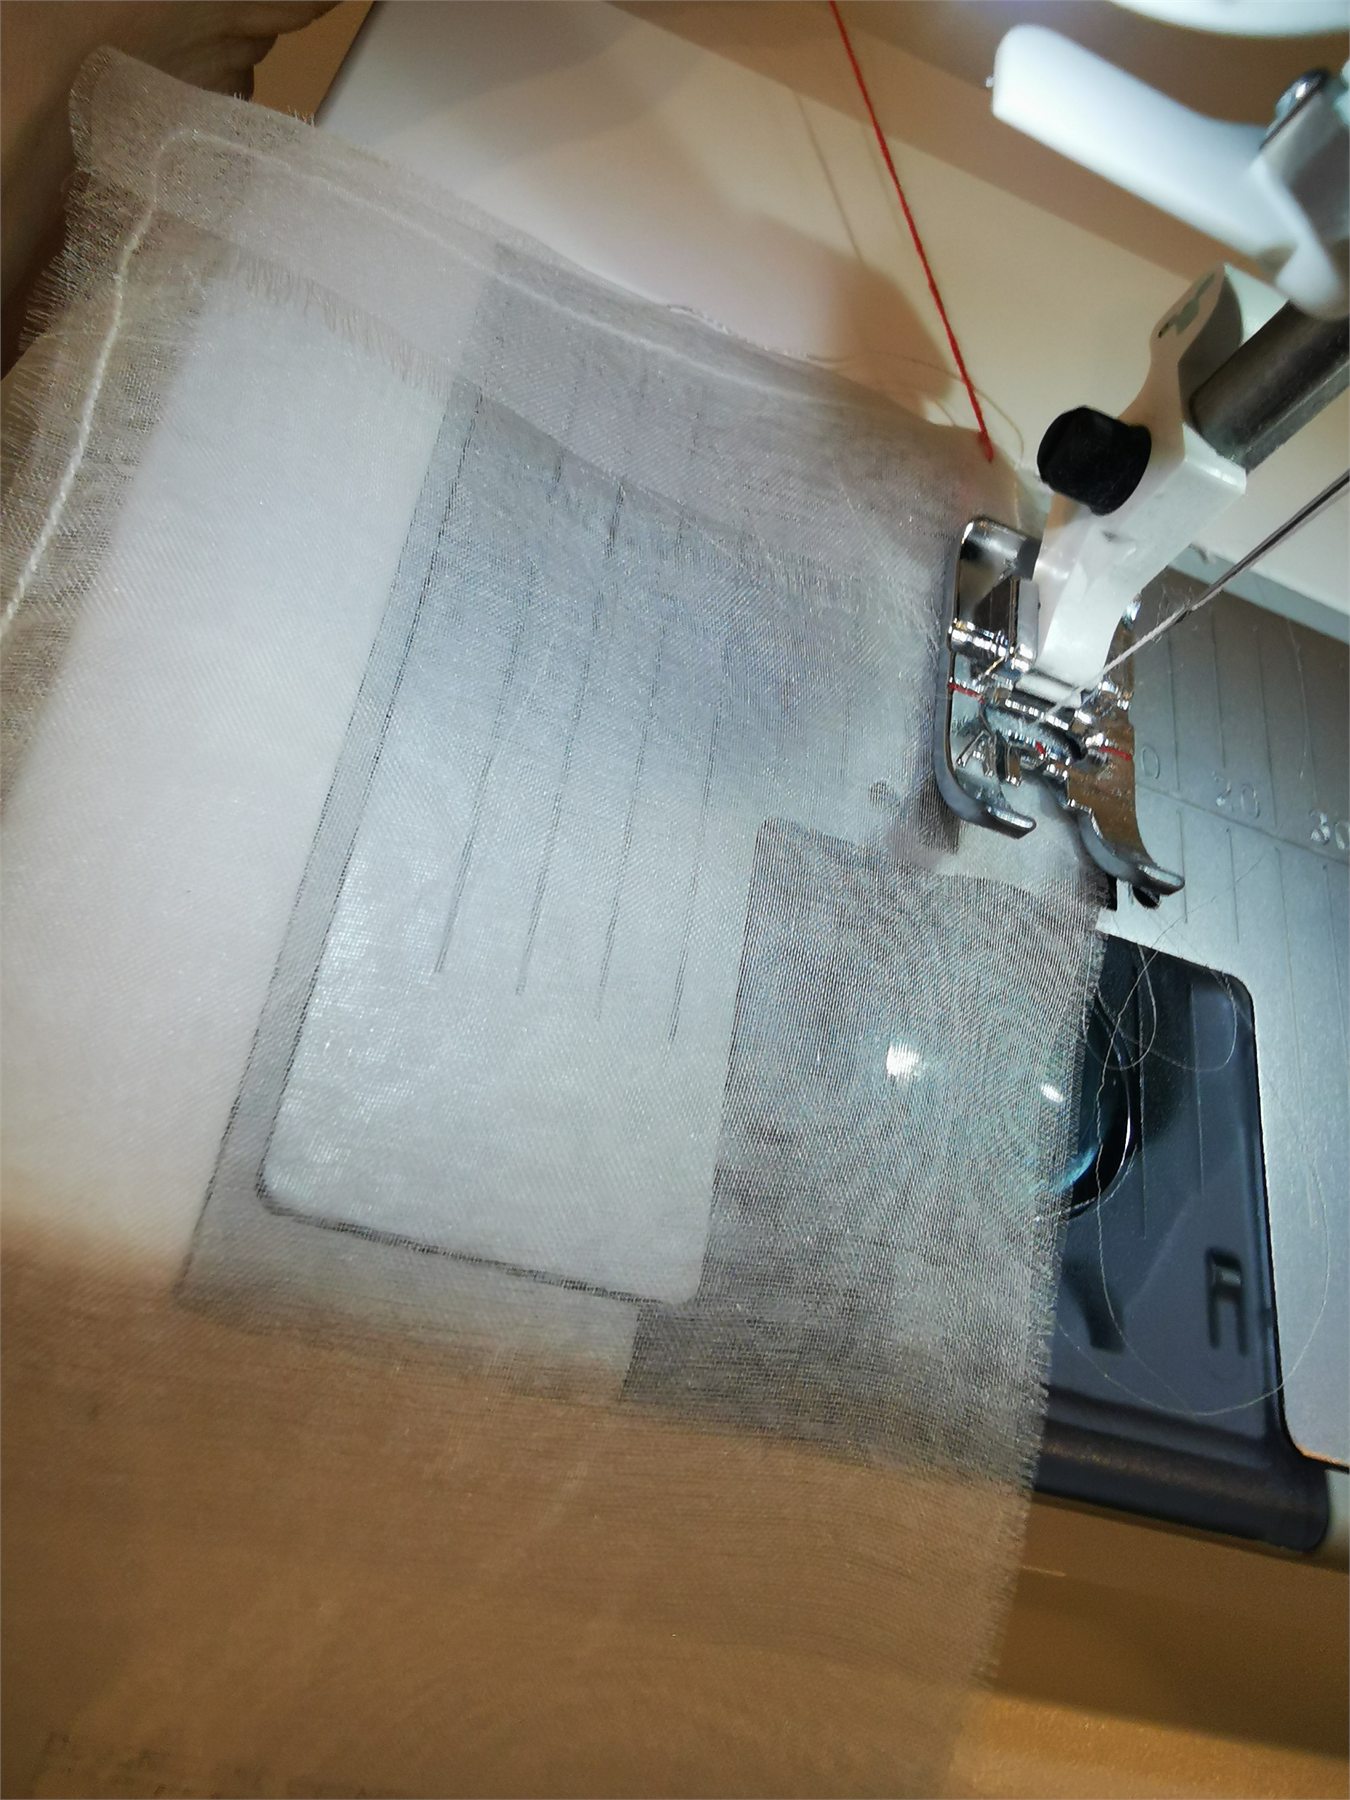
I did not want sharp pin hooks carrying this delicate sheer directly. I preferred a hook arrangement supported by a pocket.
Keep one measuring reference
Use the same tape or ruler from the first site measurement through to marking the fabric. My tools did not agree exactly, so I compared them over the same distance and kept one as the project reference. If you must change tools, compare them first and record any difference.
A worked example
The calculator's default example starts with one curtain and a parked width of 45.0 cm. At the fixed 30 per cent ratio, this becomes a target working width of 150.0 cm. The calculator then produces these example values:
| Check | Example result |
|---|---|
| Parked width | 45.0 cm |
| Target working width | 150.0 cm |
| Front and back pleats | 19 front, 18 back |
| Marking widths | 8.0 cm front, 6.4 cm back |
| Actual working width | 152.0 cm |
| Clean fabric width | 267.2 cm |
| Pre-shrink fabric width | 301.3 cm |
| Pre-shrink cut drop | 312.8 cm |
| Standard pieces | 2 pieces at 3.13 m each |
| Calculated total | 6.26 m |
| Order quantity | Buy at least 6.3 m |
The calculator keeps full precision internally and rounds only the final combined order upward to the next 0.1 m. This avoids compounding rounded intermediate values.
Know what this first calculation leaves out
This method is for new, plain or non-matched fabric and identical curtain plans. It does not calculate pattern matching, half-drop repeats, trimming waste, lining, interlining or fabric already owned. Those cases need a separate layout before the result can be treated as an order quantity.
The method also assumes that shrinkage is applied equally across the width and drop, standard layouts use whole joined widths, and a sideways layout has been chosen deliberately. If those assumptions do not fit the project, stop at the planning stage and resolve the fabric layout first.
When they do fit, use the Back-Pleat Curtain Calculator for the detailed arithmetic. The goal is a curtain whose parked shape, pleats, joins, heading and hanging height have been considered before the first full cut.