Skip to content
Menu

Tobi pants / A pocket detail

Zip It Up: Pockets with Rounded Ends

I love pockets that zip closed, especially on clothes for children and teenagers. Phone, keys, a little money: everything stays tucked away. For this pair of Tobi Style Pants, I used the Street Style Pants pocket pieces to make openings with rounded ends and a hidden personal detail.
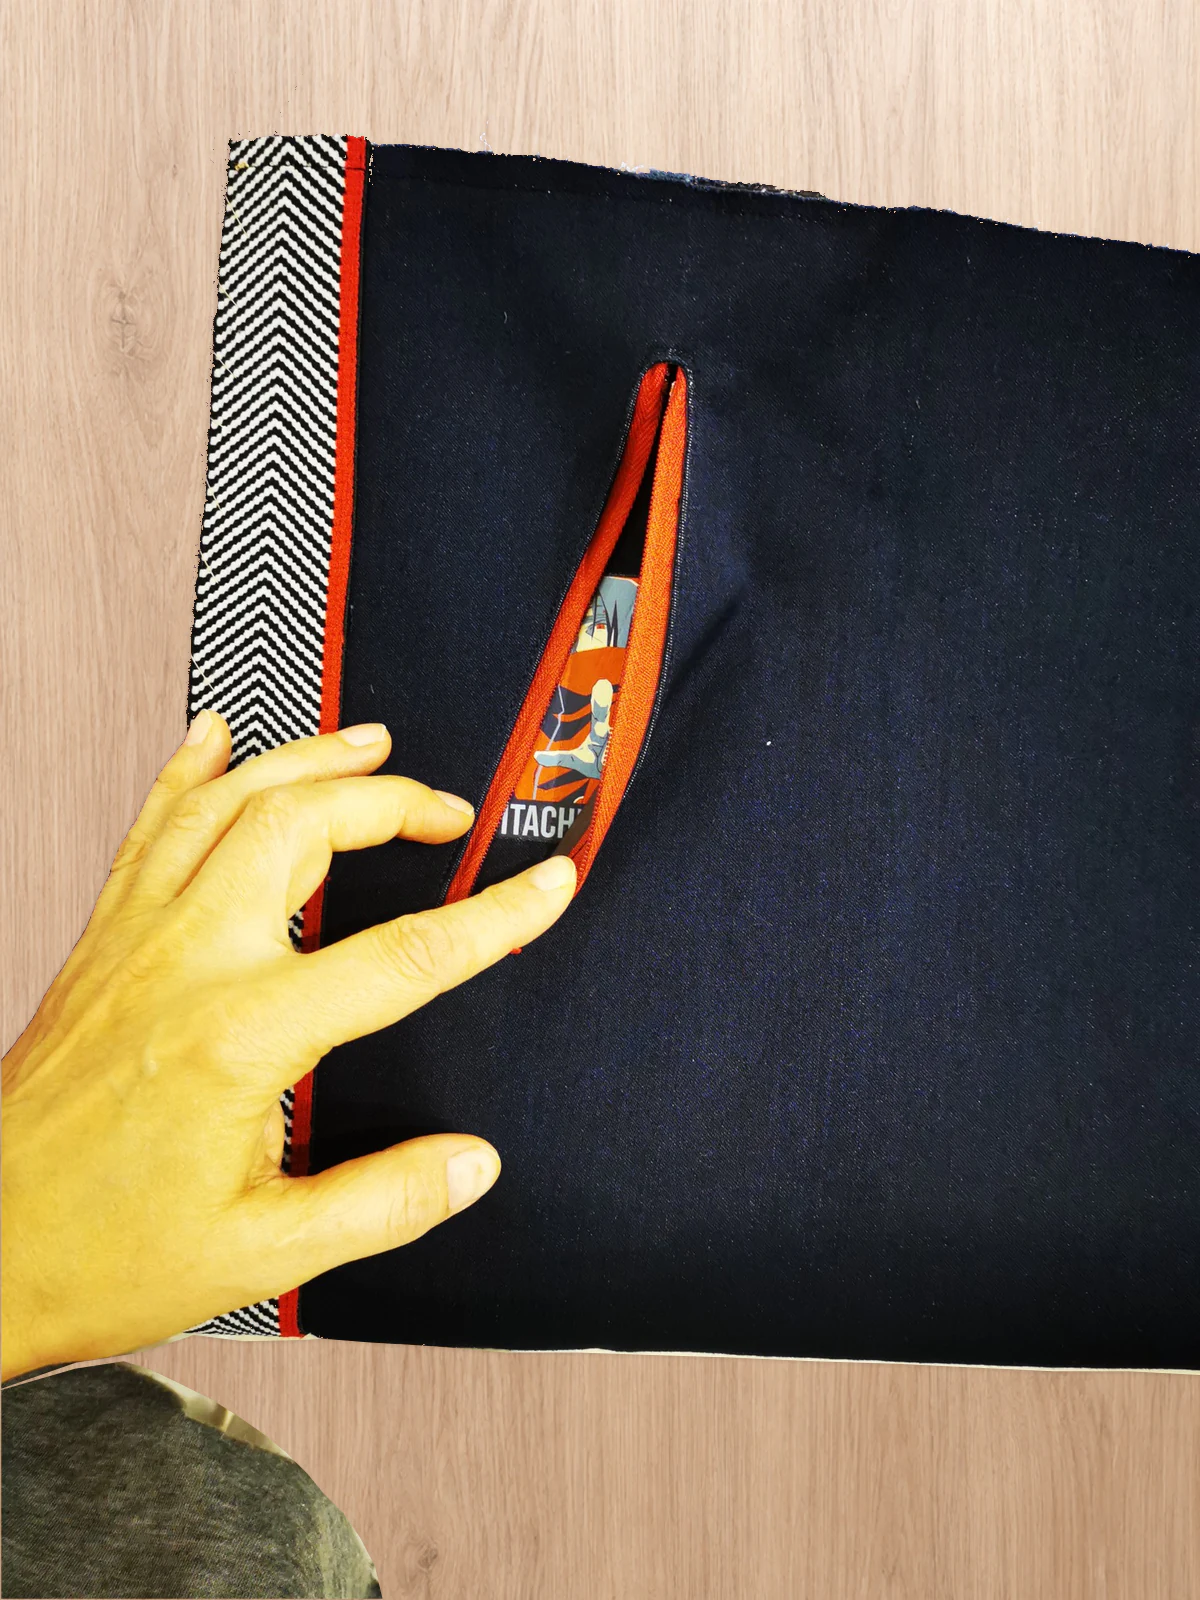
An open red zipper reveals part of the iron-on graphic on the navy pocket backing; a hand holds the opening apart.
A rounded zipper opening with a hidden anime detail.

Cut the pocket pieces

Cut a mirrored pair of pocket linings, following the pattern's cutting lines and seam allowances. Each lining finishes the opening and forms one half of the pocket bag.
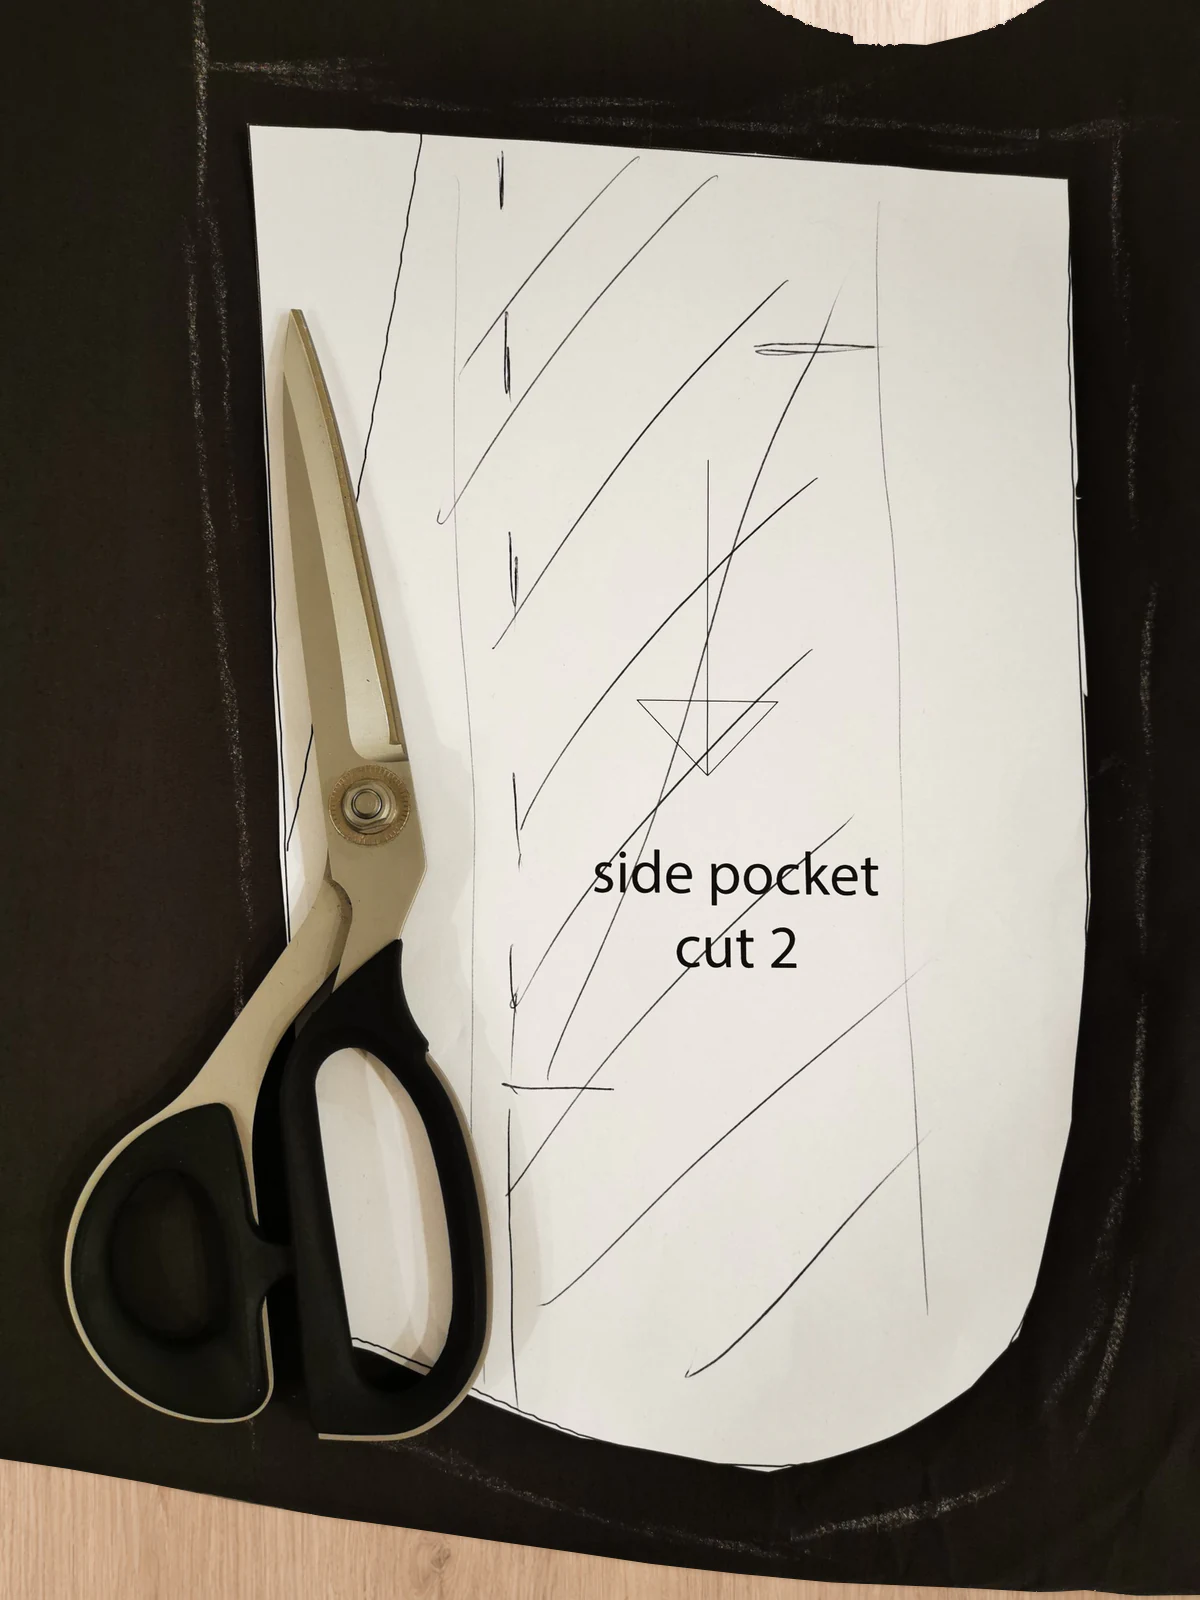
Paper side-pocket pattern piece and scissors on brown lining, with a chalk outline around the pattern.
Pocket pattern piece on the lining fabric.
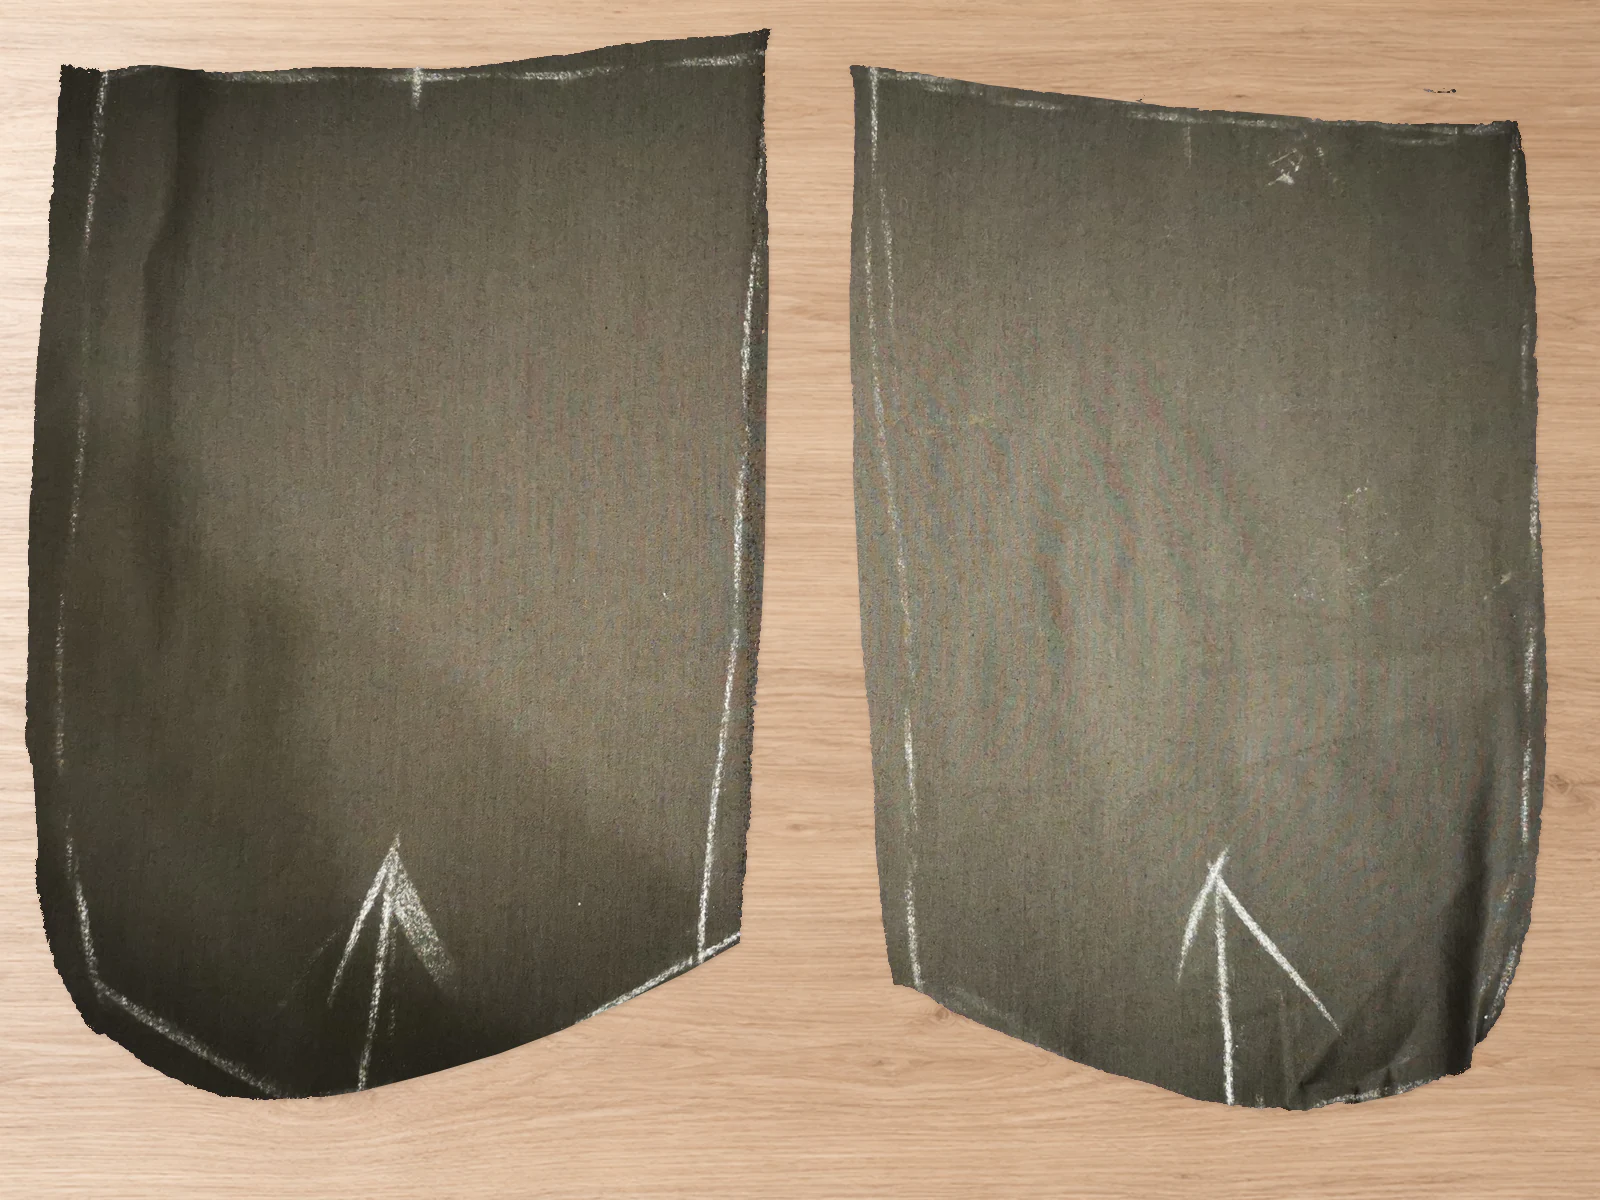
Two separate brown pocket-lining pieces, cut as a mirrored pair with curved bottoms and chalk markings.
Cut brown linings: one for each front pocket.

Cut one backing from main fabric for each pocket, matching the pocket outline. Its right side will be visible through the open zip.
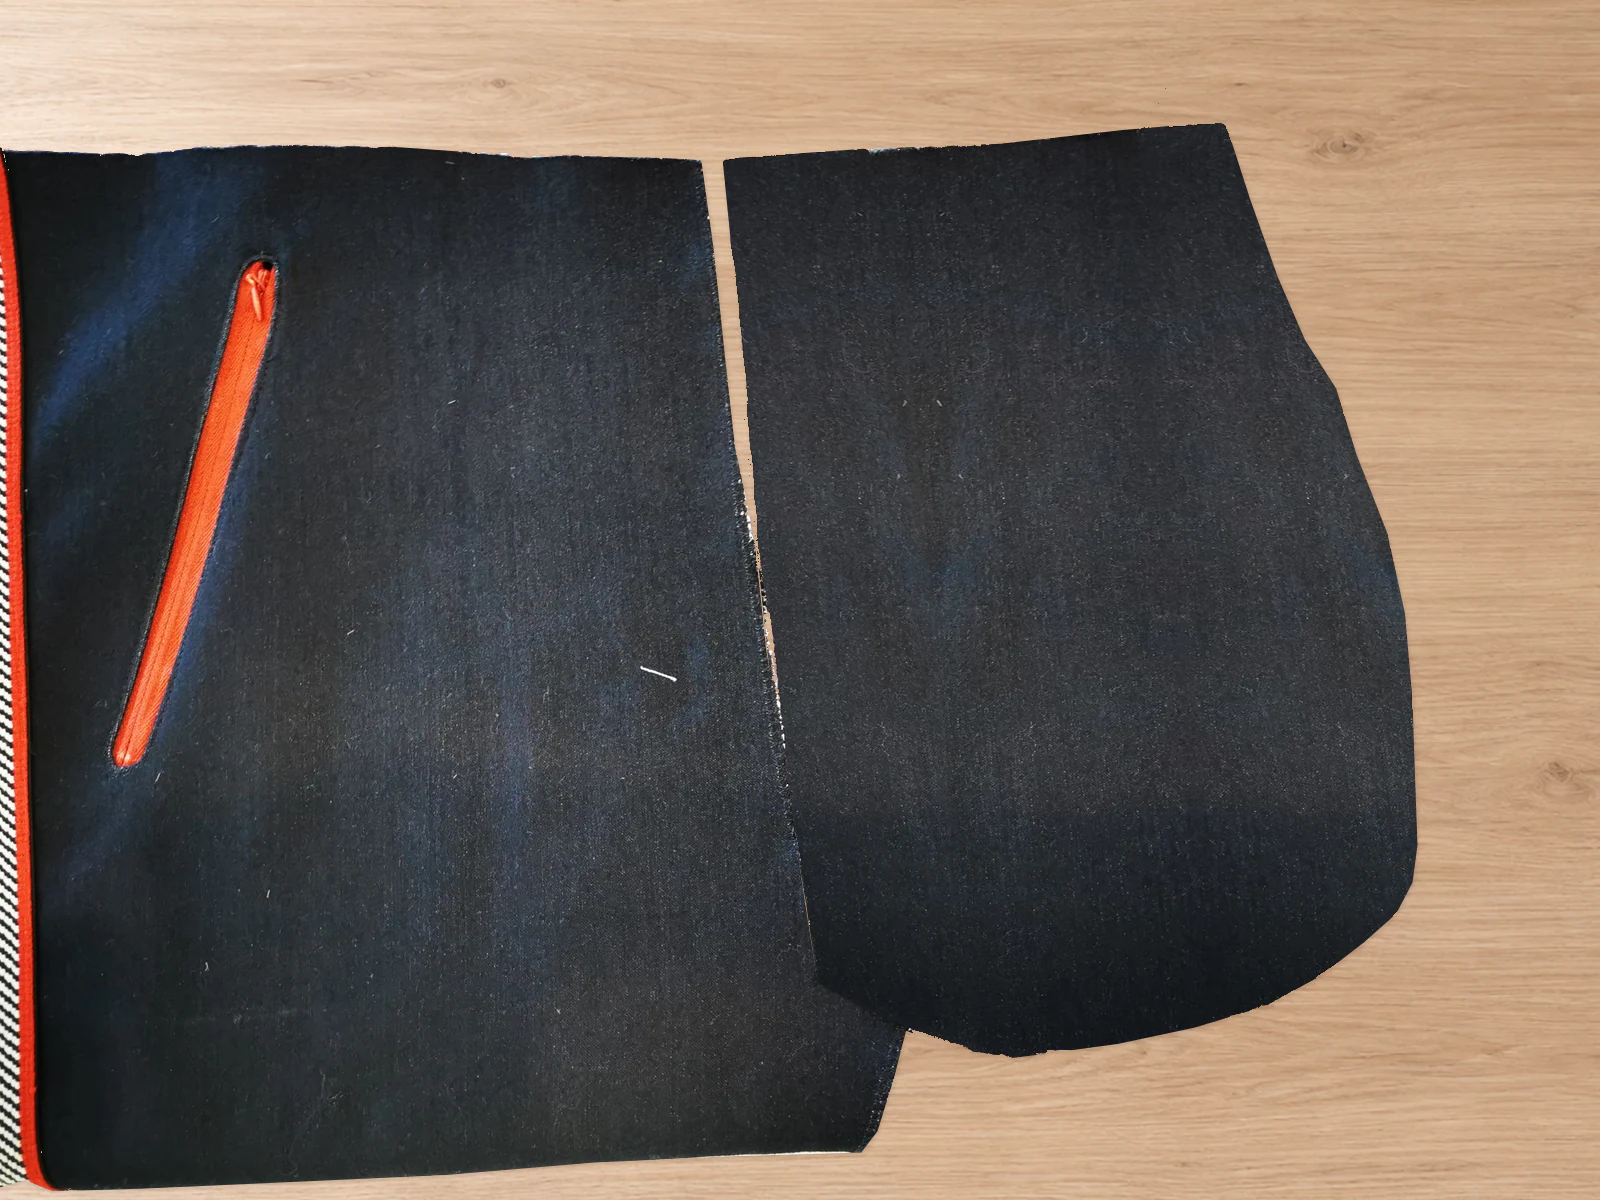
Illustration of a single navy main-fabric pocket backing beside the trouser front.
One-piece main-fabric backing at right. The fitted opening at left is shown later.

Mark the opening

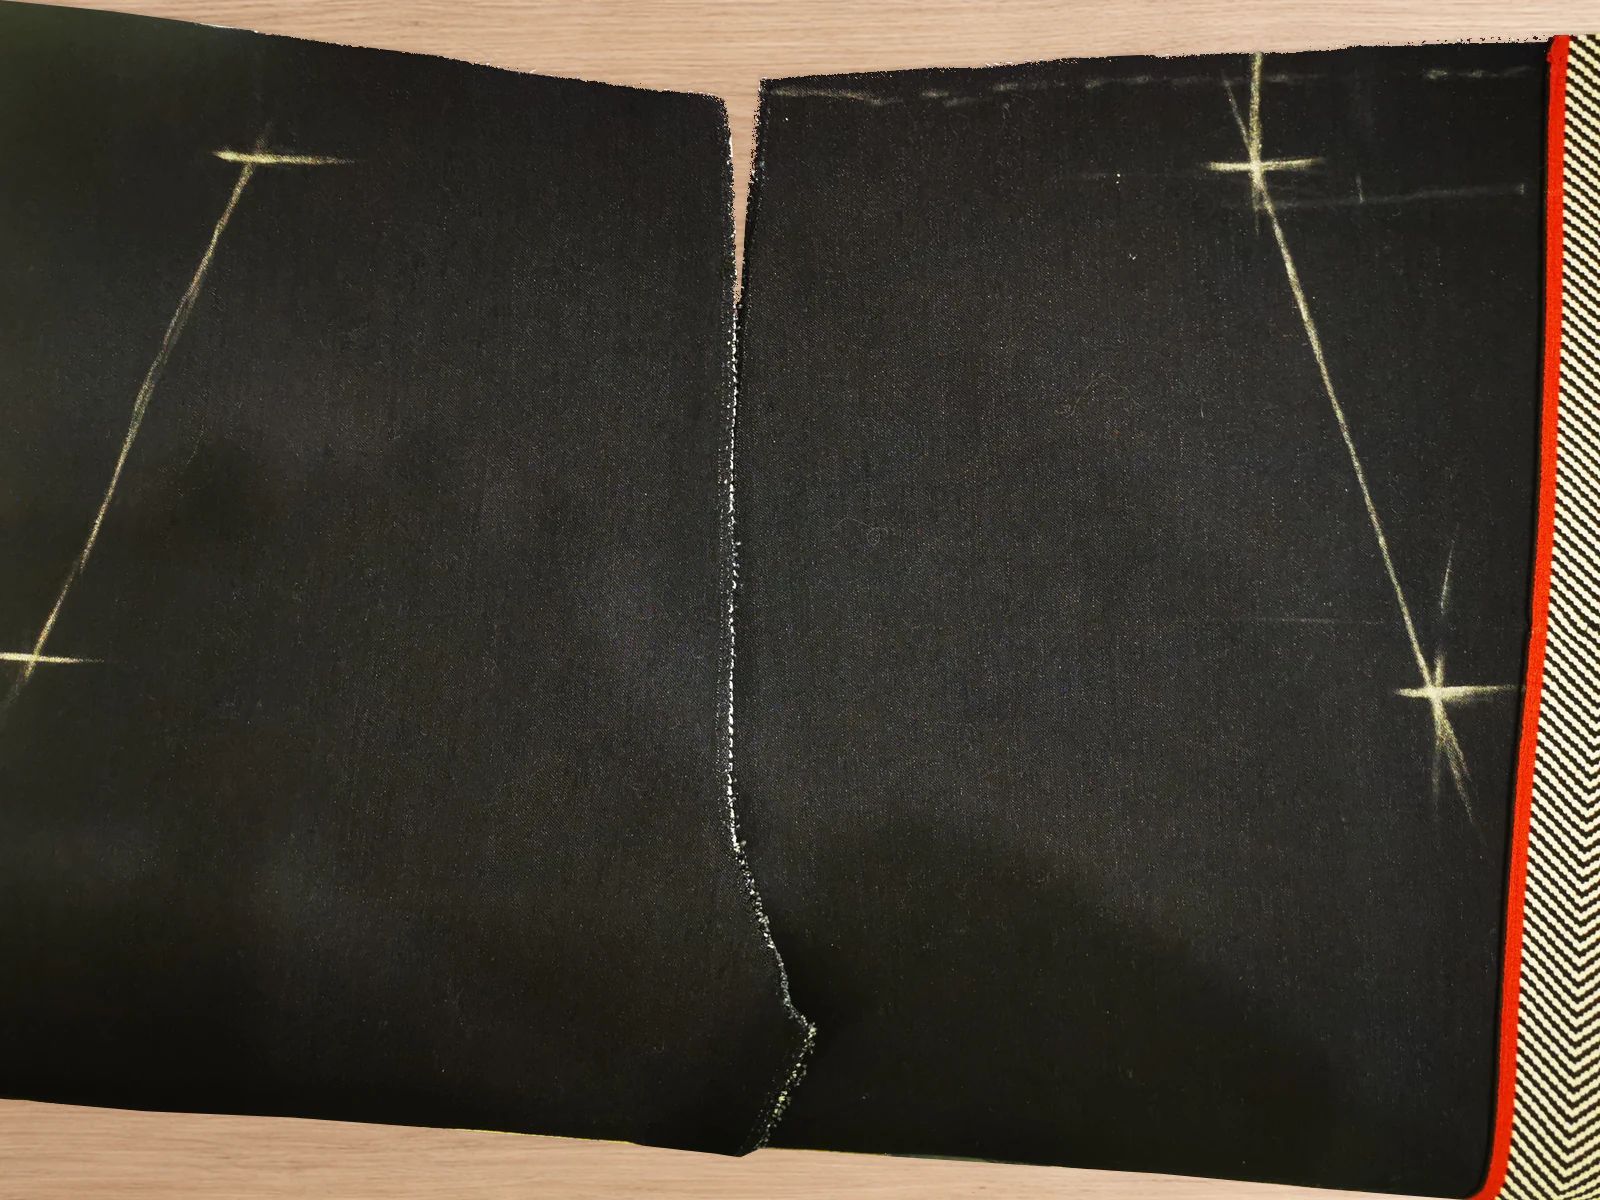
Work on the flat trouser fronts. Transfer the pattern's pocket-placement marks and check the opening against your zipper. Mirror the placement on the other front; the pattern supplies the markings.
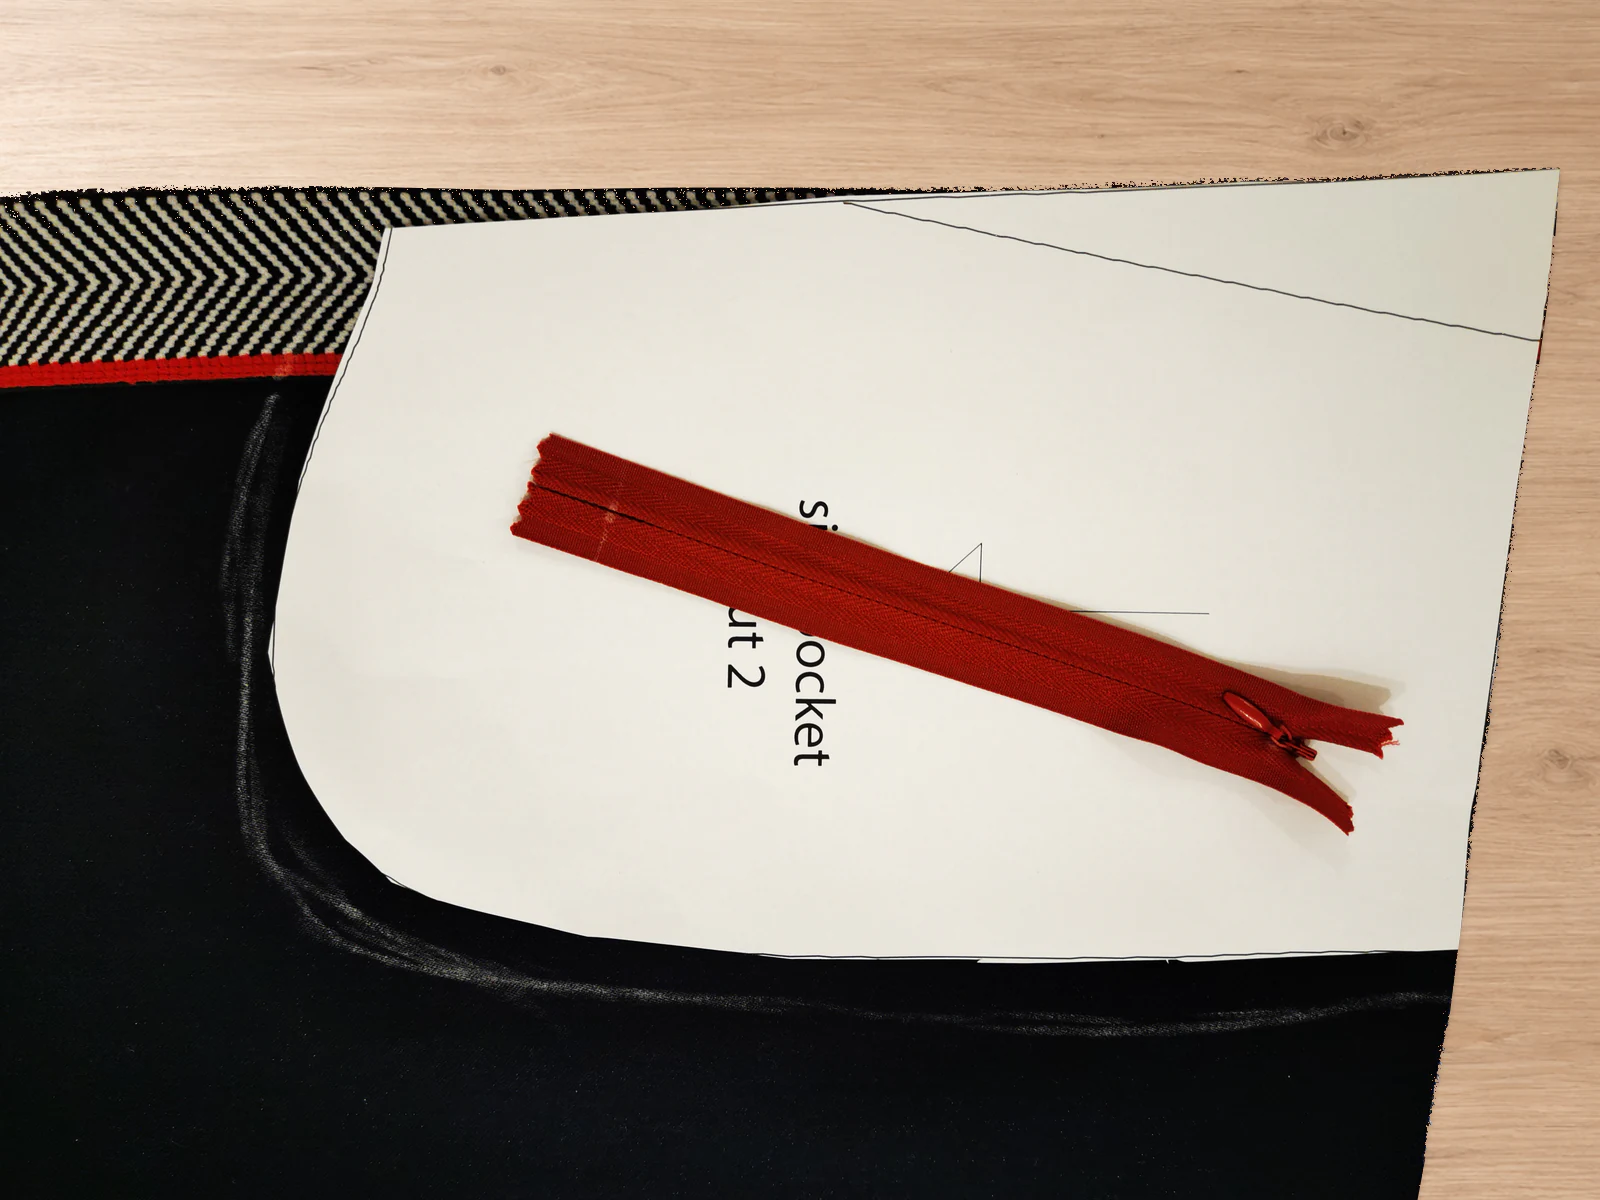
Paper pocket pattern piece and red zipper positioned on a navy trouser front.
Pocket pattern piece and zipper positioned on the trouser front.
Two navy trouser fronts with matching chalk pocket-opening marks.
Matching opening marks on the two trouser fronts.

Reinforce the opening

On the trouser's wrong side, fuse interfacing over the opening area, extending beyond its outline. Use the interfacing's pressing instructions. Restore any marks lost to heat.
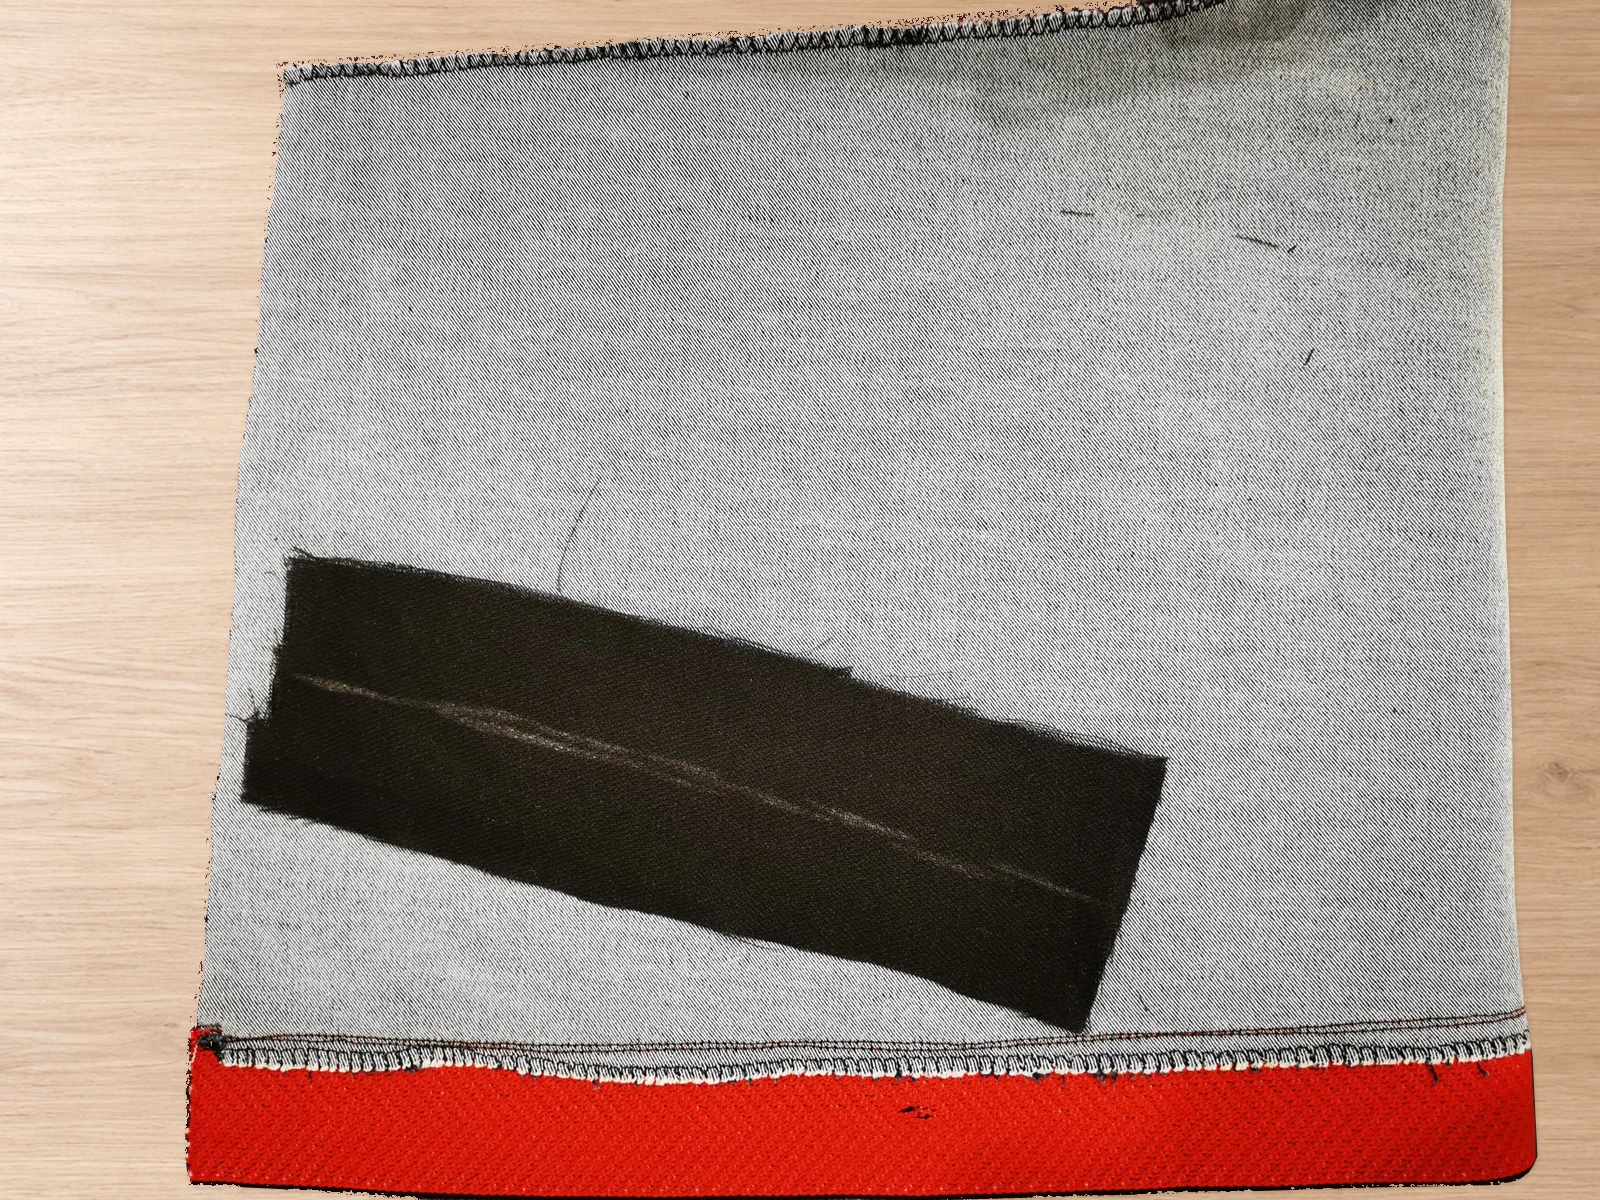
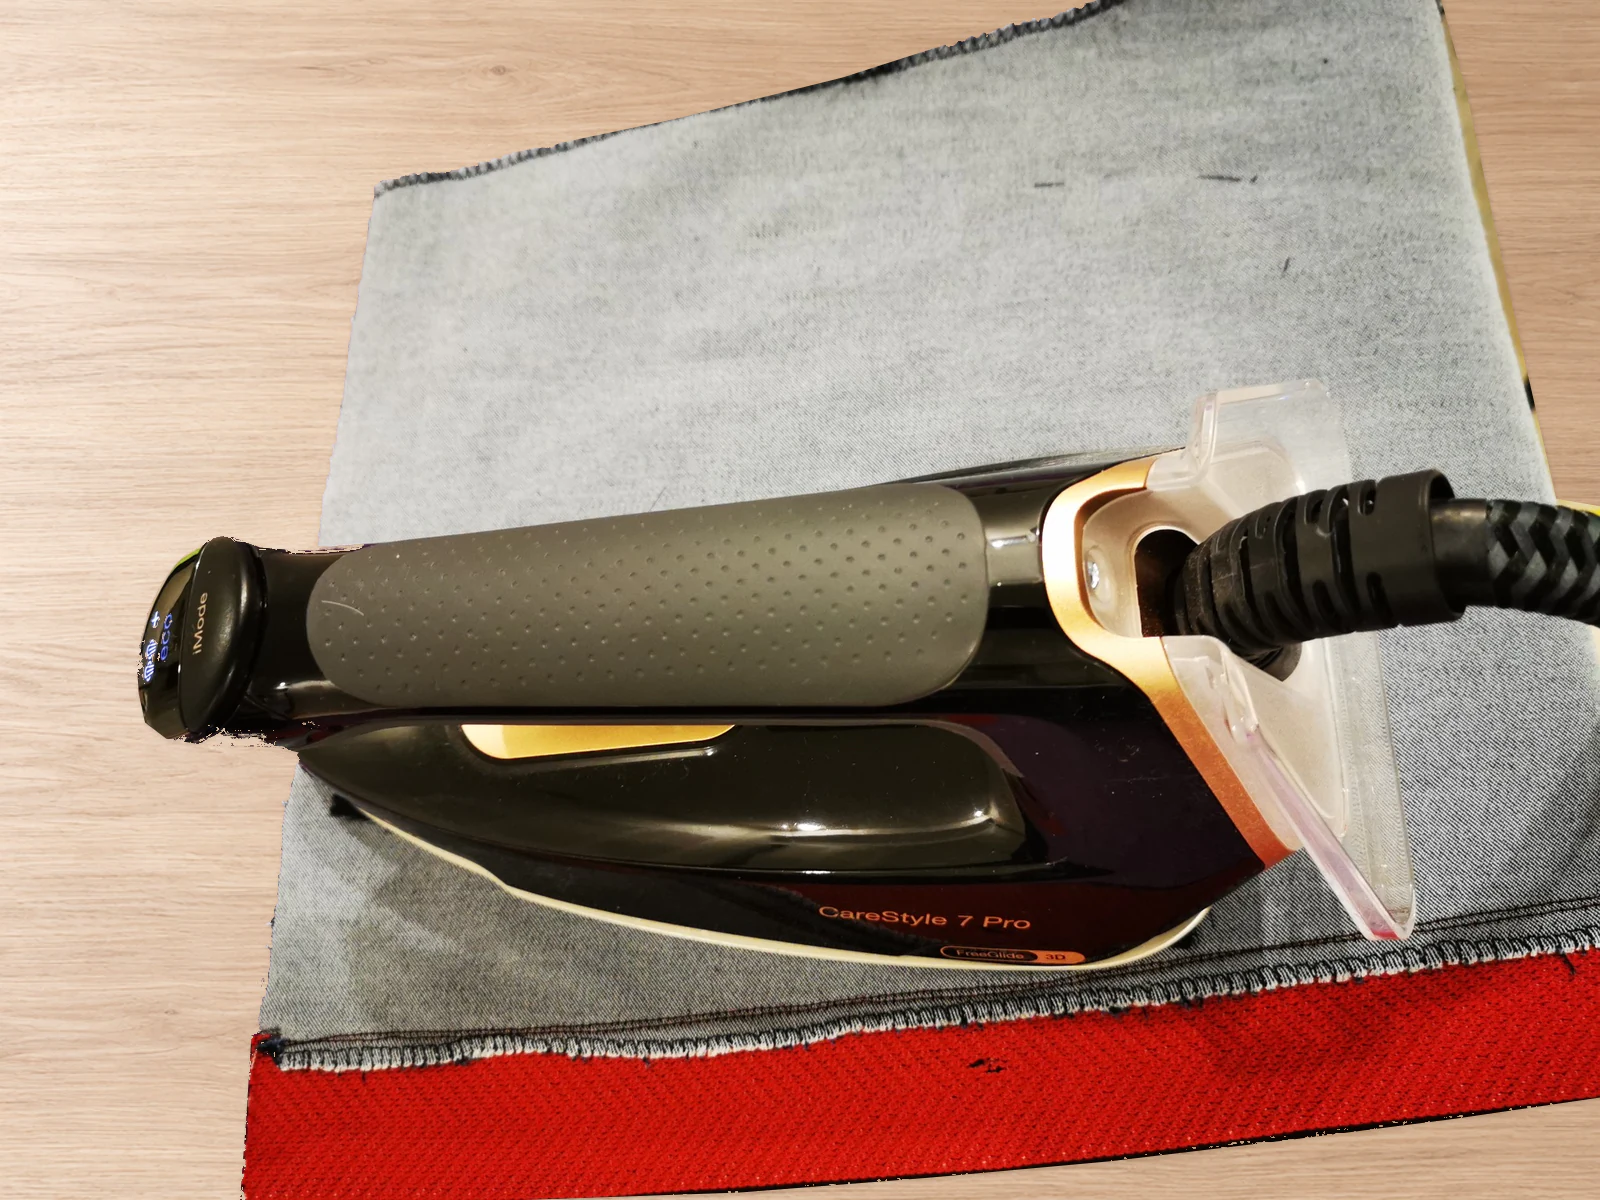
Black interfacing strip over the marked opening area on the grey wrong side of the trouser front.
Black interfacing covers the opening on the grey trouser reverse.
Iron pressing the interfacing area on the grey reverse of the trouser front.
Fuse the interfacing with the trouser front lying flat.

Match and pin the lining

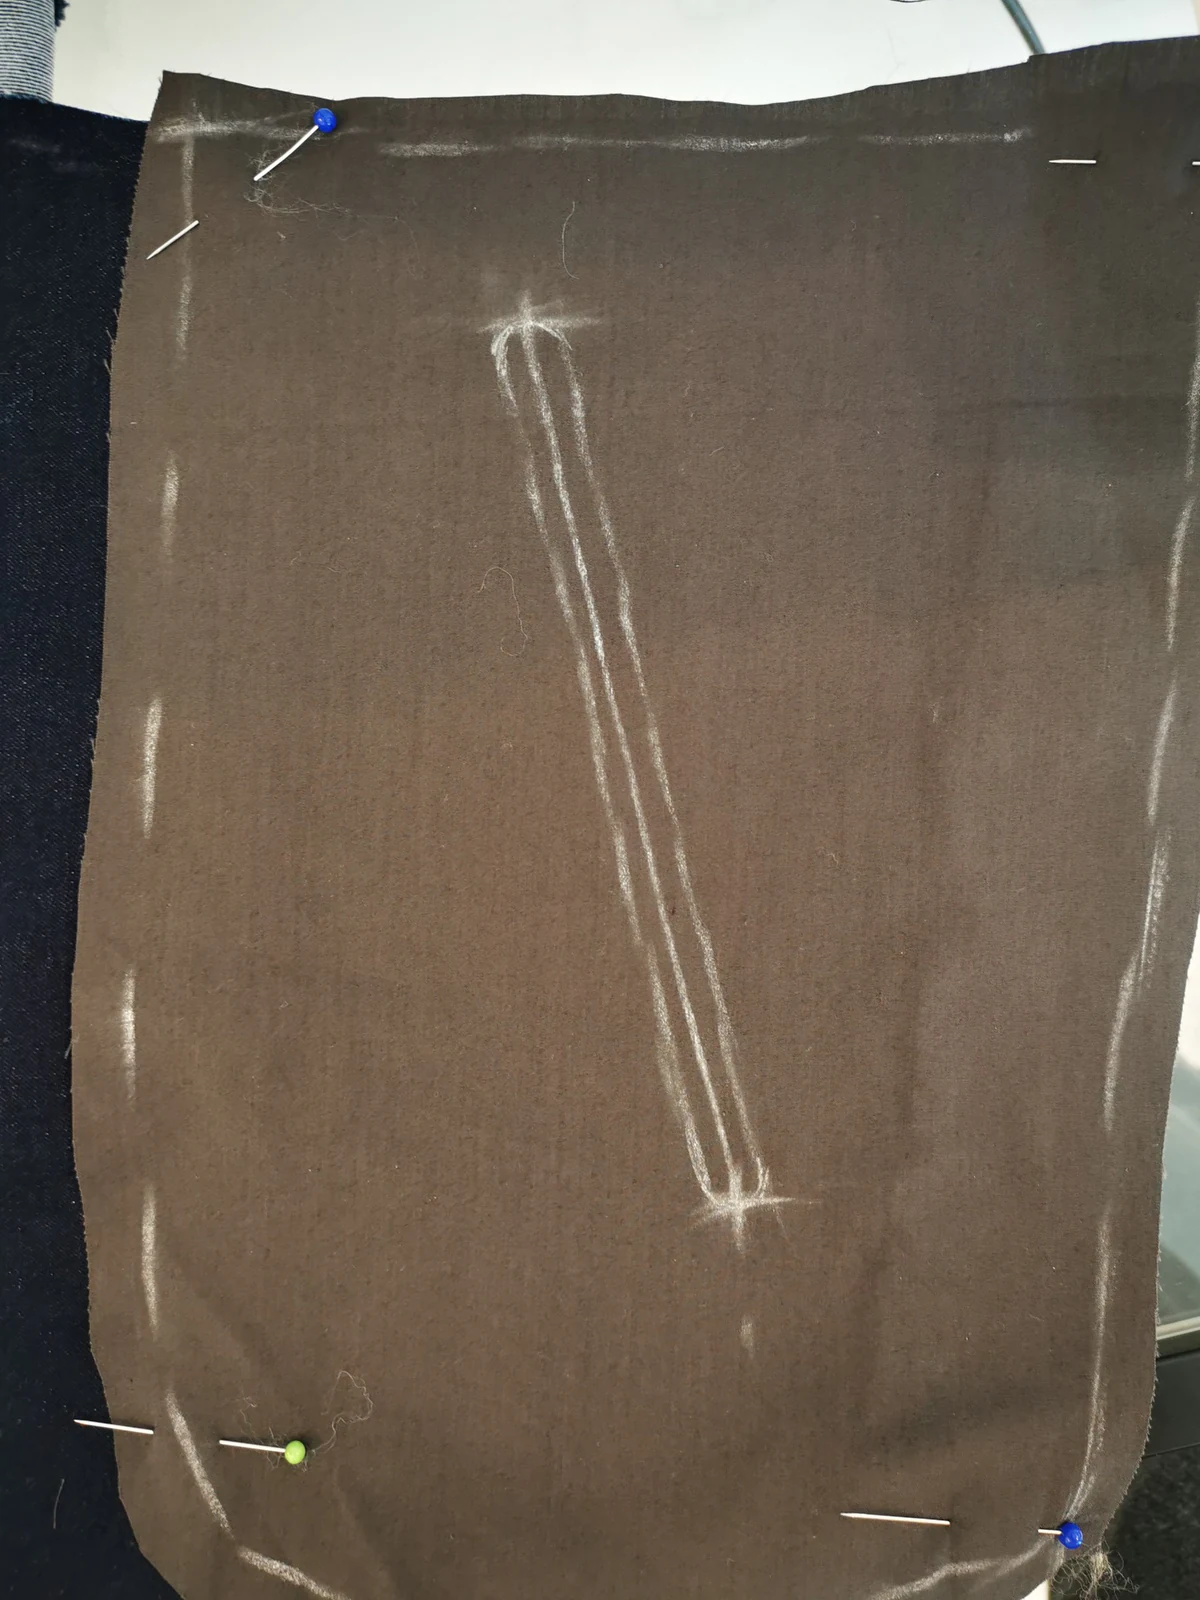
Transfer the rounded outline and centre line onto the lining's wrong side. Place lining and trouser front right sides together, matching the opening marks. Pin the layers flat. Keep the backing aside.
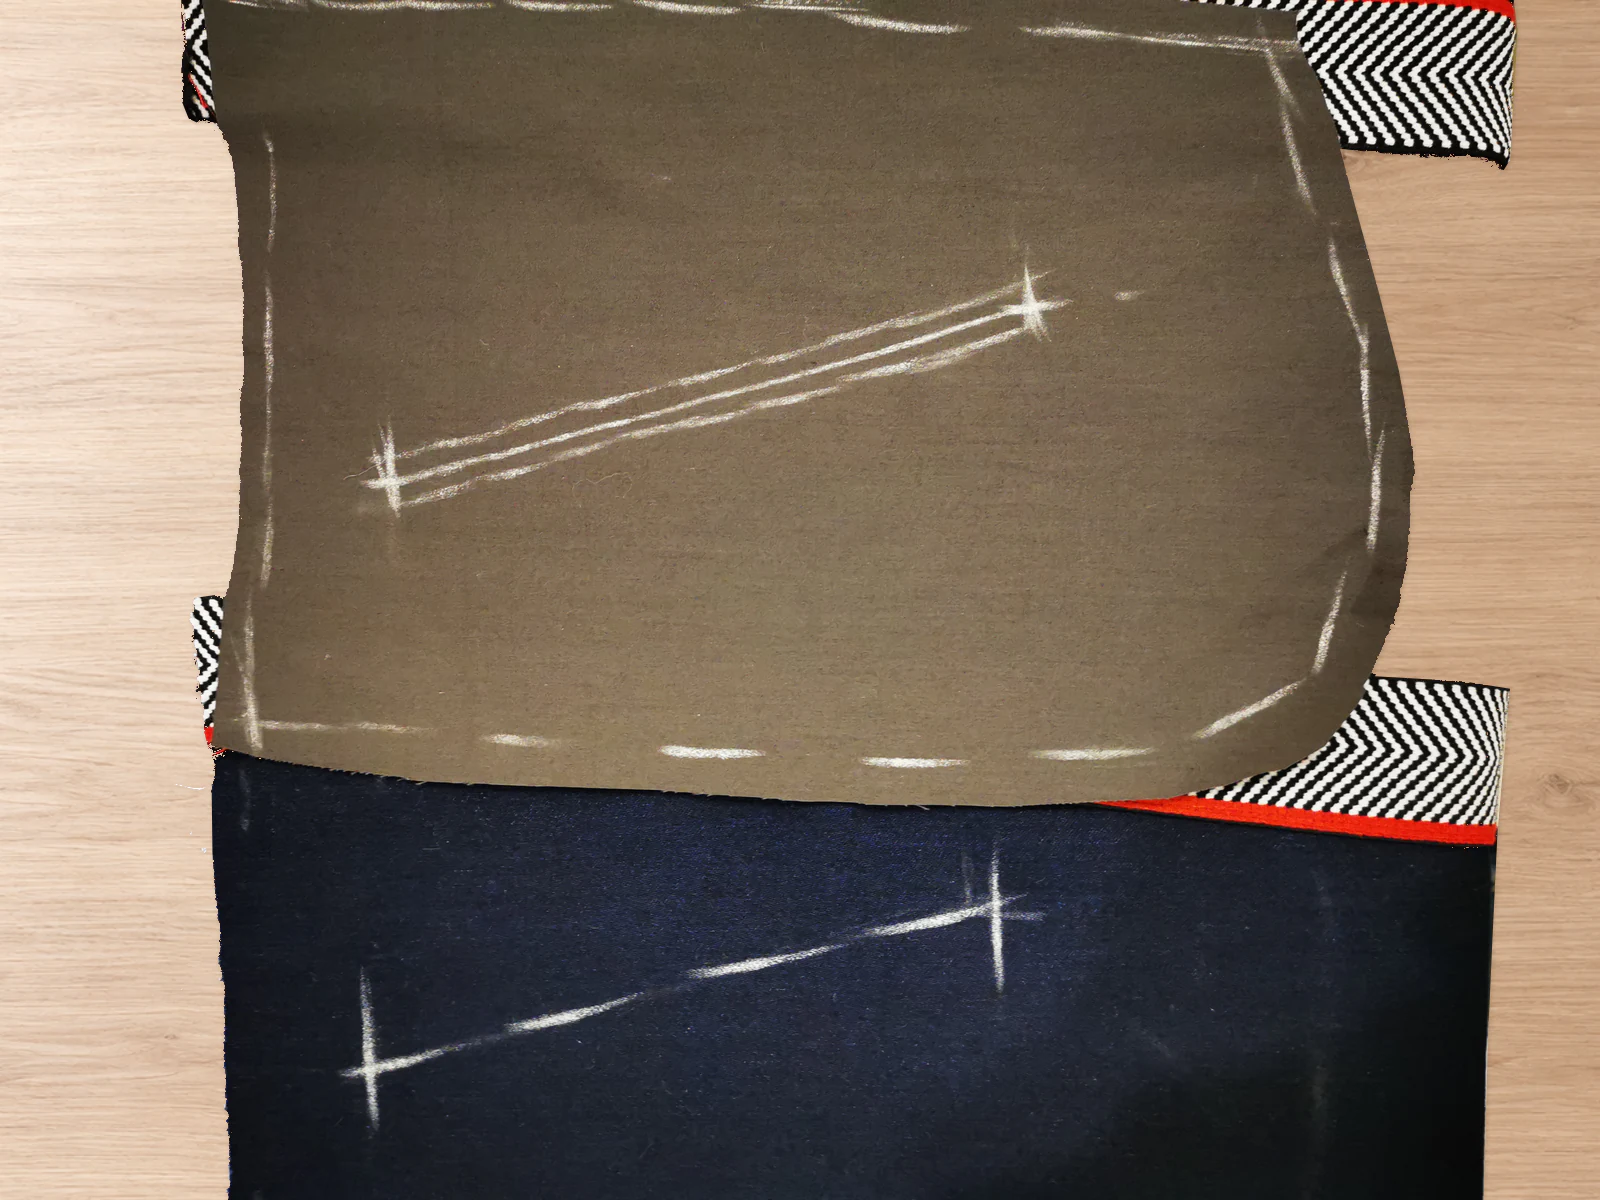
Brown pocket lining shifted aside on a navy trouser front, revealing the opening markings on both pieces.
Lining moved aside to show the corresponding marks on the front.
Brown lining pinned over a navy trouser front with a rounded slot and centre line marked in chalk.
Brown lining pinned over the navy front, right sides together.

Stitch the rounded outline

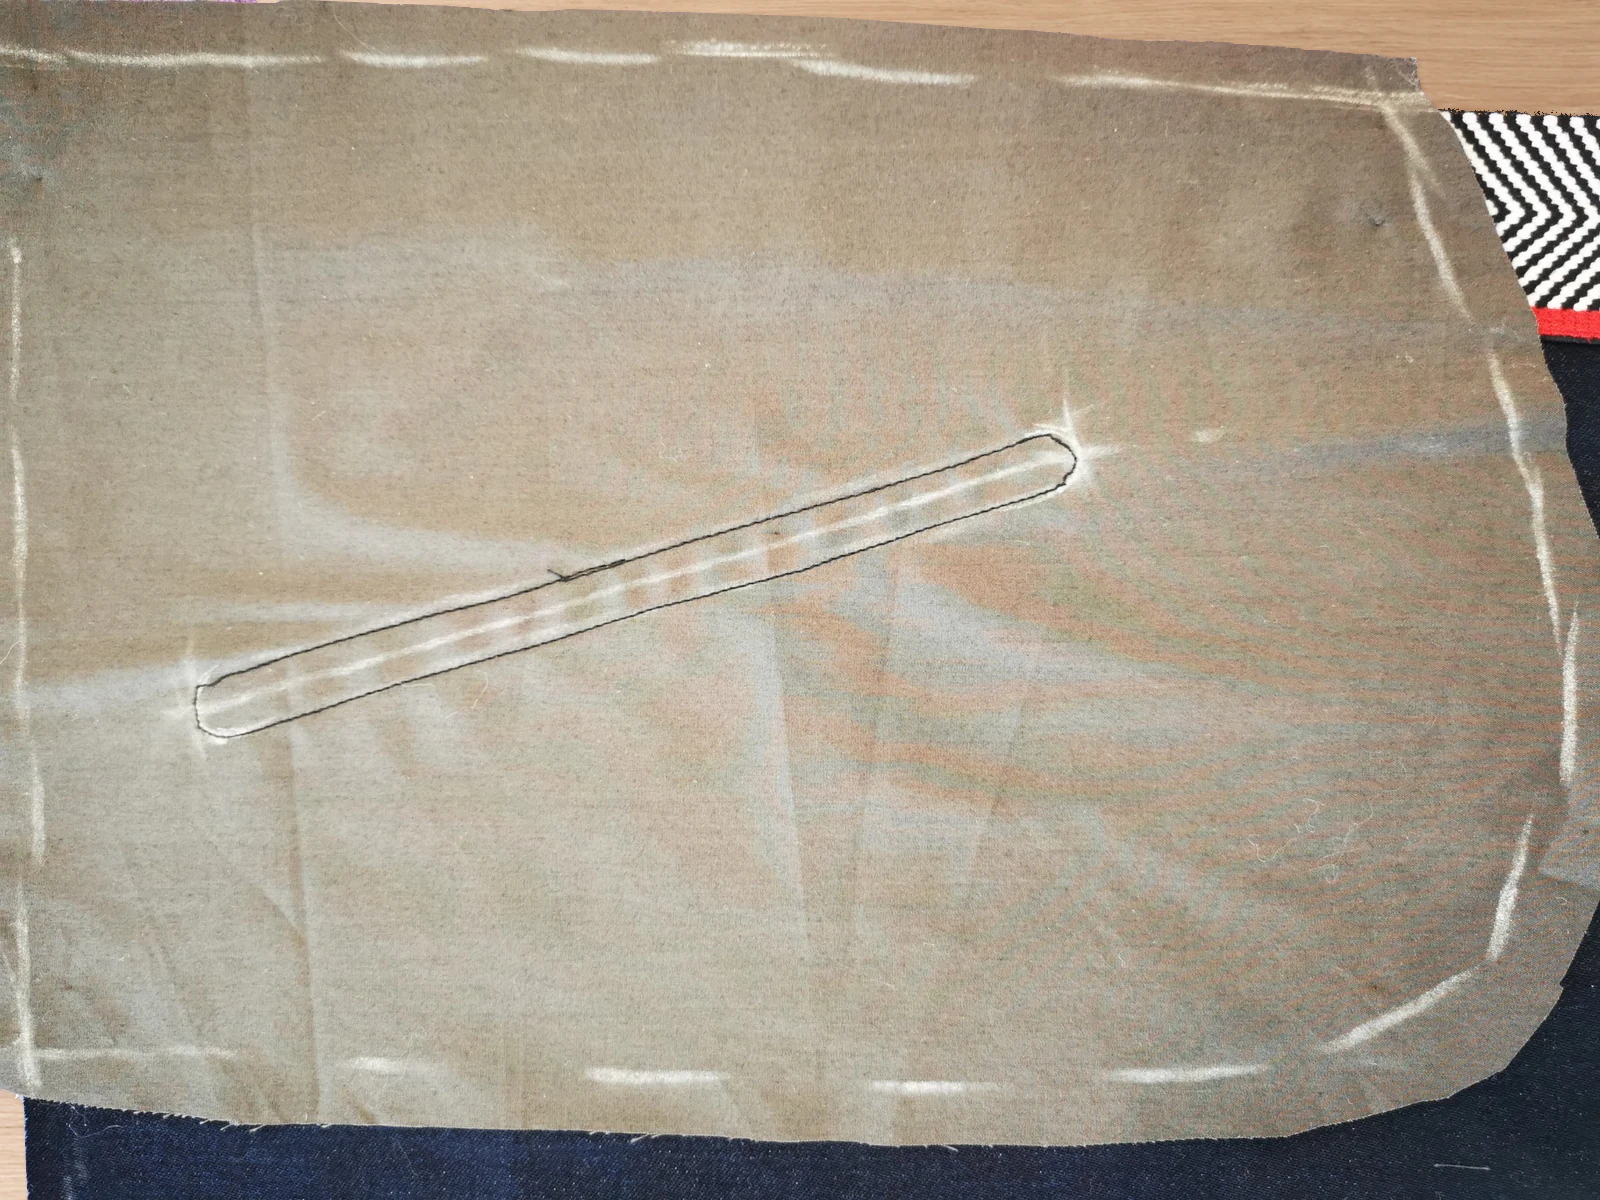
Stitch around the entire outline through both layers, following the curved ends smoothly. The centre line stays unstitched. Check the closed seam before cutting, then press.
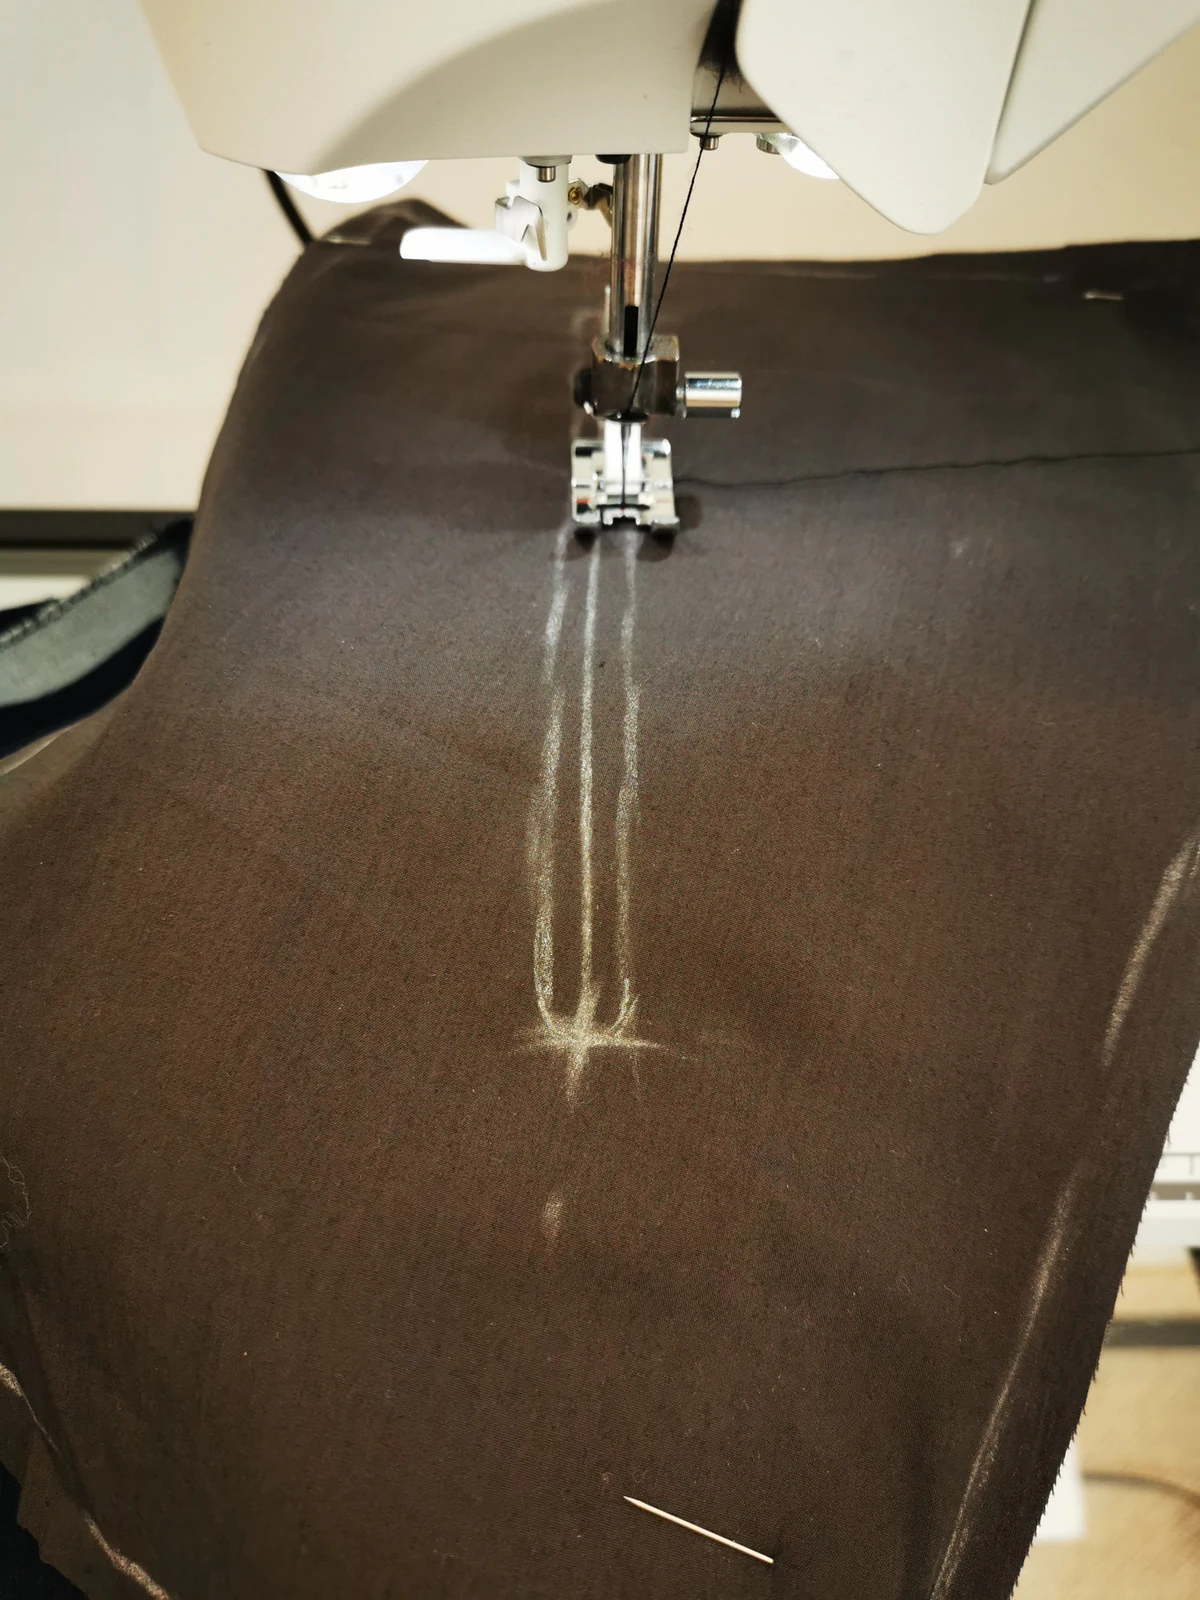
Sewing machine stitching the rounded opening outline through brown lining and navy trouser fabric.
Sew the outline through the lining and trouser front.
Completed narrow rounded seam on brown pocket lining before the opening is cut.
Completed outline; the fabric inside is still uncut.

Cut and trim the opening

Cut through both layers along the centre, stopping short of the stitched ends. Trim away the centre strip, leaving a narrow allowance, especially around the rounded ends. Keep every stitch intact.
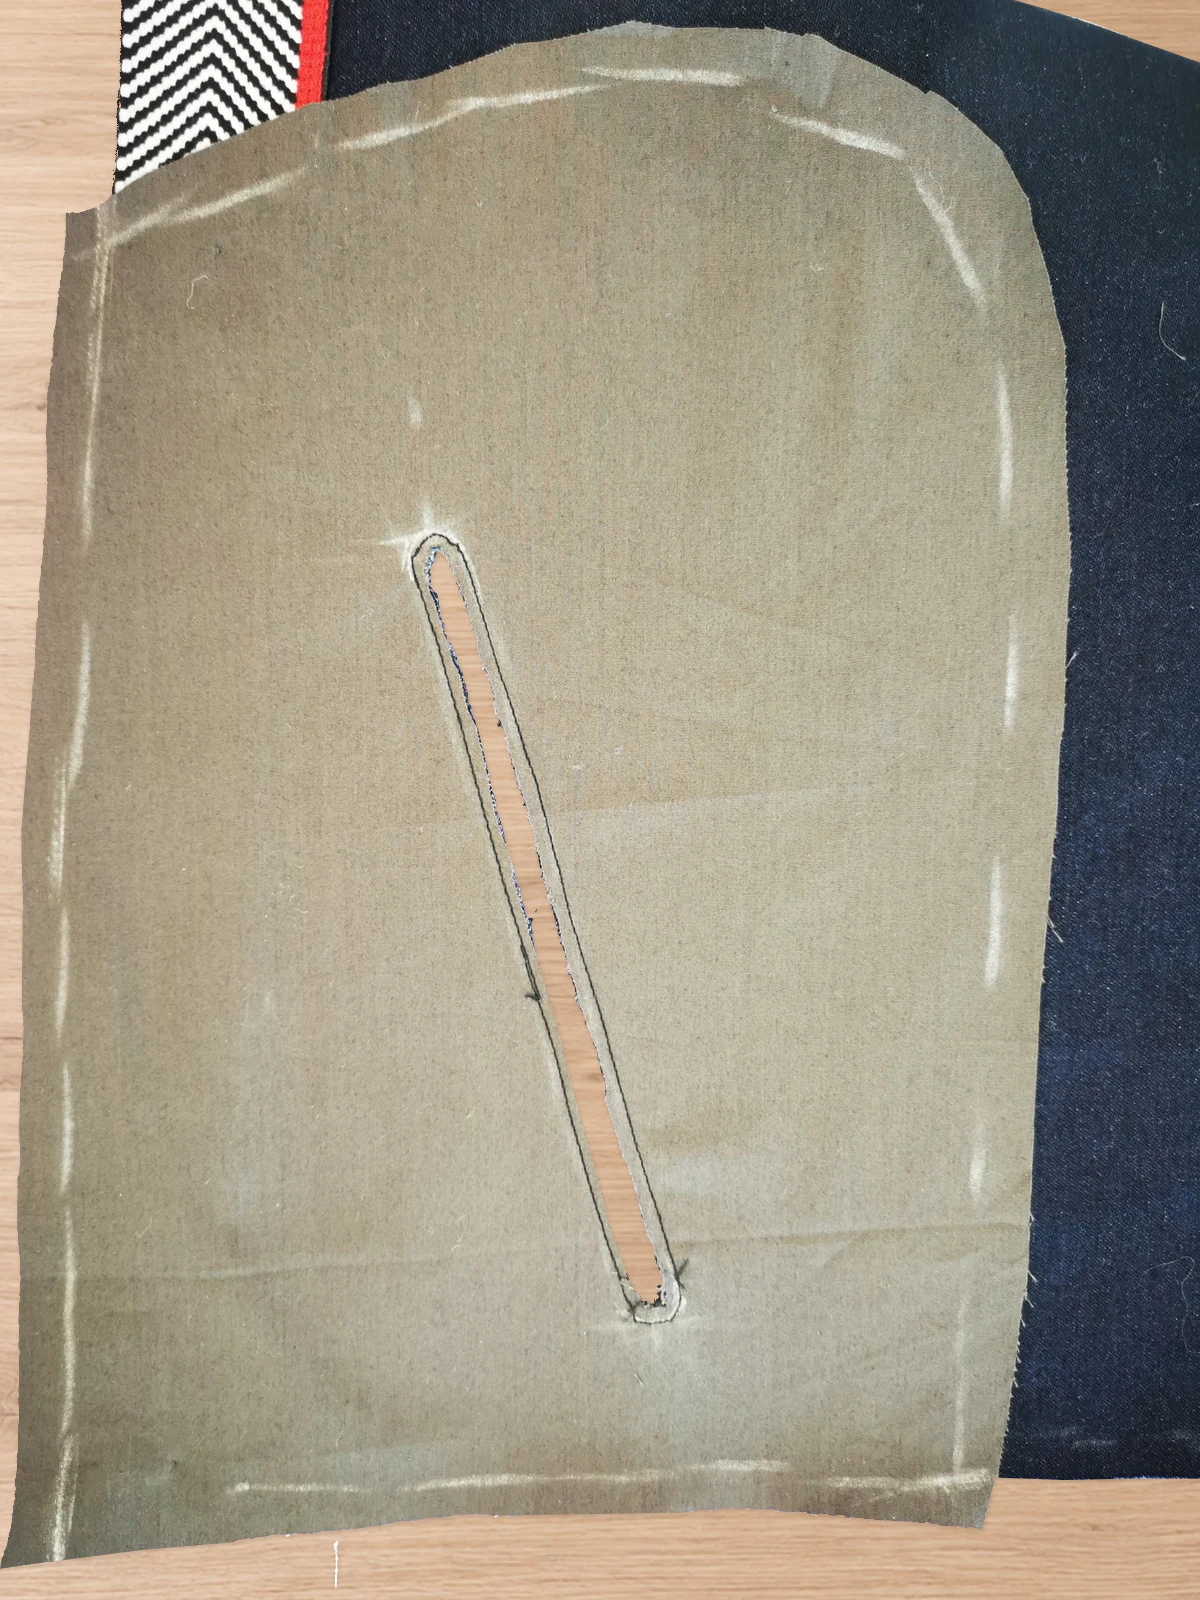
Narrow slot cut through the brown lining and navy front, with fabric allowance remaining inside the seam.
Centre removed, leaving a narrow allowance inside the stitching.

Turn and press

Feed the lining through the opening to the trouser's wrong side. Spread it out, with its wrong side against the trousers.
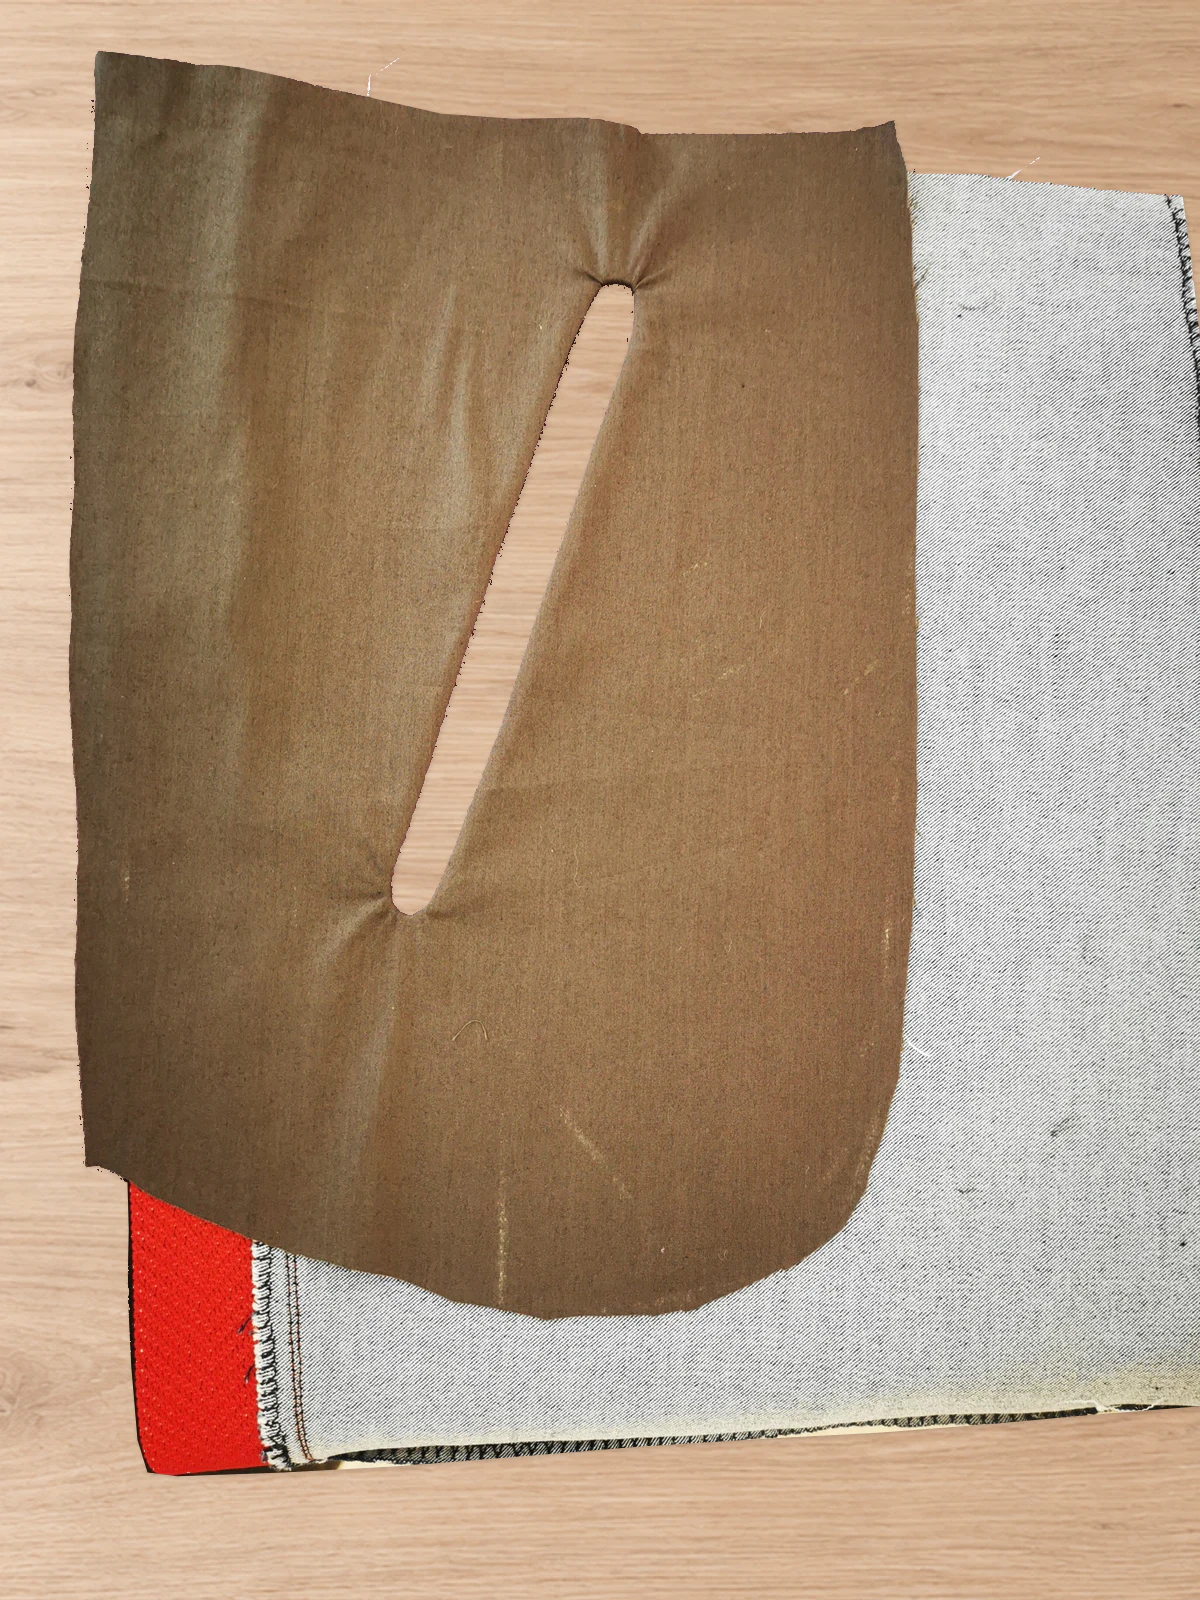
Whole brown pocket lining lying against the grey reverse of the trouser front after turning through the slot.
After turning: brown lining on the grey trouser reverse, before final pressing.

Roll the seam slightly inward so the lining does not show outside. If an end pulls, turn it back to expose the allowance and make a small relief snip without cutting the seam. Press both ends smooth.
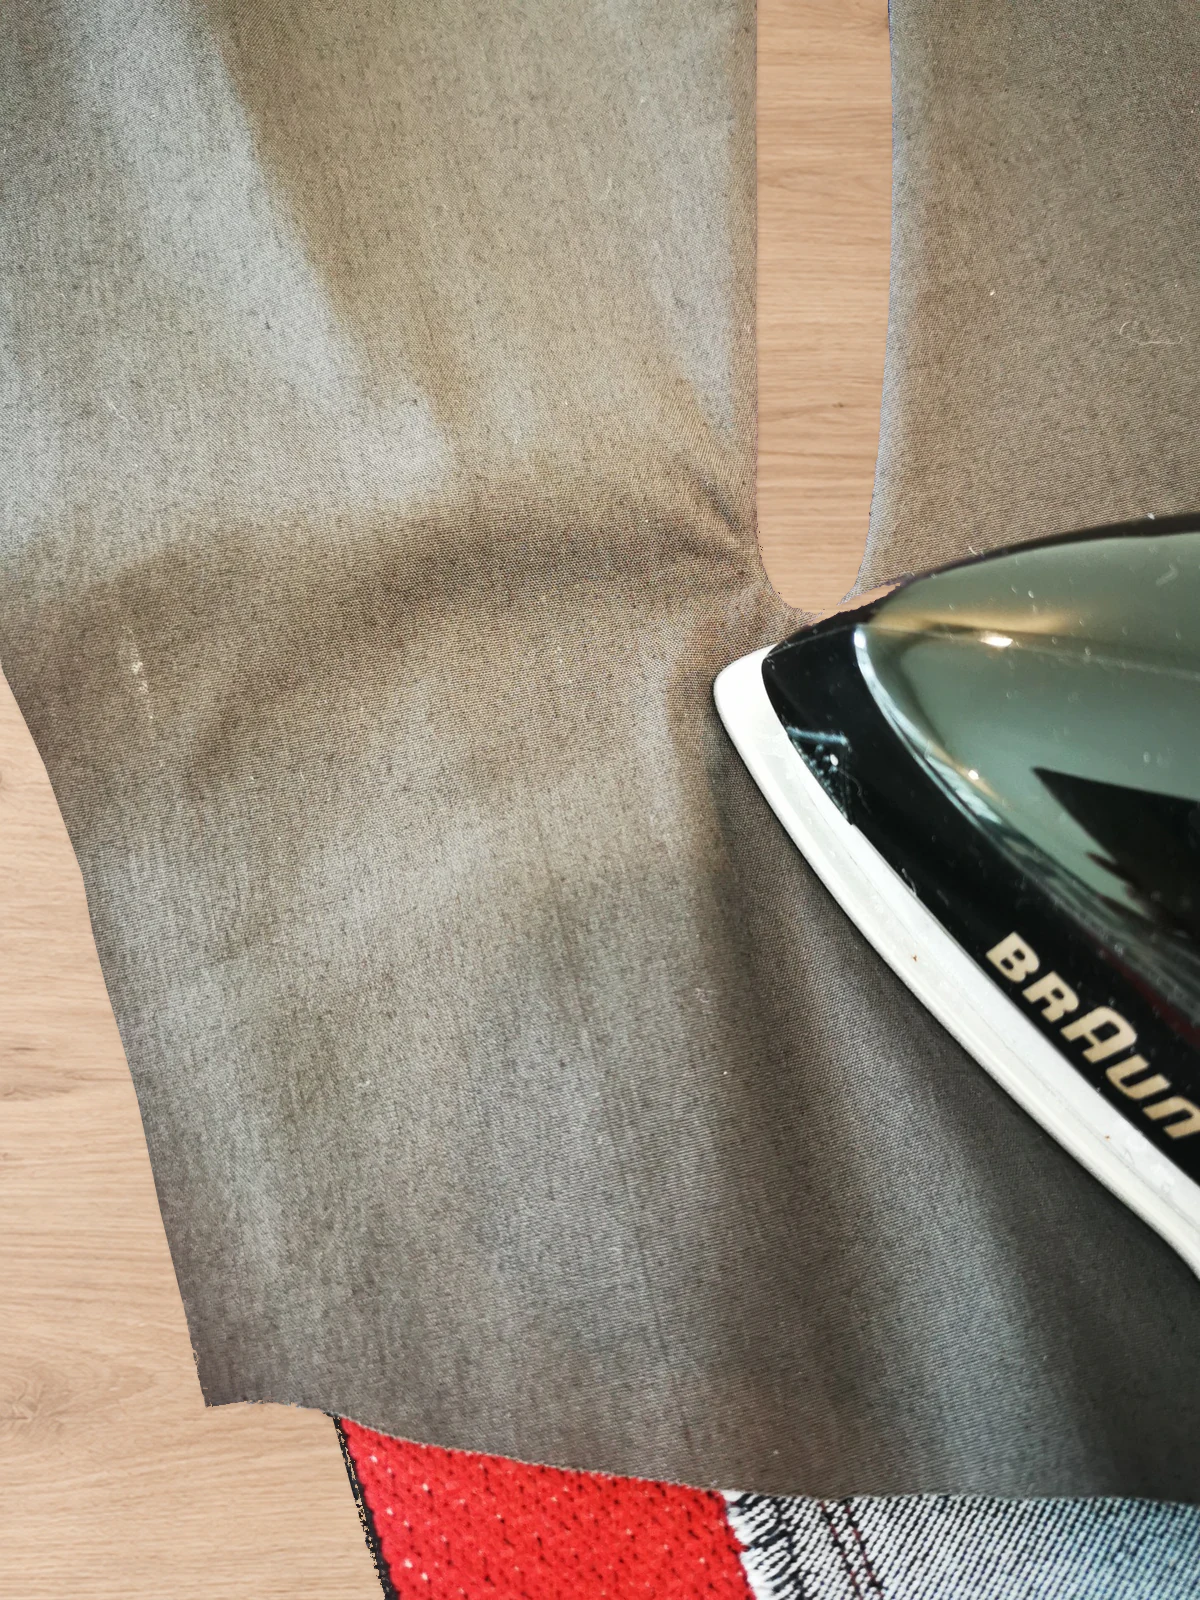
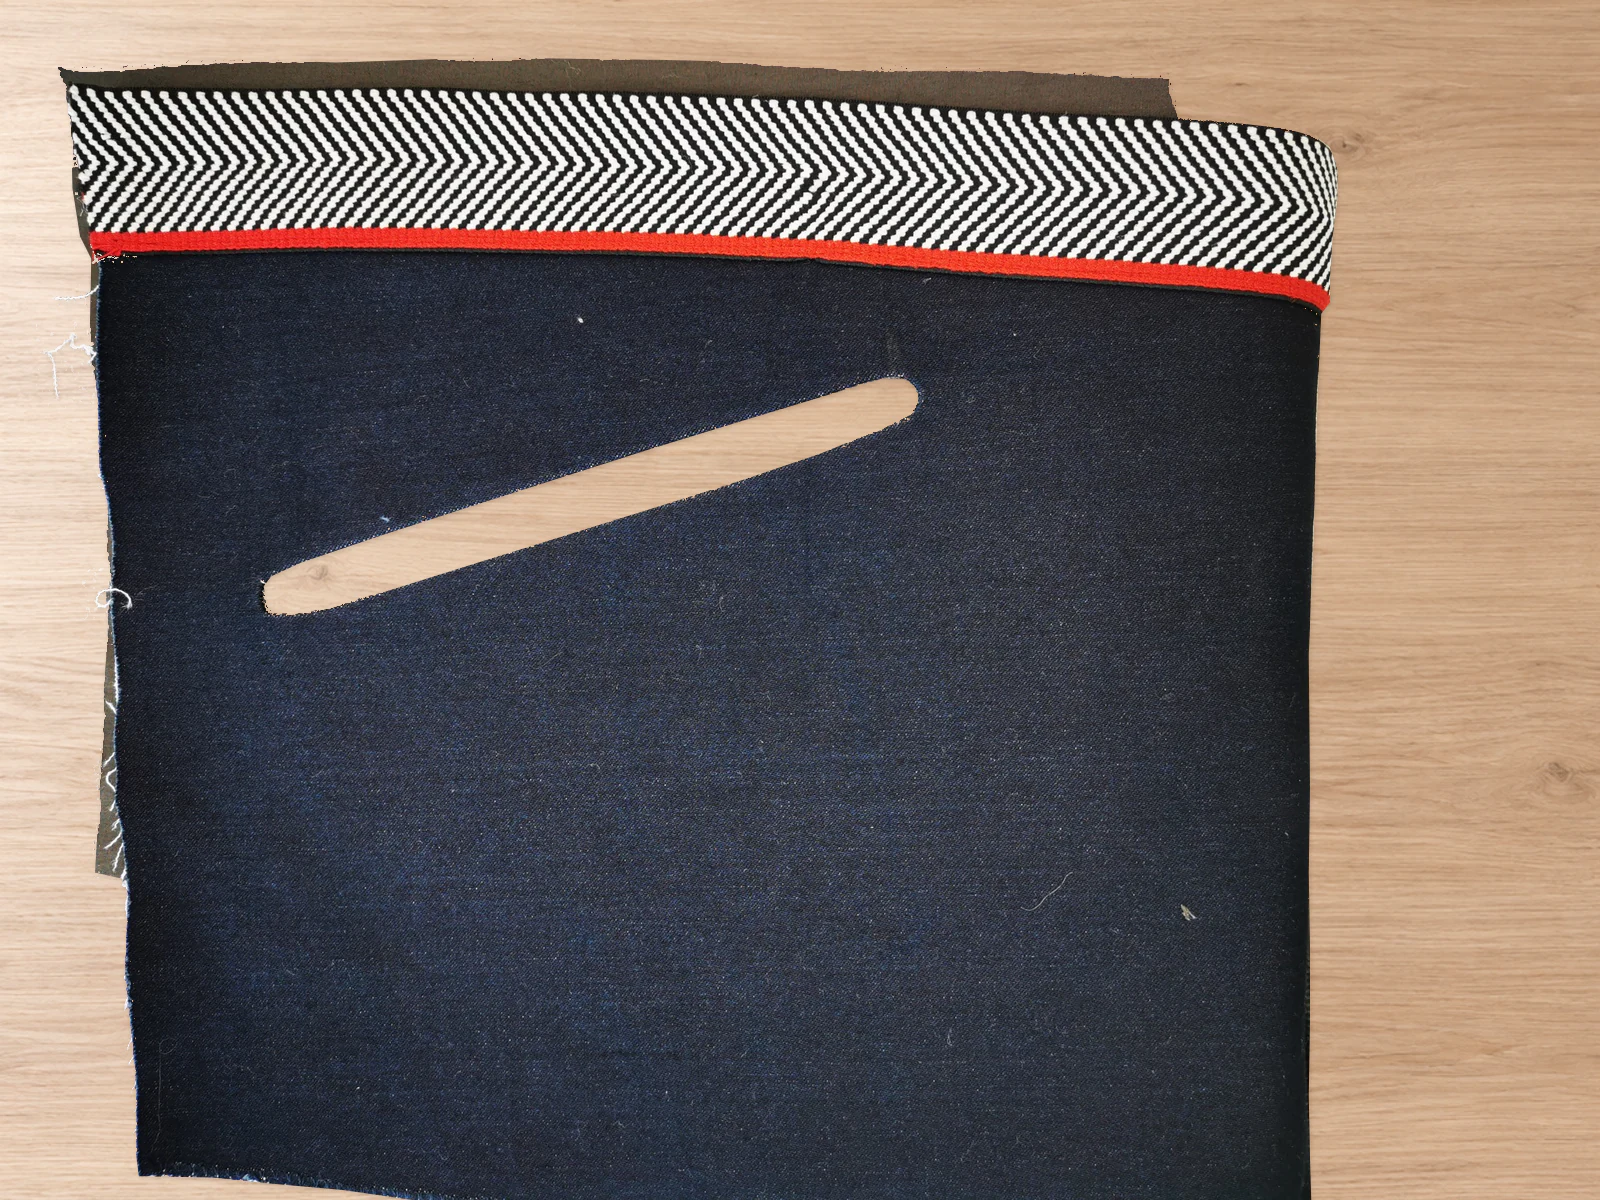
The point of an iron pressing a rounded end of the turned opening on the brown lining side.
Press the turned edge from the lining side.
Navy right side of the trouser panel with a smooth empty rounded opening.
Outside: a clean, pressed opening with the lining rolled inside.

Edgestitch the empty opening

Sew close to the folded edge, all around the opening, through the trouser front and lining. Press. This visible line will guide the zipper stitching.
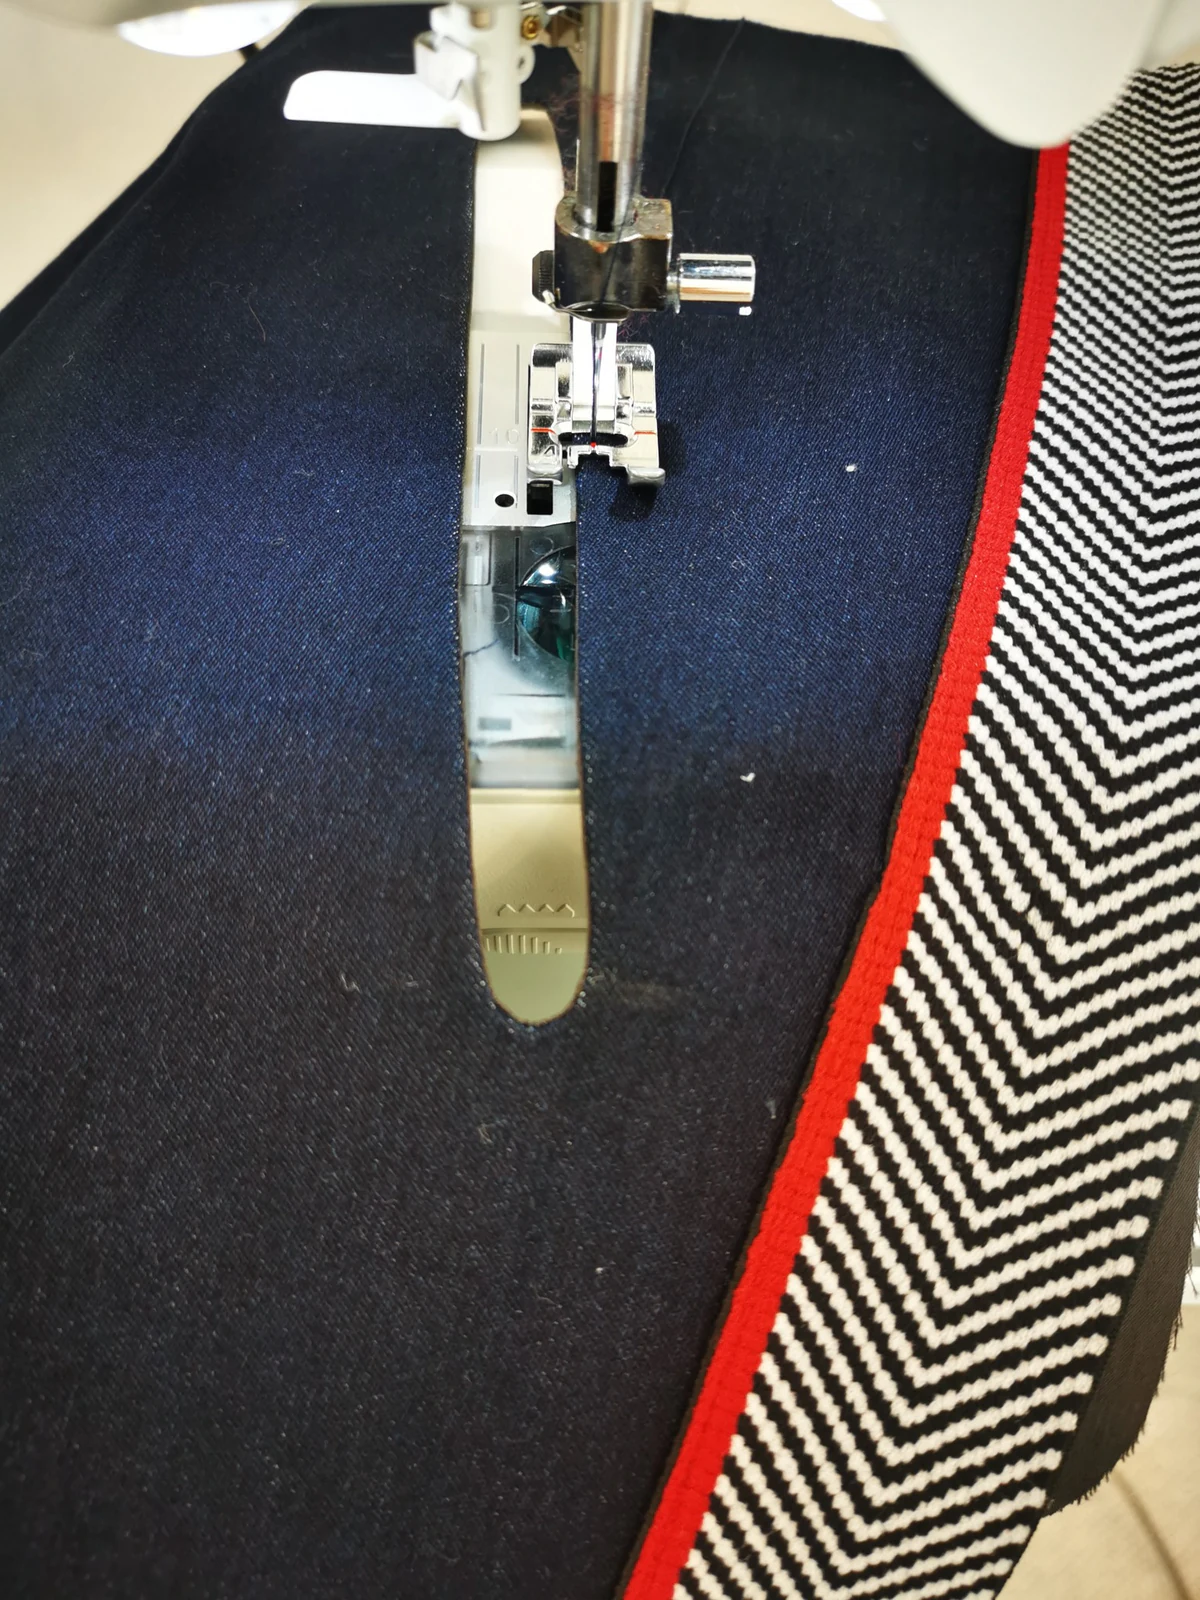
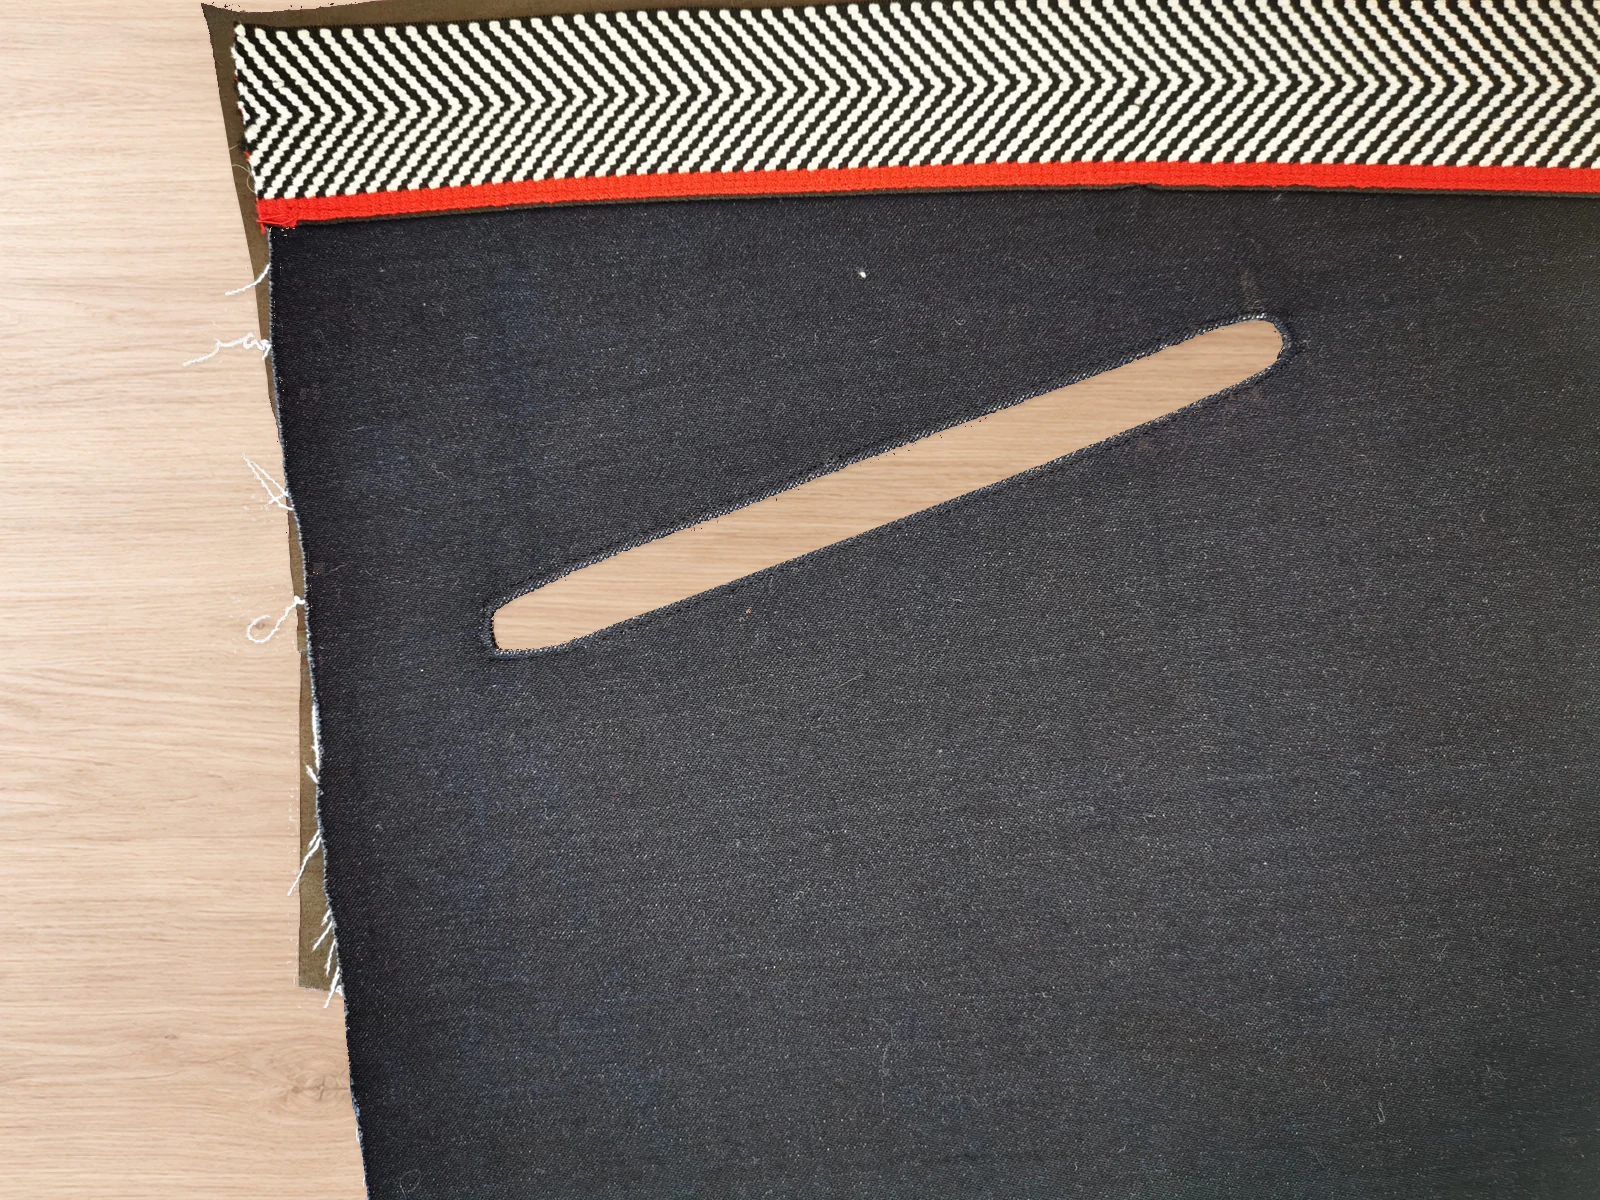
Machine edgestitching the navy edge around an empty faced pocket opening.
First pass: edgestitch the opening before adding the zip.
Navy trouser front showing a rounded empty window with a completed line of edgestitching close to its edge.
The completed edgestitching around the empty opening.

Position the zipper

Centre the closed zip behind the opening, with its pull facing outside. Keep the tape flat and the stops clear of the stitching path. Pin or baste; test that the slider moves freely.
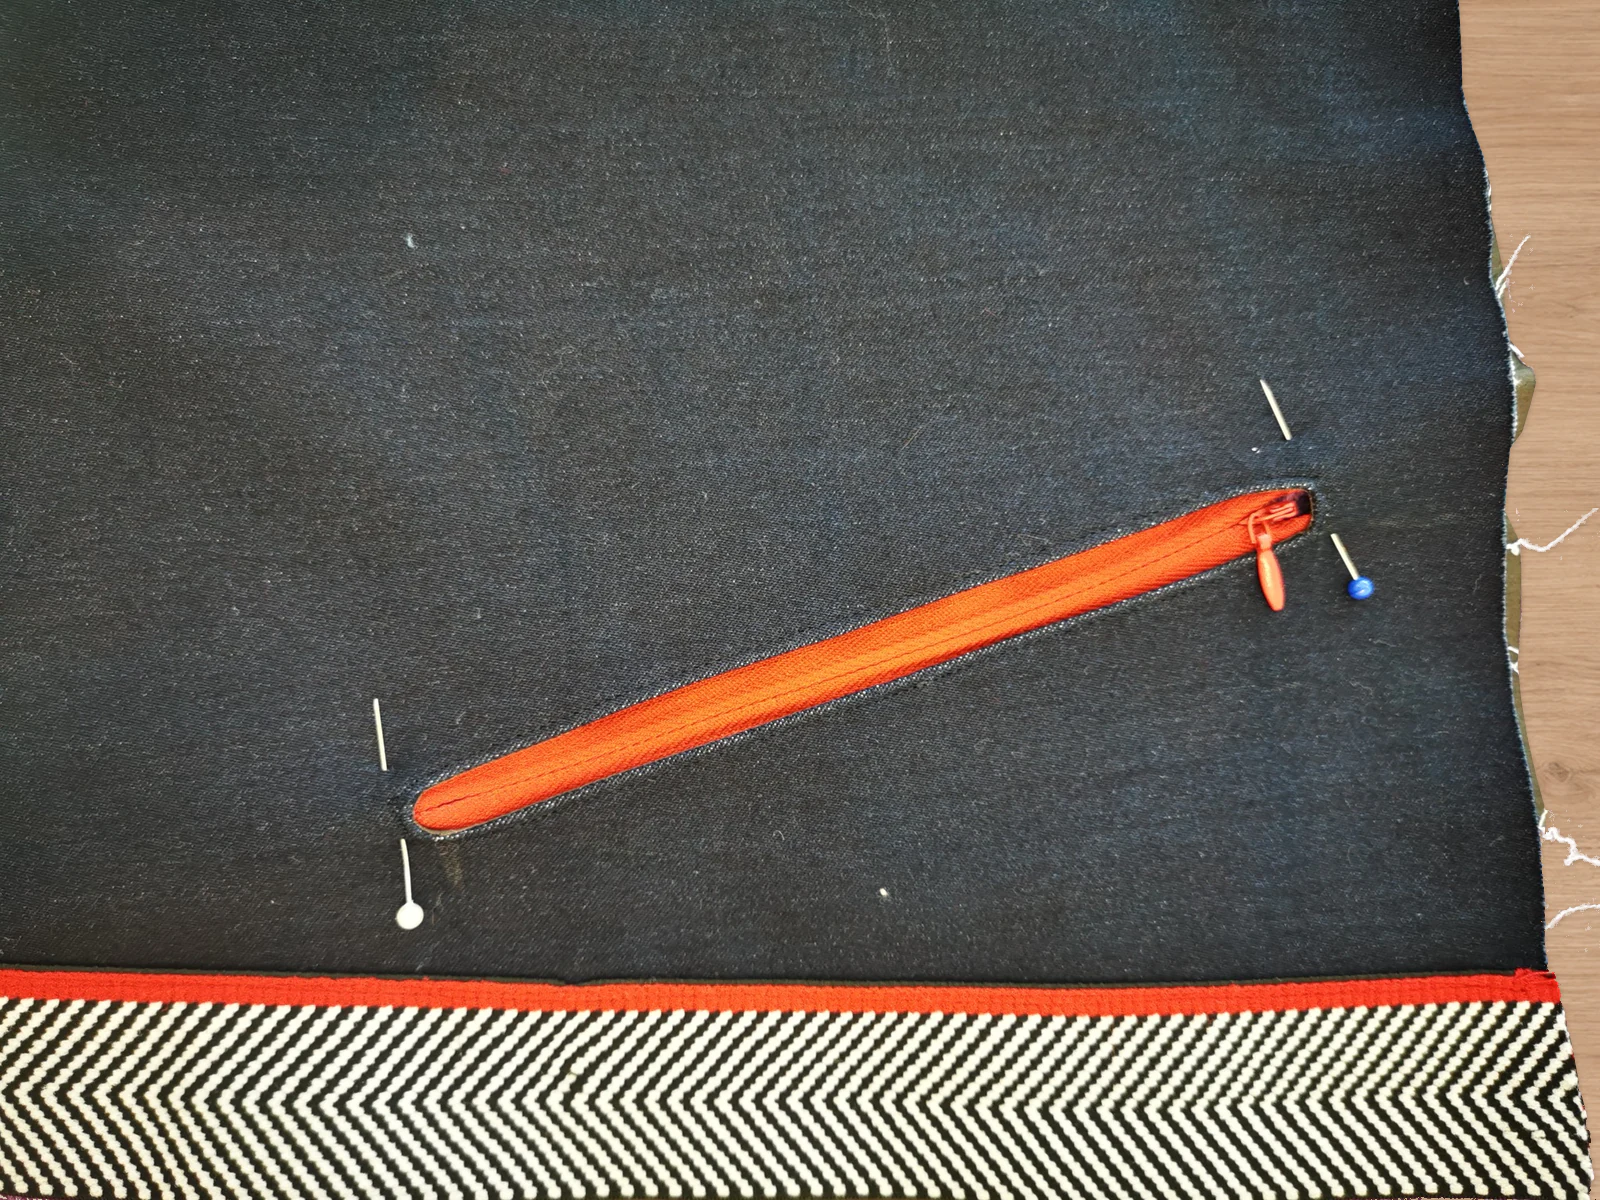
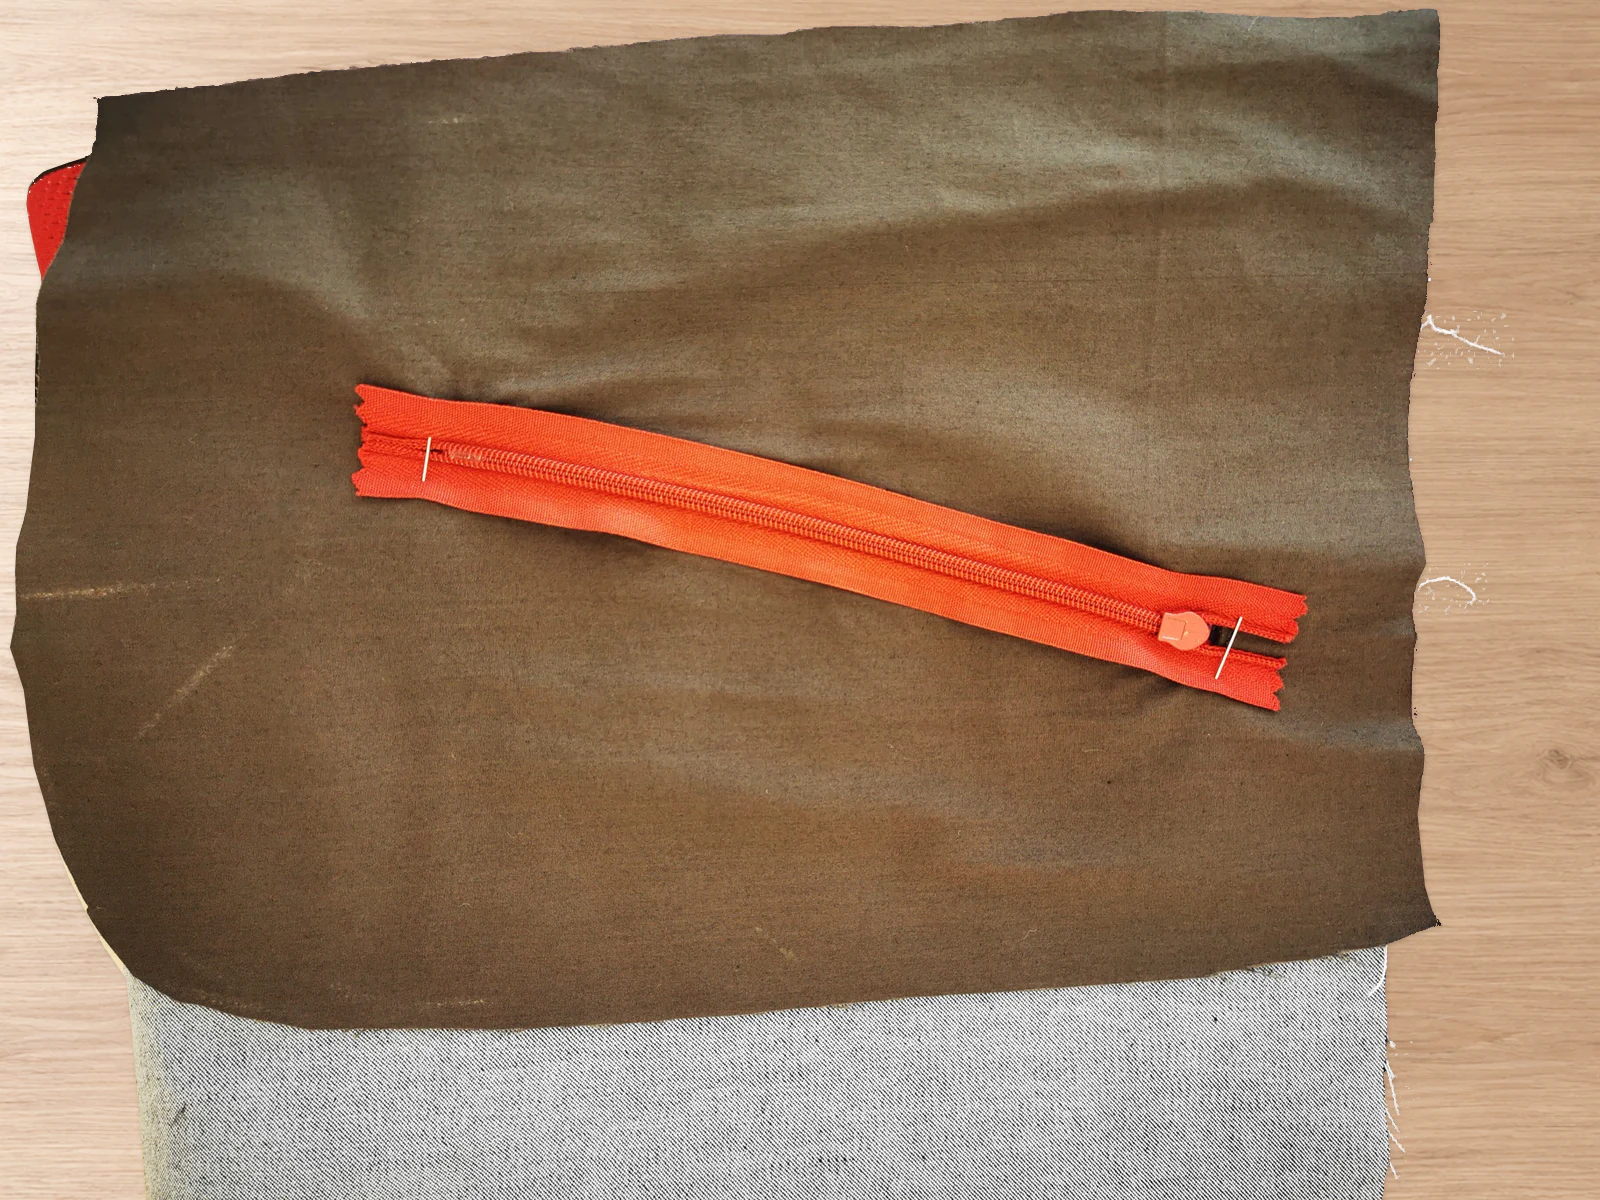
Red zipper pinned behind the opening as seen from the navy outside of the trousers.
Outside: zipper centred and pinned in the opening.
Reverse view of a red zipper pinned over brown pocket lining behind the faced opening.
Inside: tape lies flat and extends beyond both ends.

Sew in the zipper

Sew directly over the existing edgestitching, catching the tape underneath. Stop with the needle down whenever you need to move the slider past the foot. Remove the pins as you approach them.
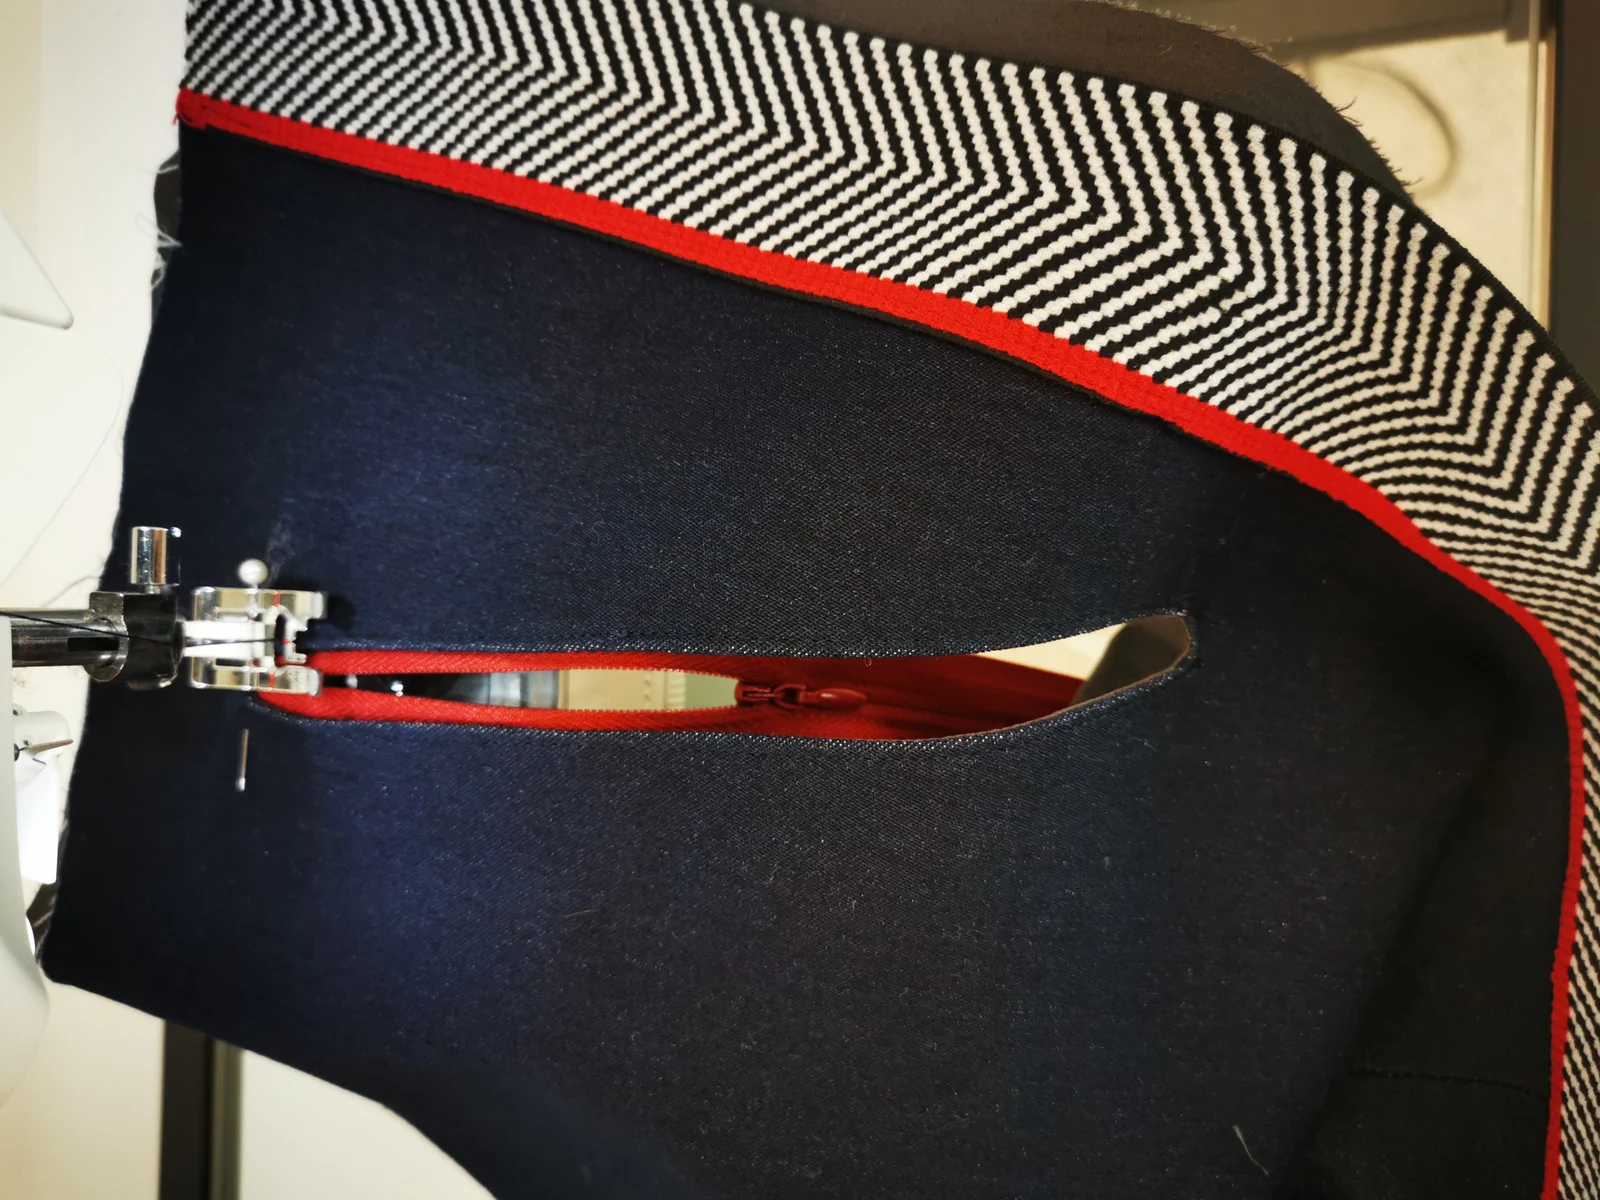
Presser foot beside an open red zipper, stitching over the existing line around the pocket opening.
Second pass: attach the zip over the existing stitch line.

Check inside that the stitching has caught the tape all around. Test the zip again and press.
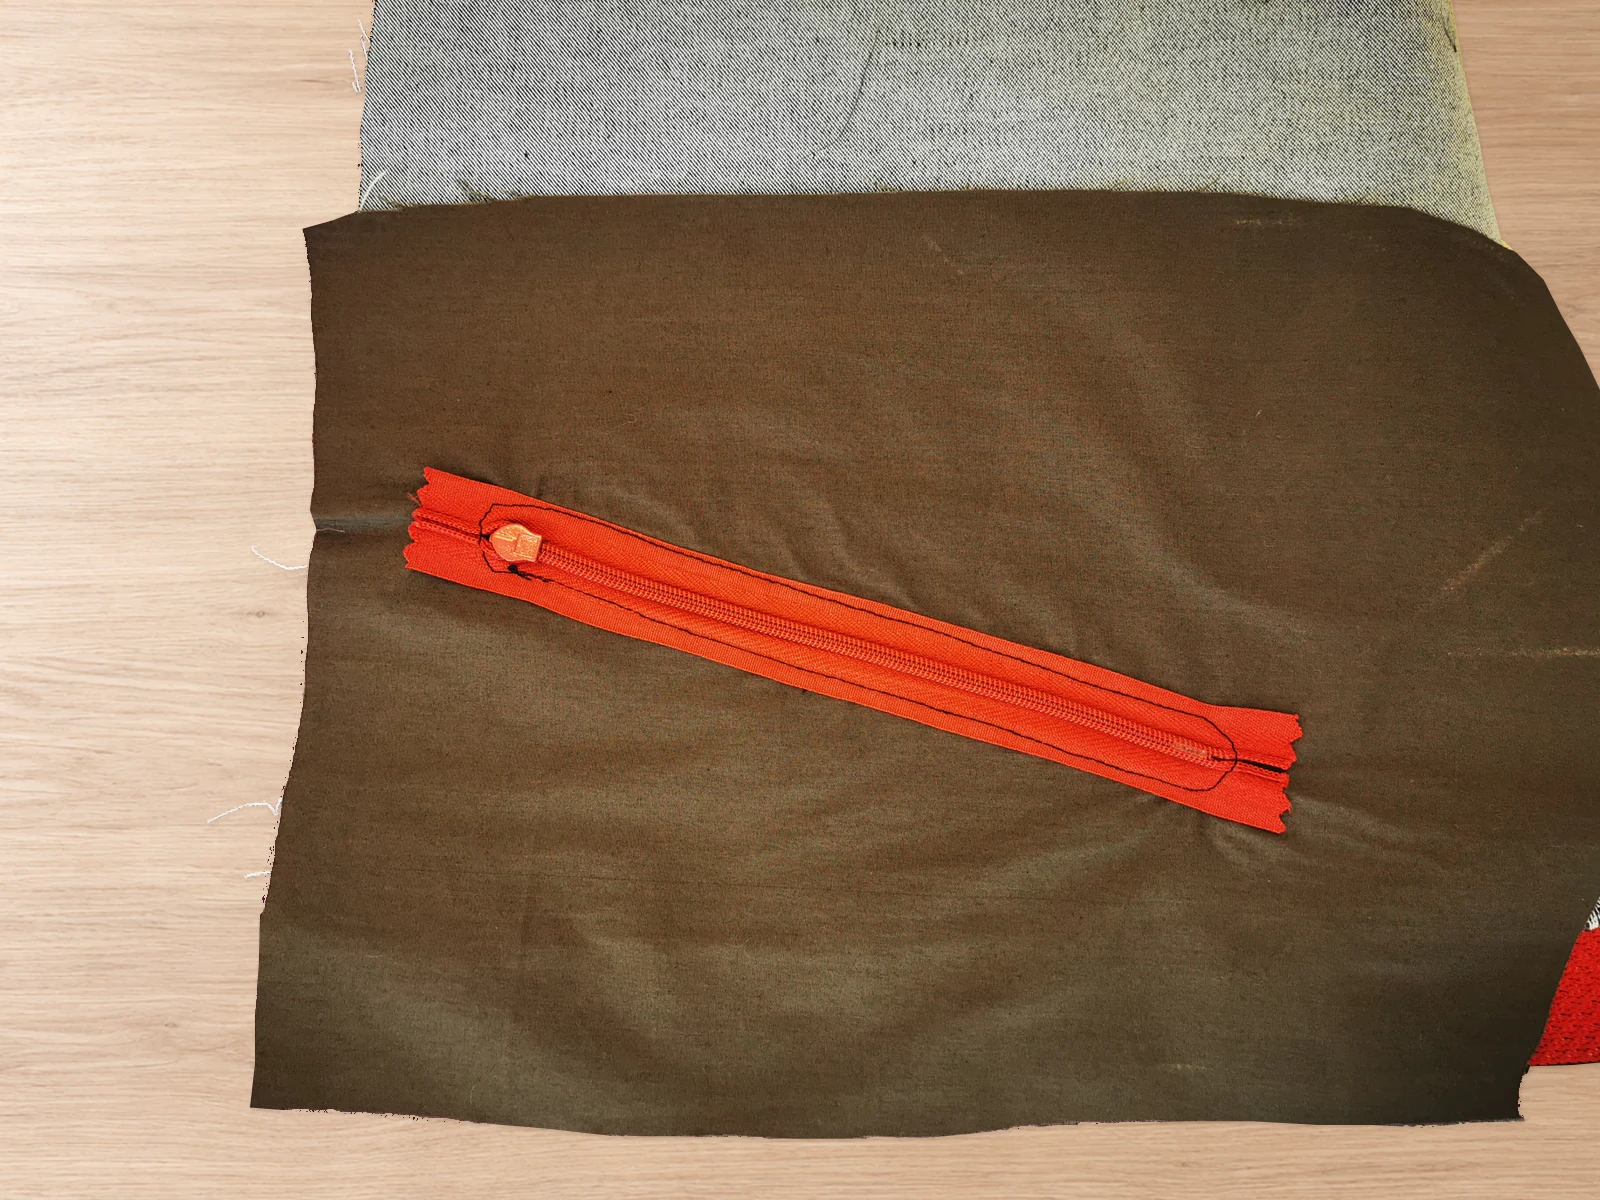
Black stitching visible on both sides and ends of red zipper tape against brown pocket lining.
Inside: the stitch line catches the zipper tape all around.
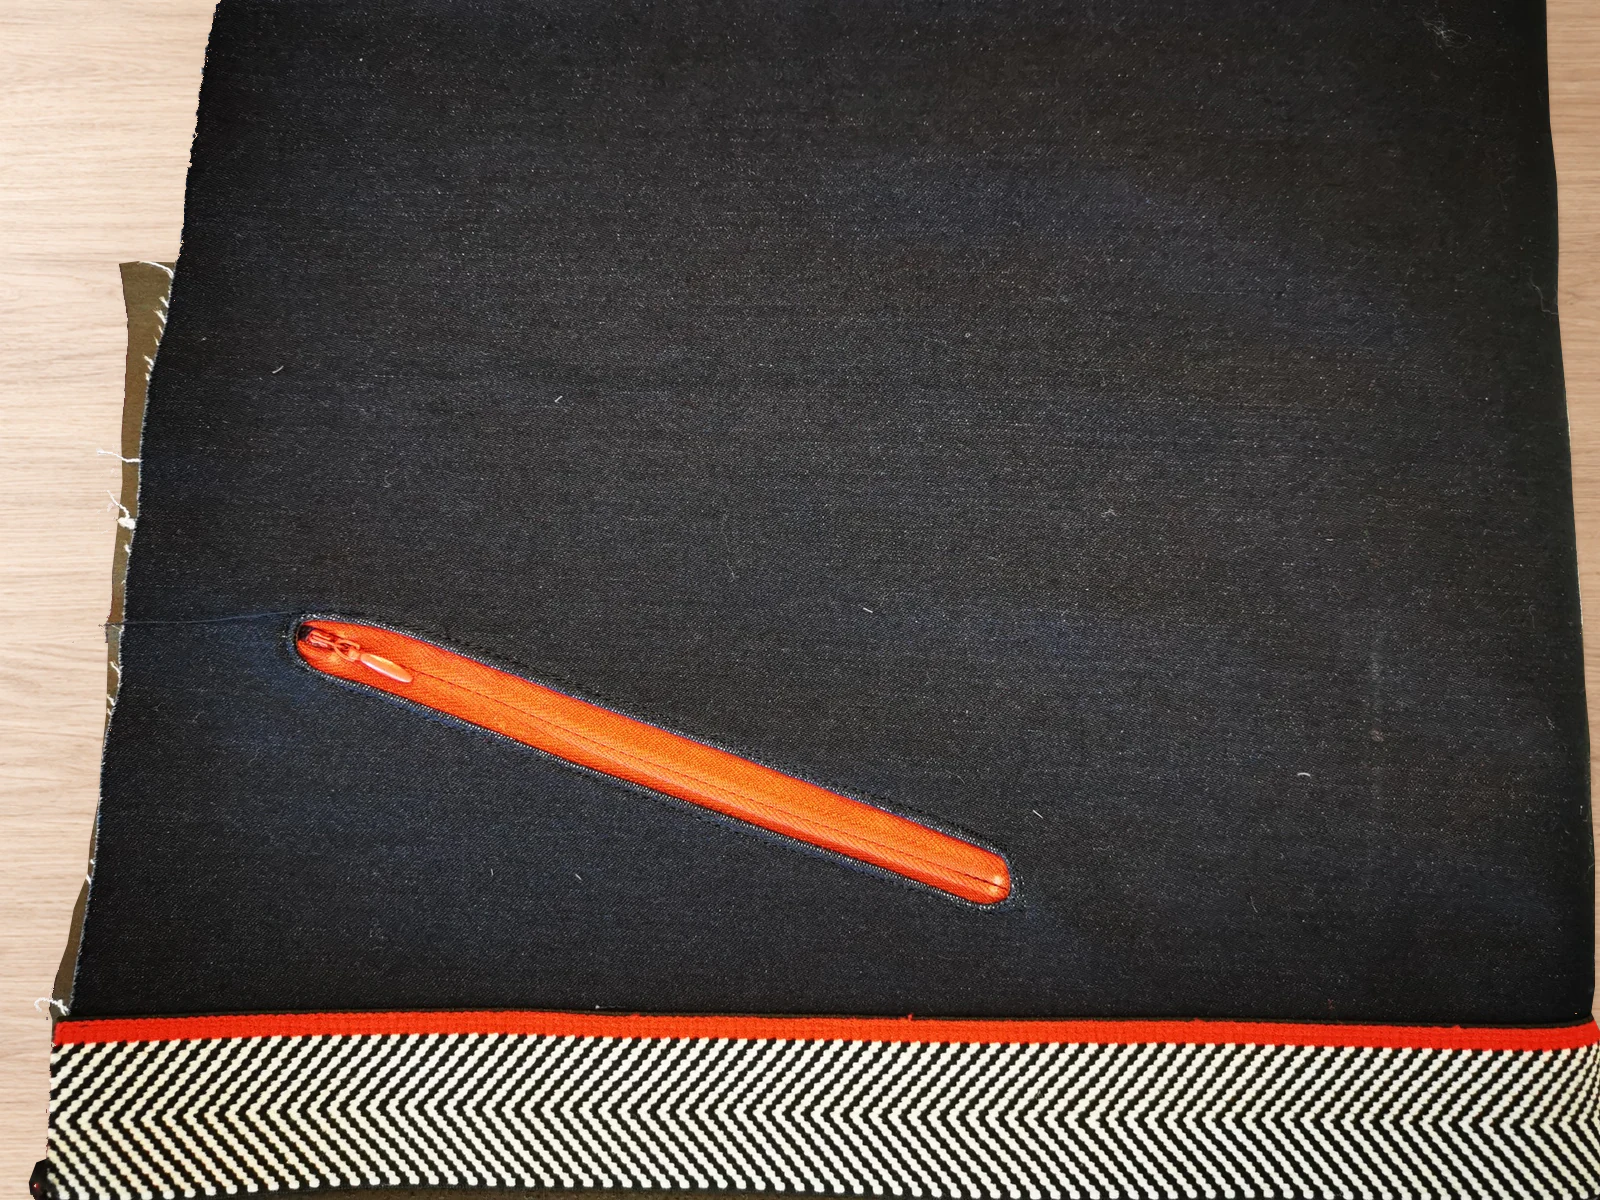
Red zipper fitted into a rounded opening in the navy trouser front beside the striped side detail.
Outside: the fitted zipper fills the rounded opening.

Make the pocket personal

The wearer practises taekwondo and loves anime, so I chose a small Itachi iron-on. A favourite character, emblem or cheerful motif can turn an ordinary pocket into a personal detail.

Position the transfer upright in the middle of the right side of the backing. Hold the backing behind the open zip, with the pocket edges aligned, and check that the design shows where you want it.
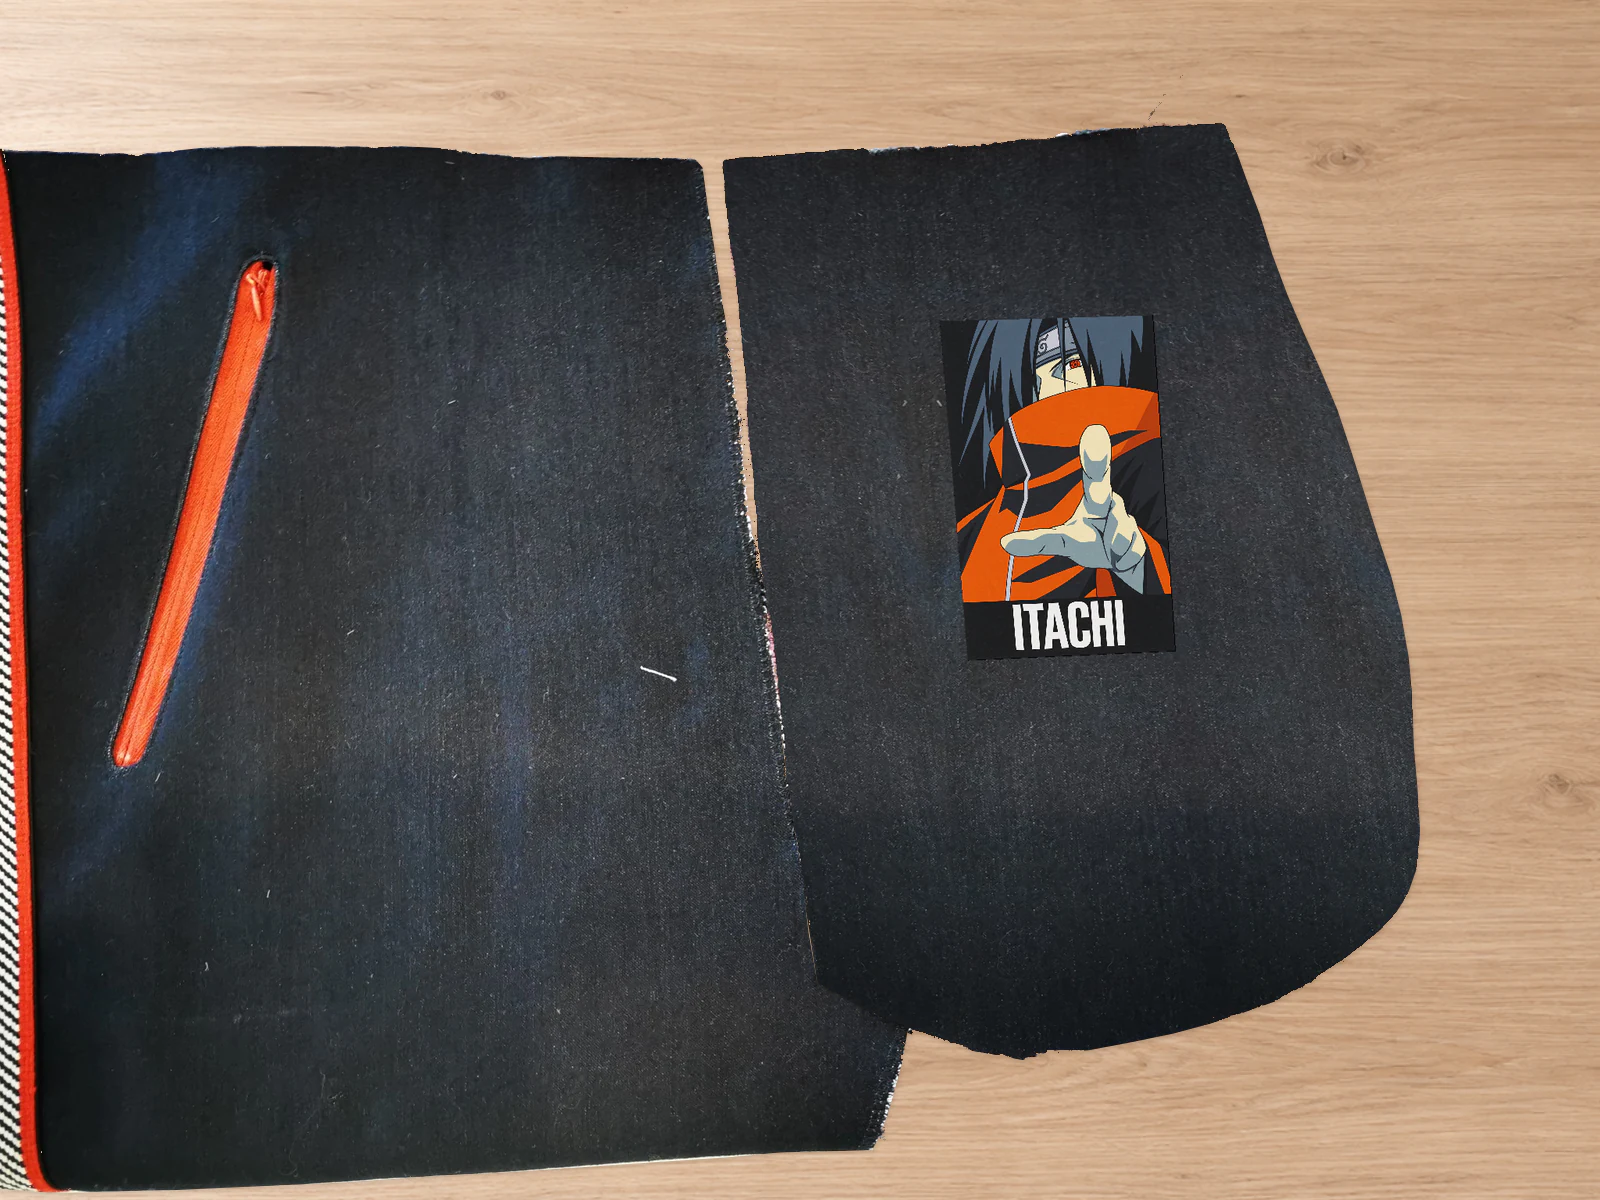
Placement illustration with the orange-collared Itachi design and extended hand, matching the motif visible in the finished pocket.
Reconstructed iron-on placement, upright on the backing’s right side.

Remove the backing and lay it flat. Apply the iron-on before closing the bag, following its maker's pressing and peeling instructions.

Match the bag layers

Place the backing against the attached lining, right sides together. The fabric's right side and graphic face into the pocket; its pale wrong side faces you. Match and pin the outer edges.
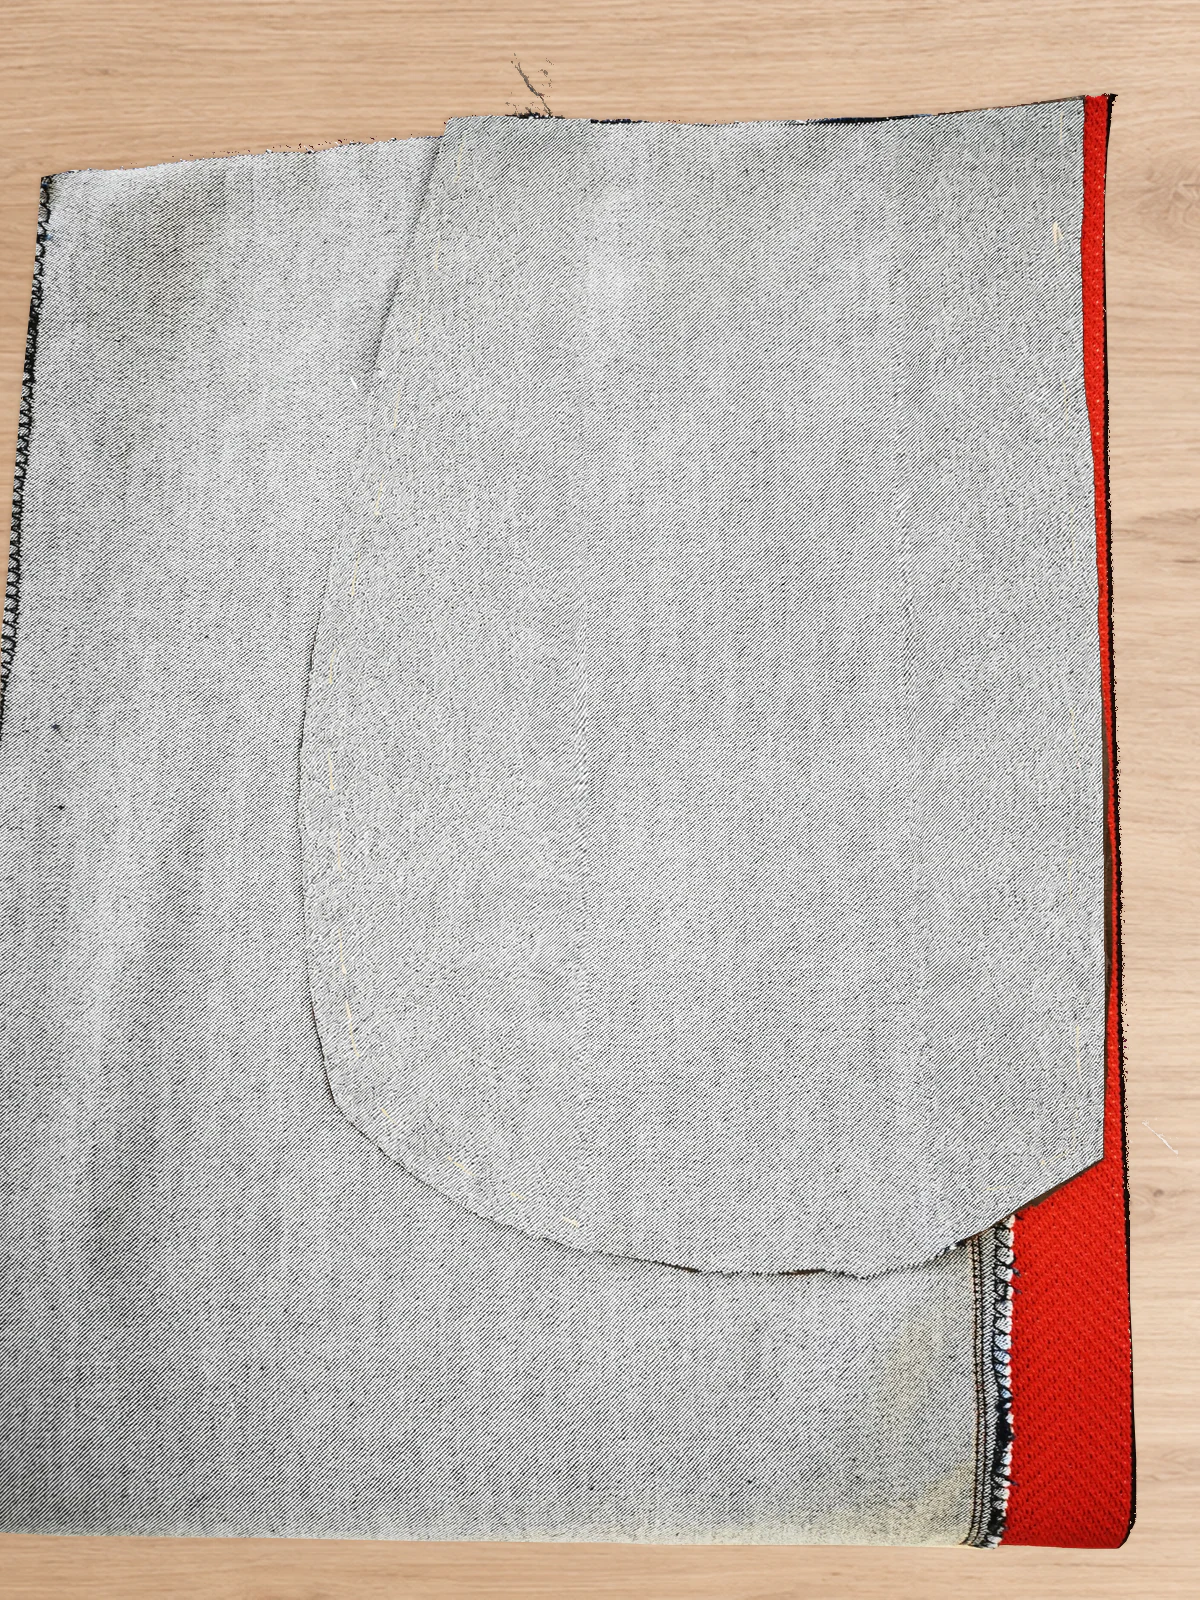
Illustration of the one-piece backing against the pocket lining, with the pale wrong side of the main fabric facing up.
Backing in position, with its pale wrong side facing you.

Sew and finish the pocket bag

Fold the trouser fabric away. Following the pattern's bag seam line, sew the free outer edge and curved bottom through the two pocket layers only. Finish the seam allowances together with overlocking or zigzag, or enclose the raw edges in a folded seam finish. I enclosed the edges on these front pockets.
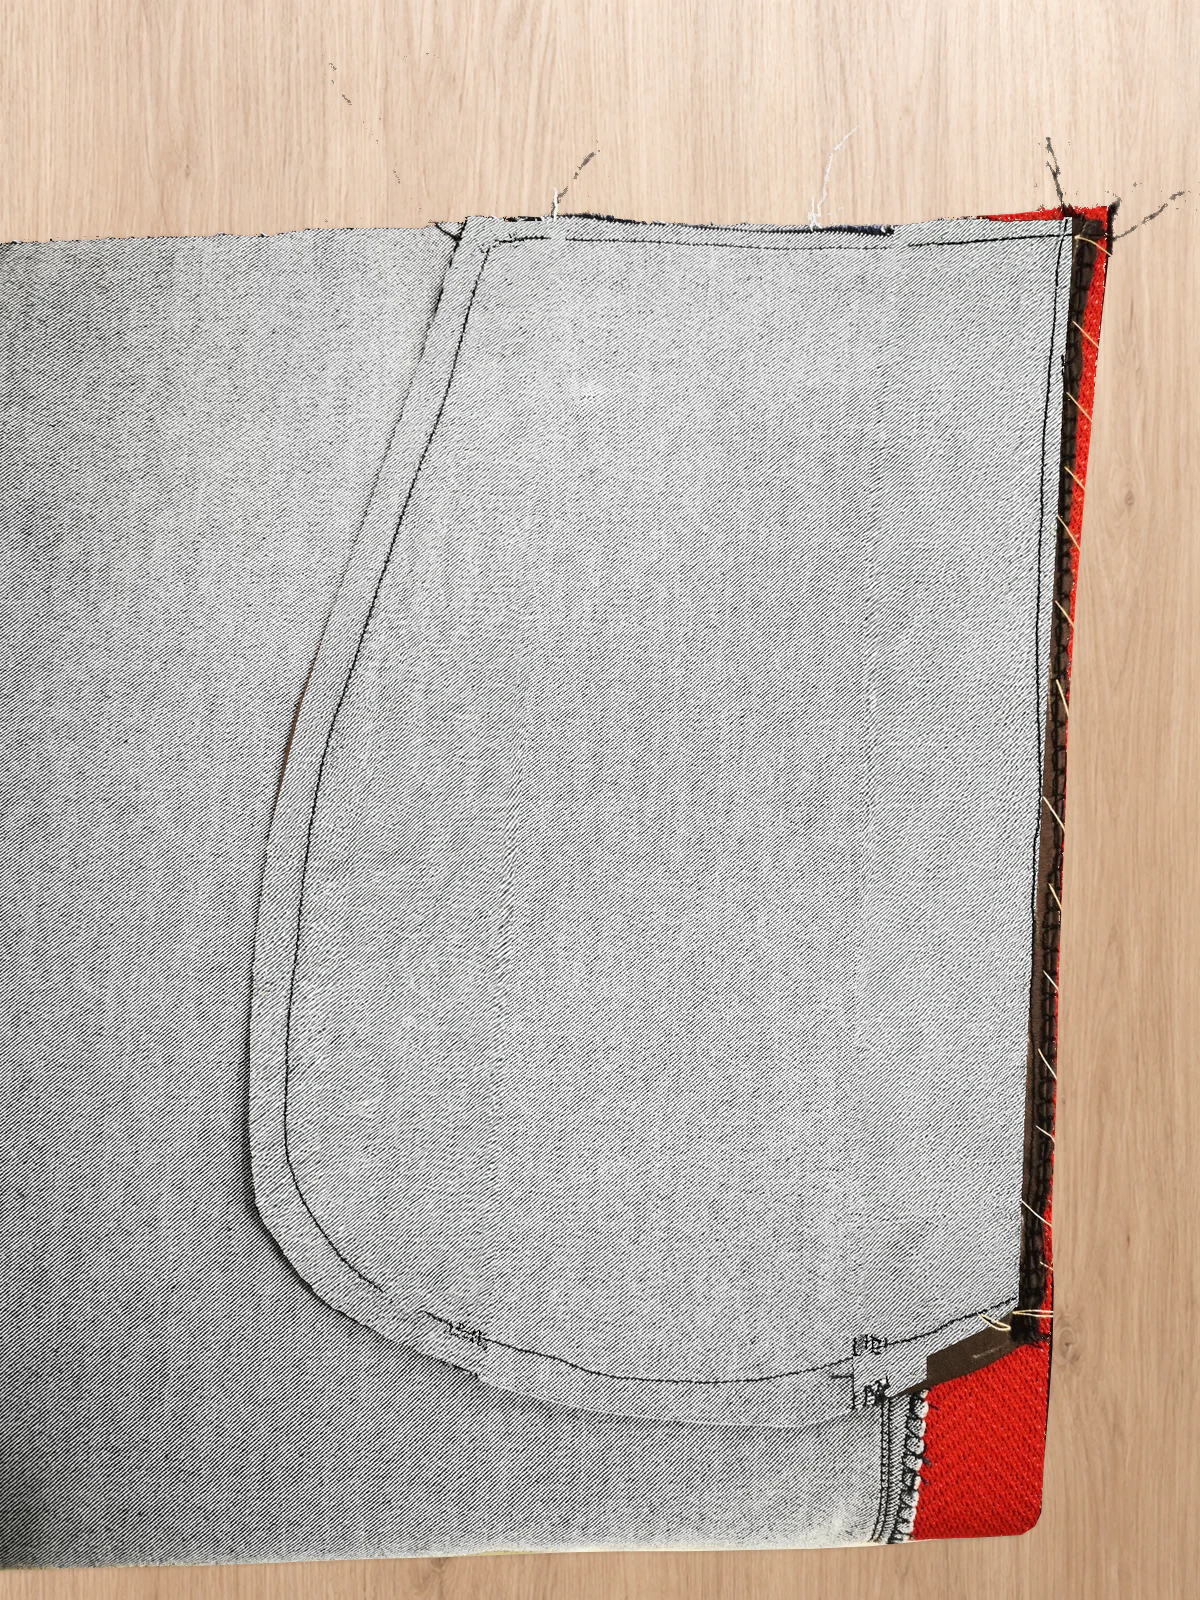
Illustration of the closed front-pocket bag, with its main-fabric backing and enclosed curved edge.
Front pocket bag closed, with the edges enclosed.

Press. Baste the bag to the trouser front at the waist and side seam, within the seam allowances. Open the zip and check that your hand enters the bag freely. Repeat for the other front pocket.

The back pocket

Back pocket

Use the back-pocket pattern piece to cut two lining pieces for each pocket. One finishes the opening; the other forms the backing.
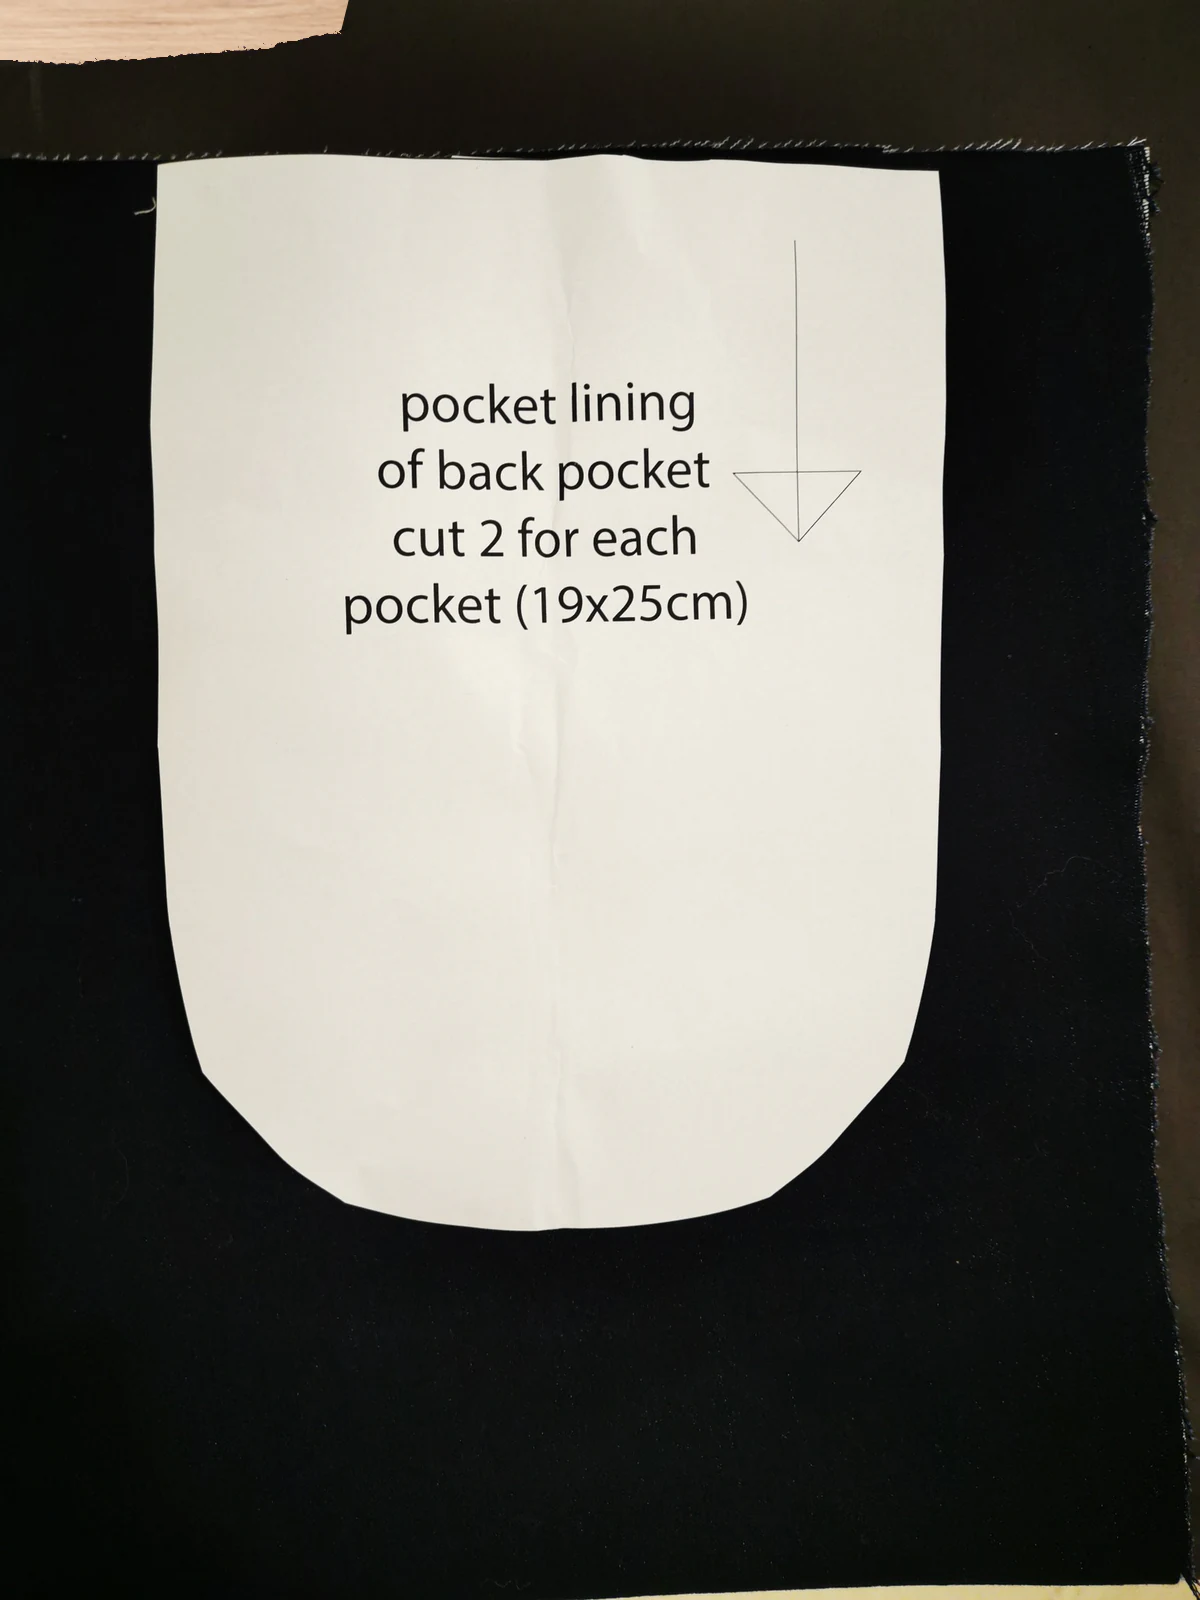
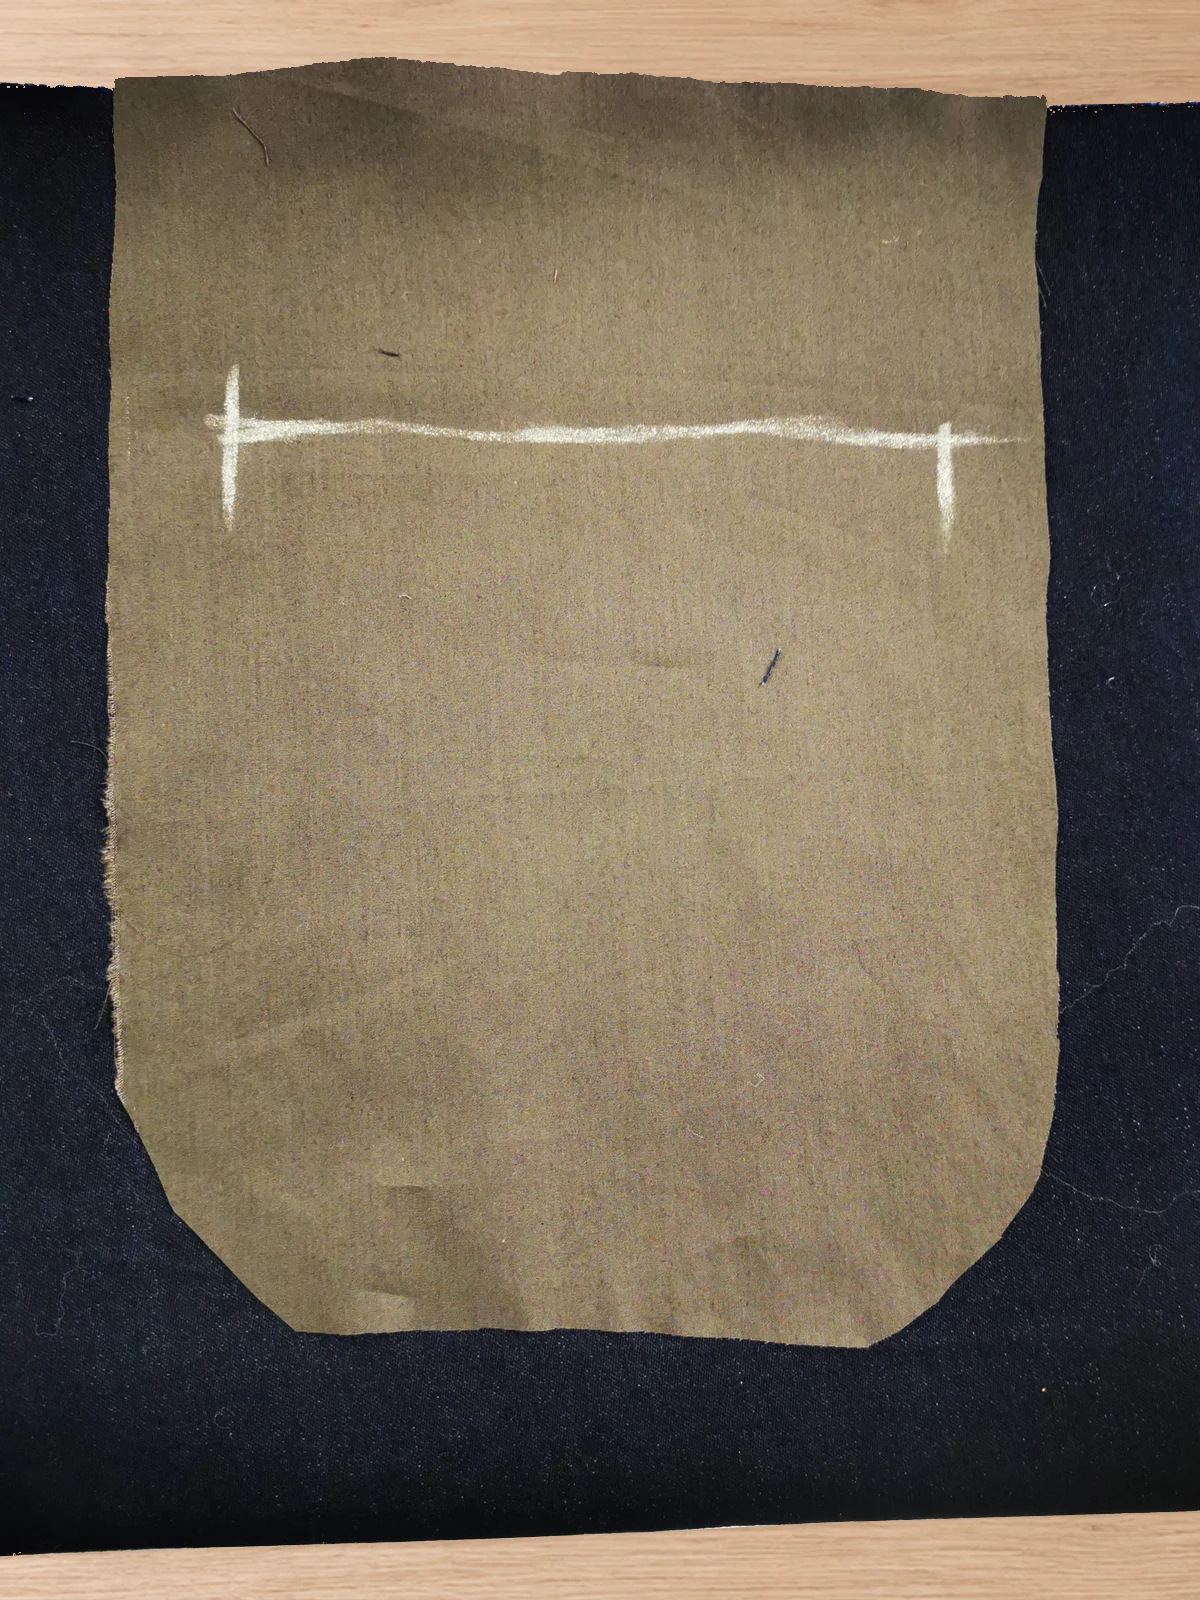
Paper back-pocket pattern piece labelled cut 2 for each pocket and 19 by 25 centimetres.
Back-pocket pattern piece for the two bag layers.
Cut brown back-pocket lining laid over the navy trouser back.
One of the cut brown back-pocket lining layers.

These trousers are made from lightweight denim. To keep the back-pocket bag light, I used lining with a main-fabric pocket facing: the smaller piece that hides the lining through the open zip.

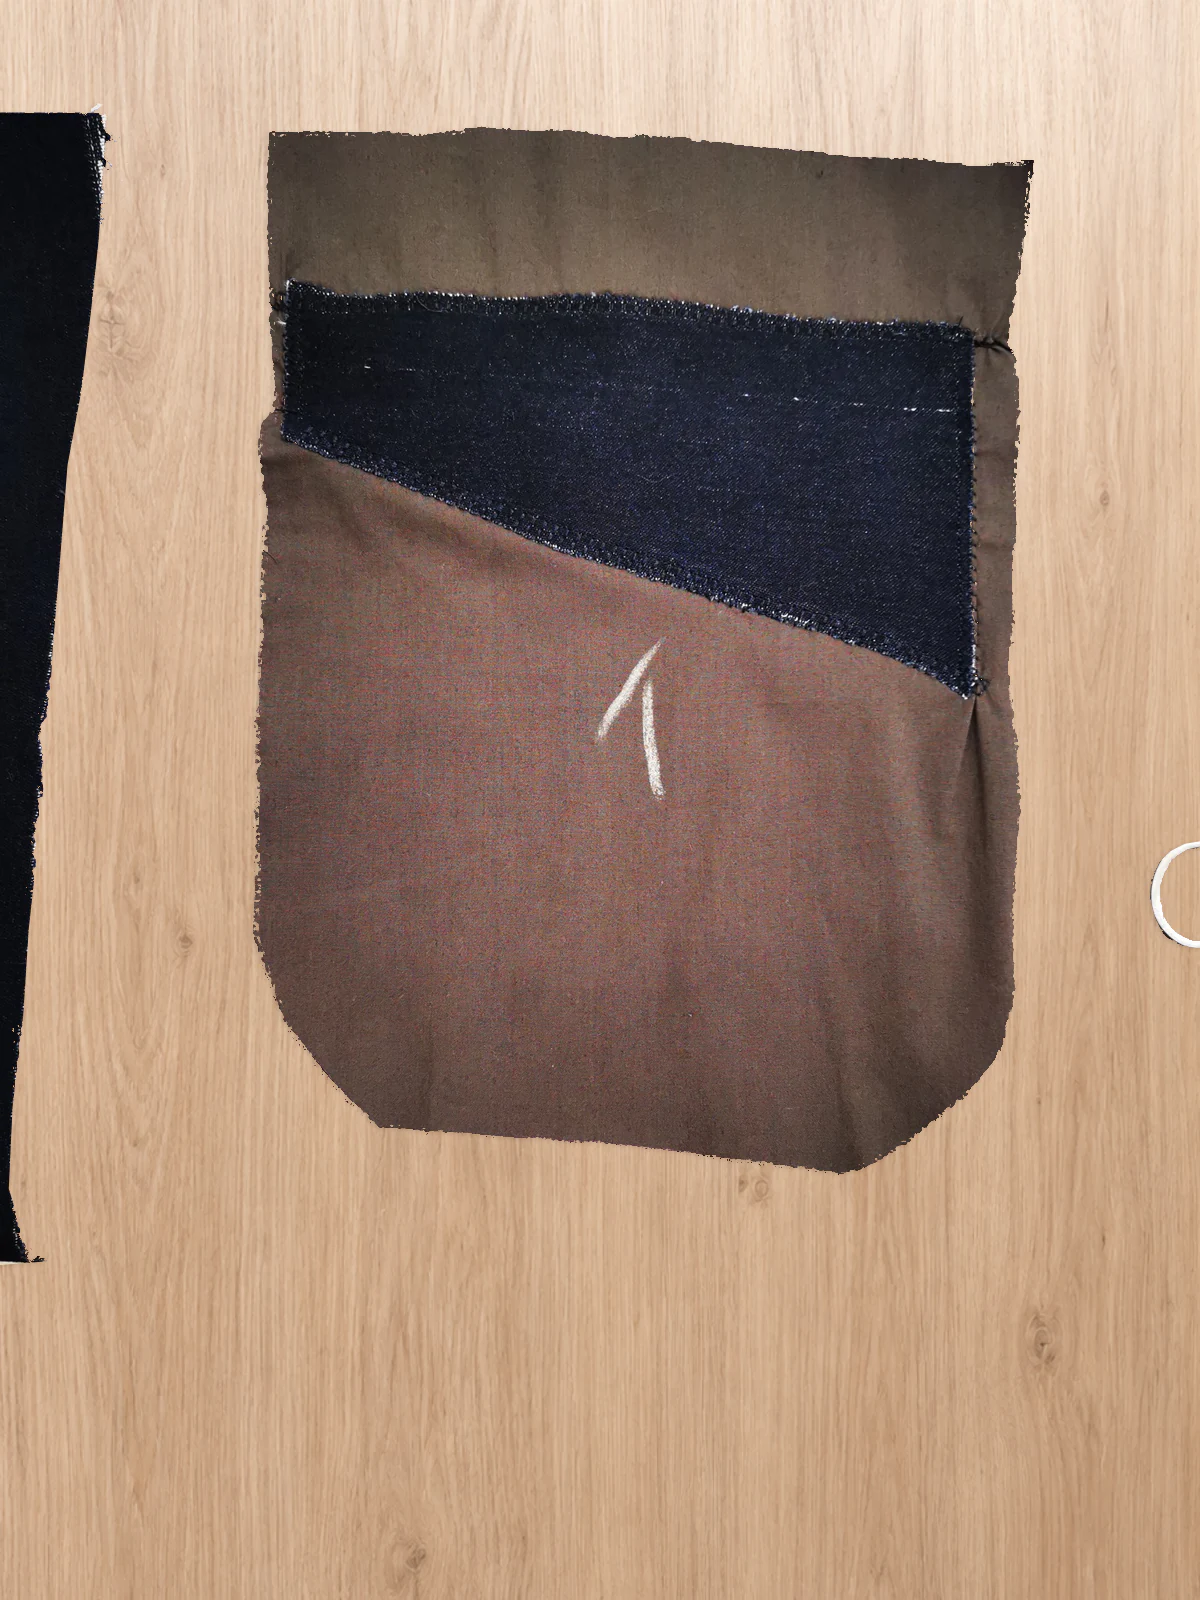
Cut the facing from main fabric, large enough to cover the open zip. Place it wrong side down on the backing lining's right side. Zigzag around its edges to attach it and cover the raw edges. Set the prepared backing aside.
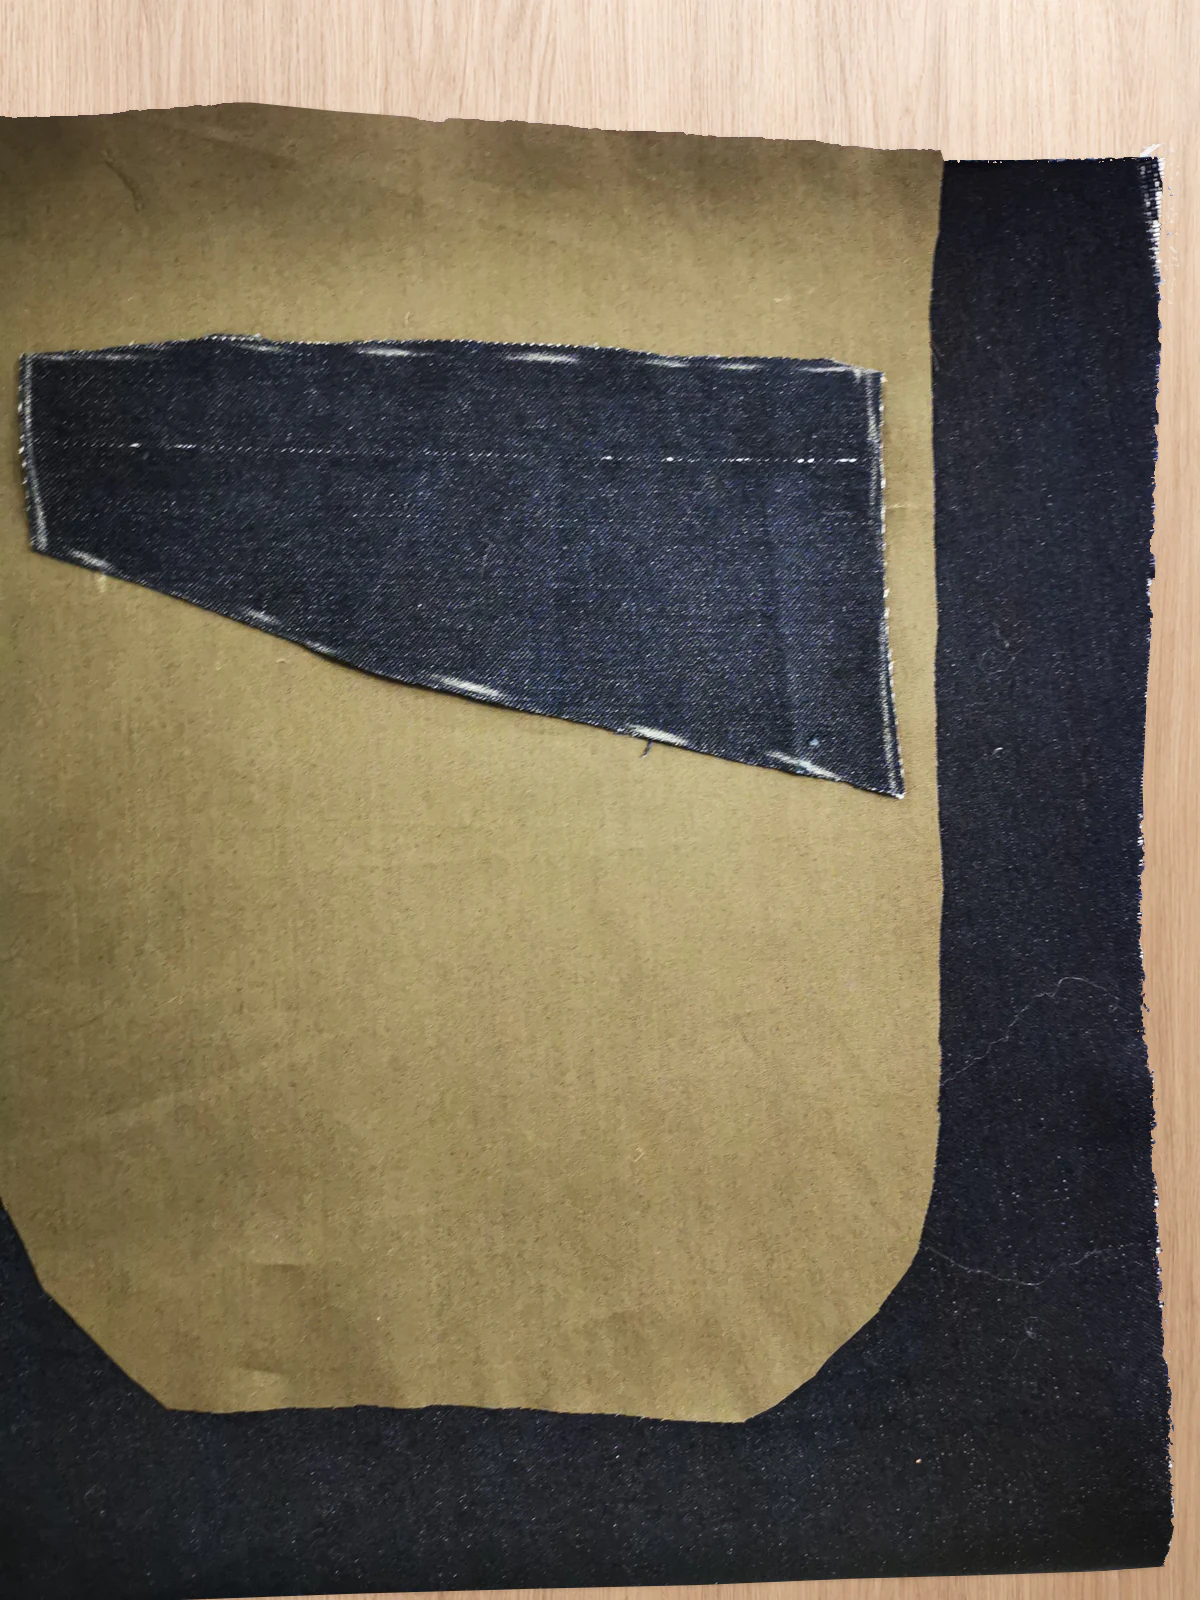
A navy main-fabric pocket facing laid over the right side of a brown pocket-bag backing, before sewing.
Main-fabric pocket facing positioned on the lining.
Navy main-fabric pocket facing zigzagged around its edges onto the brown pocket-bag backing.
Pocket facing zigzagged to the lining backing.

Reinforce the opening on the trouser back. Pin the plain lining layer to it, right sides together, matching the pattern marks. Stitch the rounded outline as in step 5.
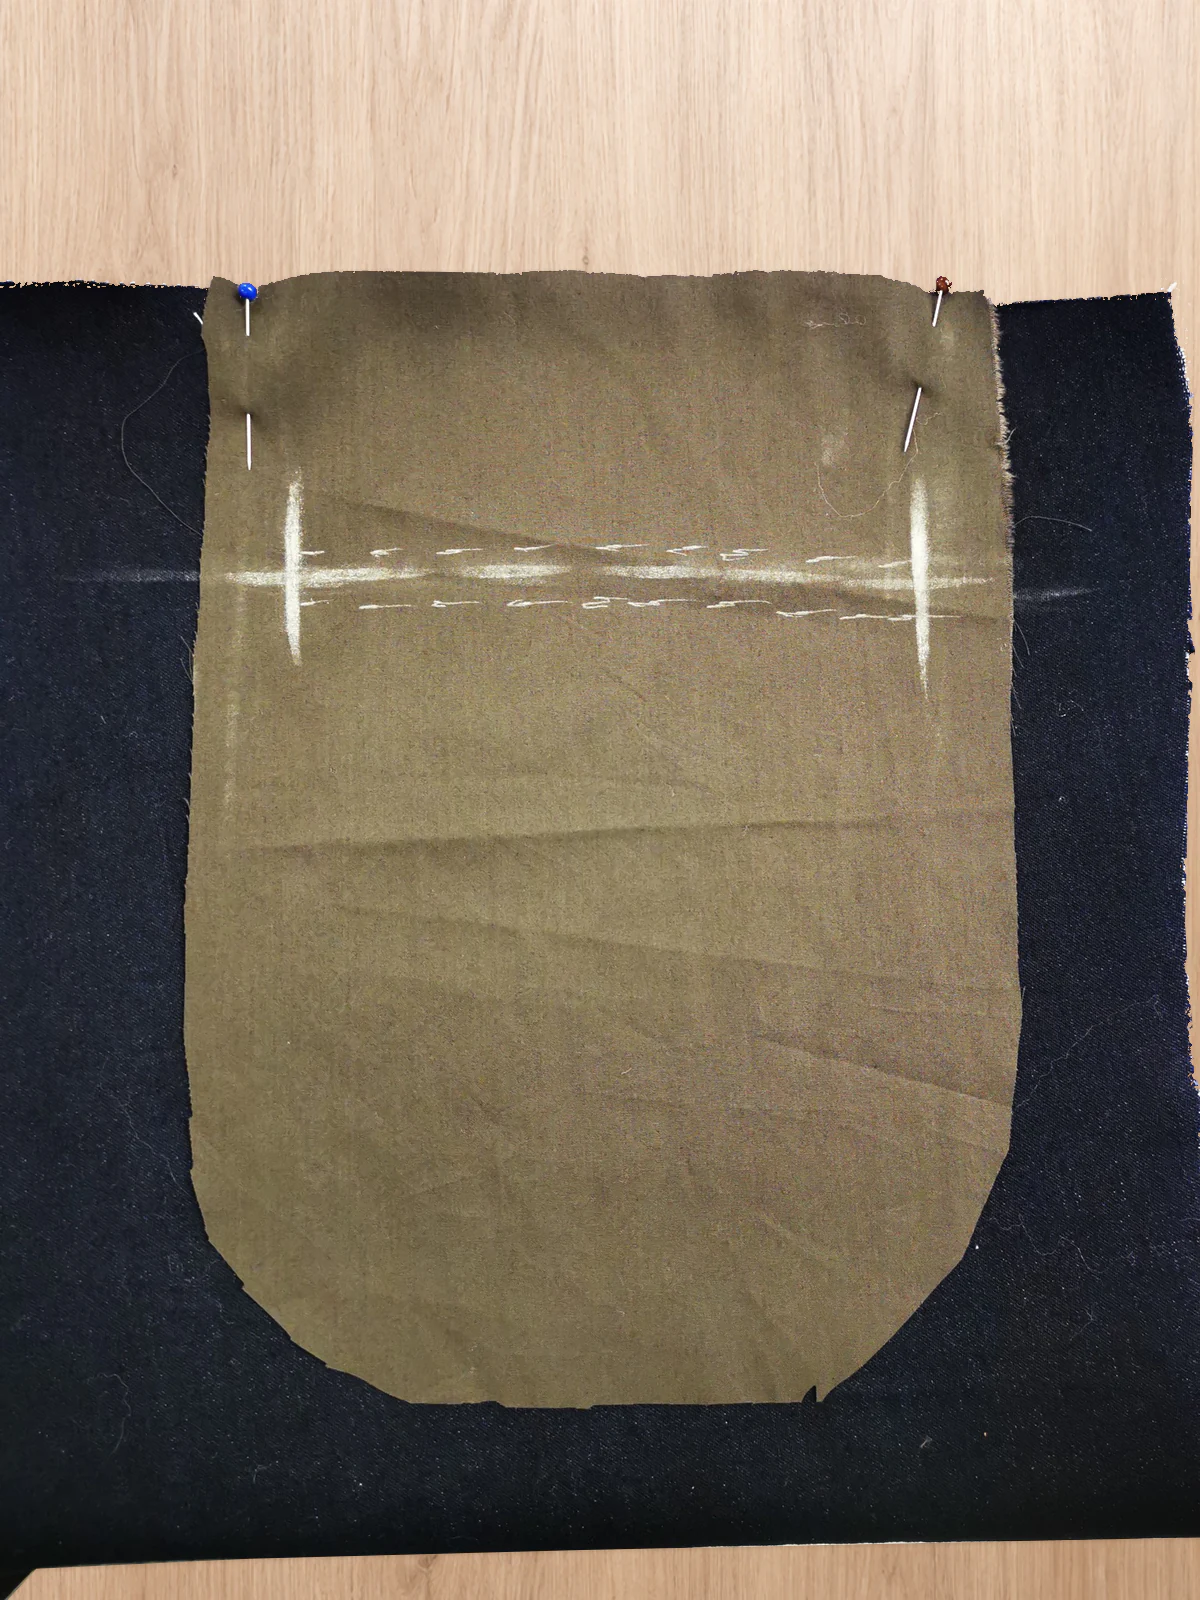
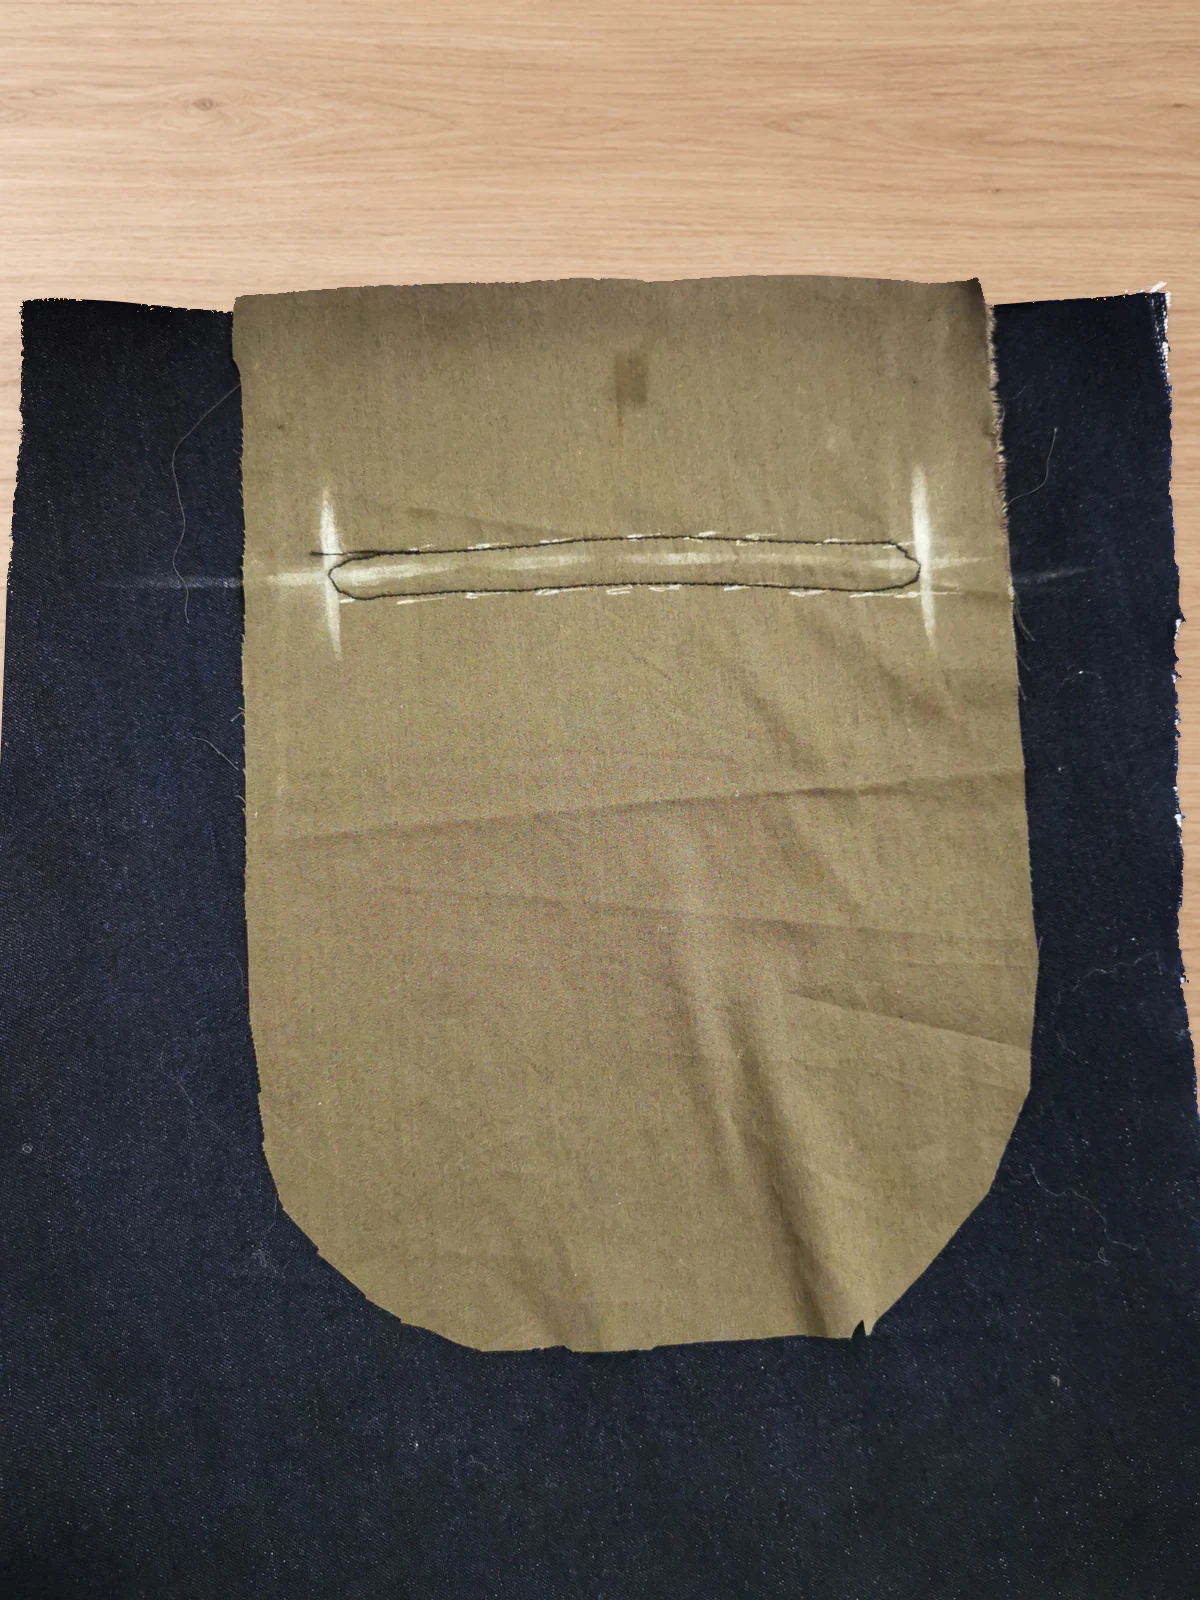
Plain brown lining pinned right sides together to the navy trouser back, with the pocket opening marked on the lining.
The other, plain lining pinned to the trouser back.
Stitched rounded back-pocket opening in brown lining, with the centre fabric still intact.
Back opening stitched around its outline, ready to cut.

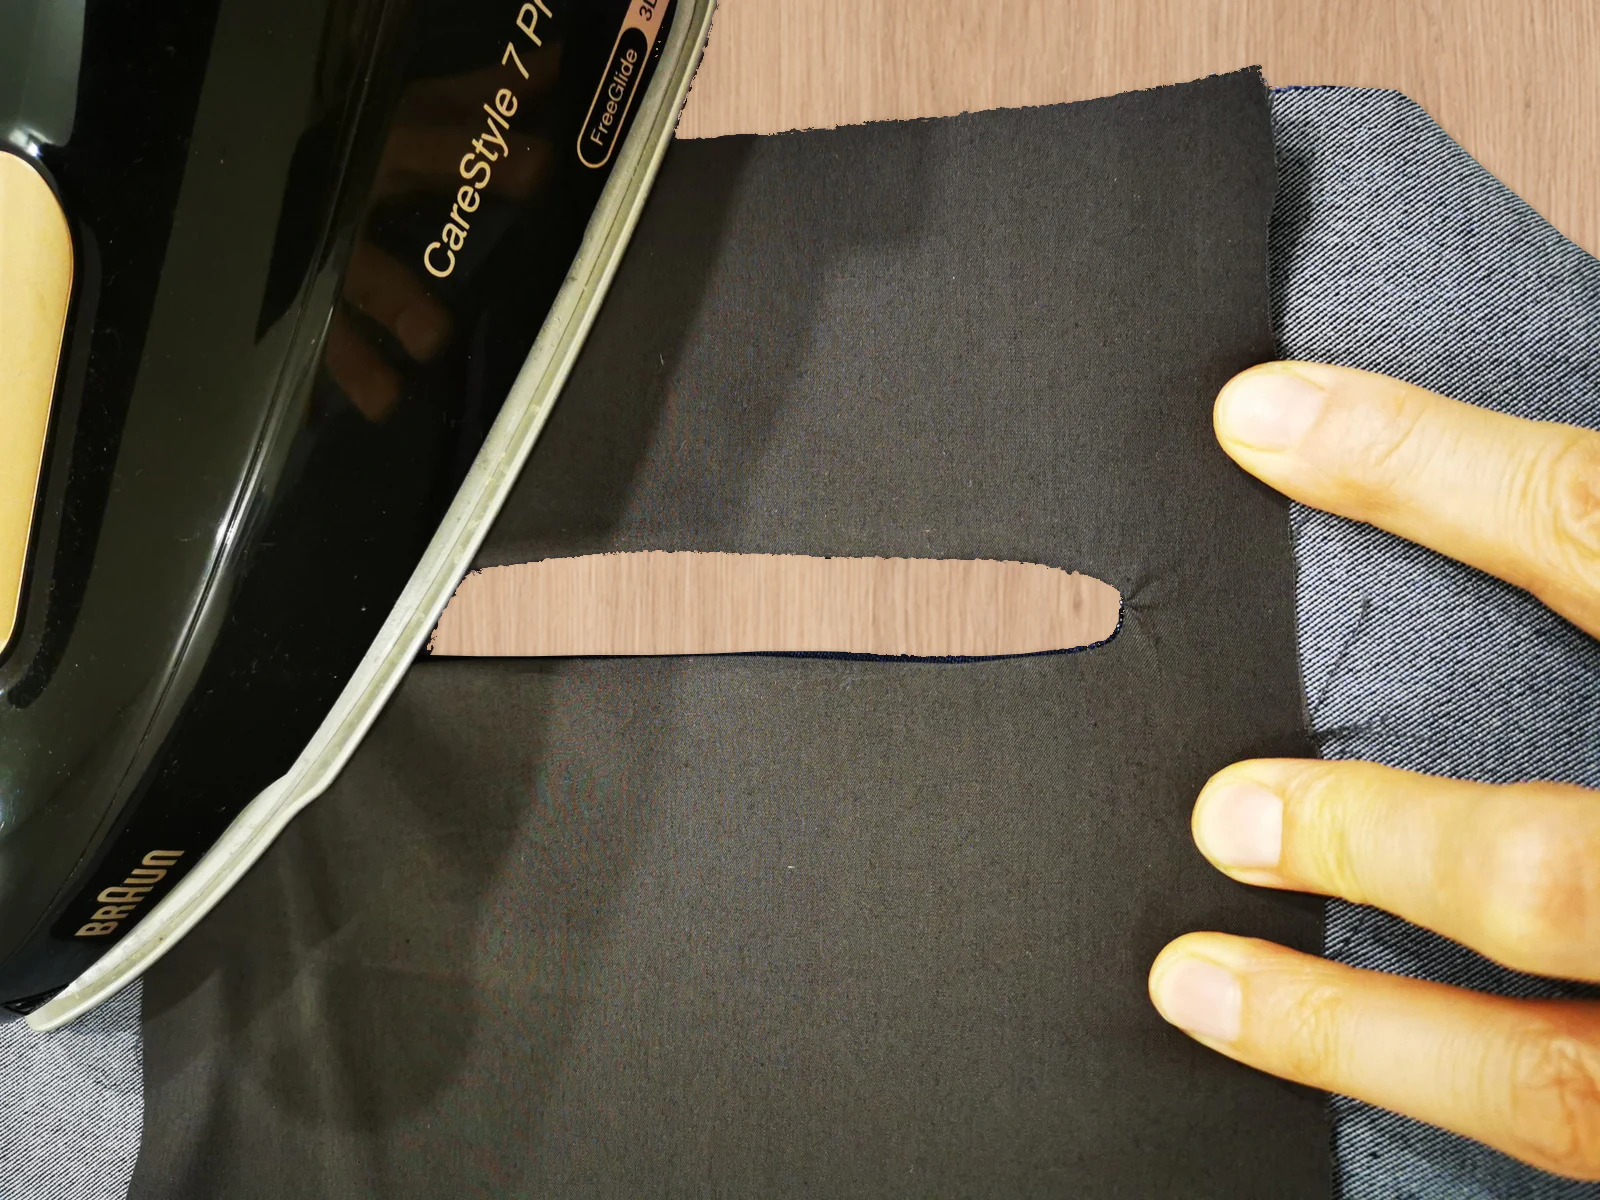
Cut and trim the opening as in step 6. Turn the lining to the inside and press the rounded ends smooth.
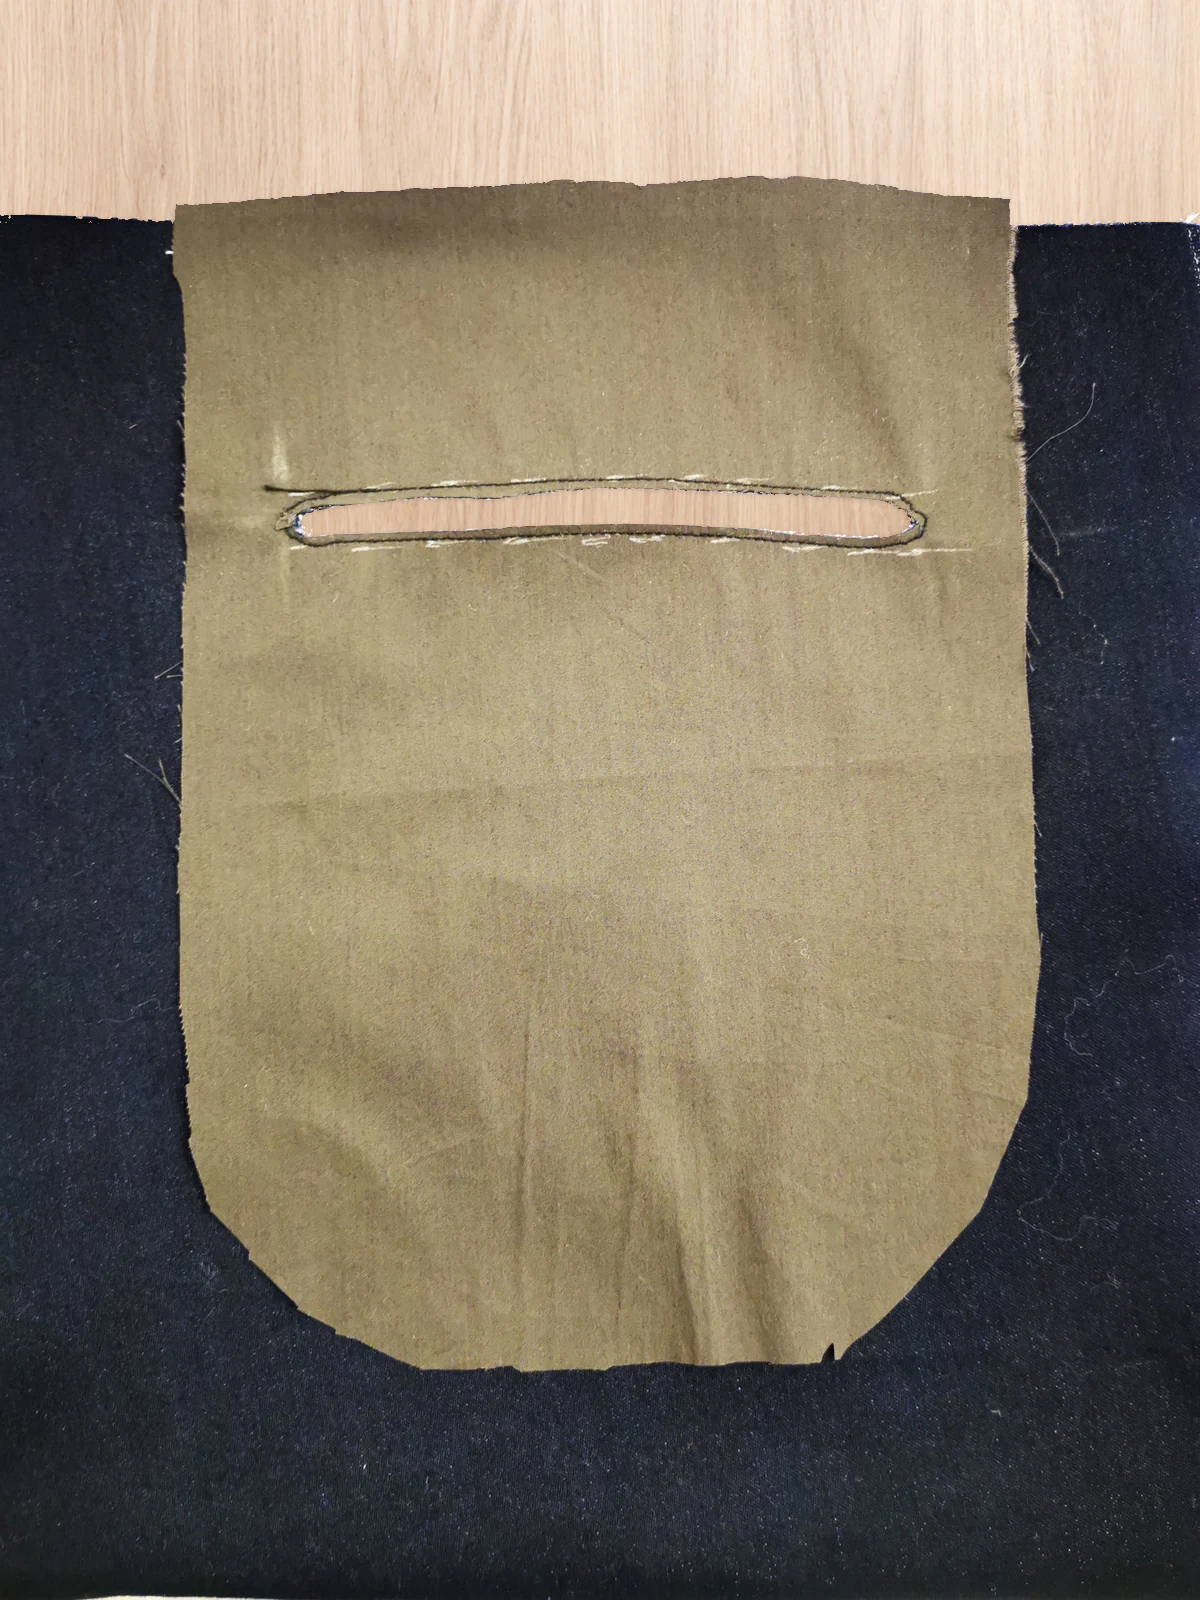
Cut horizontal back-pocket slot in brown lining with seam allowance visible inside the stitched outline.
The back opening after cutting, before turning.
Iron pressing brown lining around a turned back-pocket opening.
Press the back opening after turning the lining inside.

Edgestitch the empty opening. Centre the zip behind it and sew directly over that stitching, as in steps 8–10. Check that the tape is caught all around and the slider moves freely.
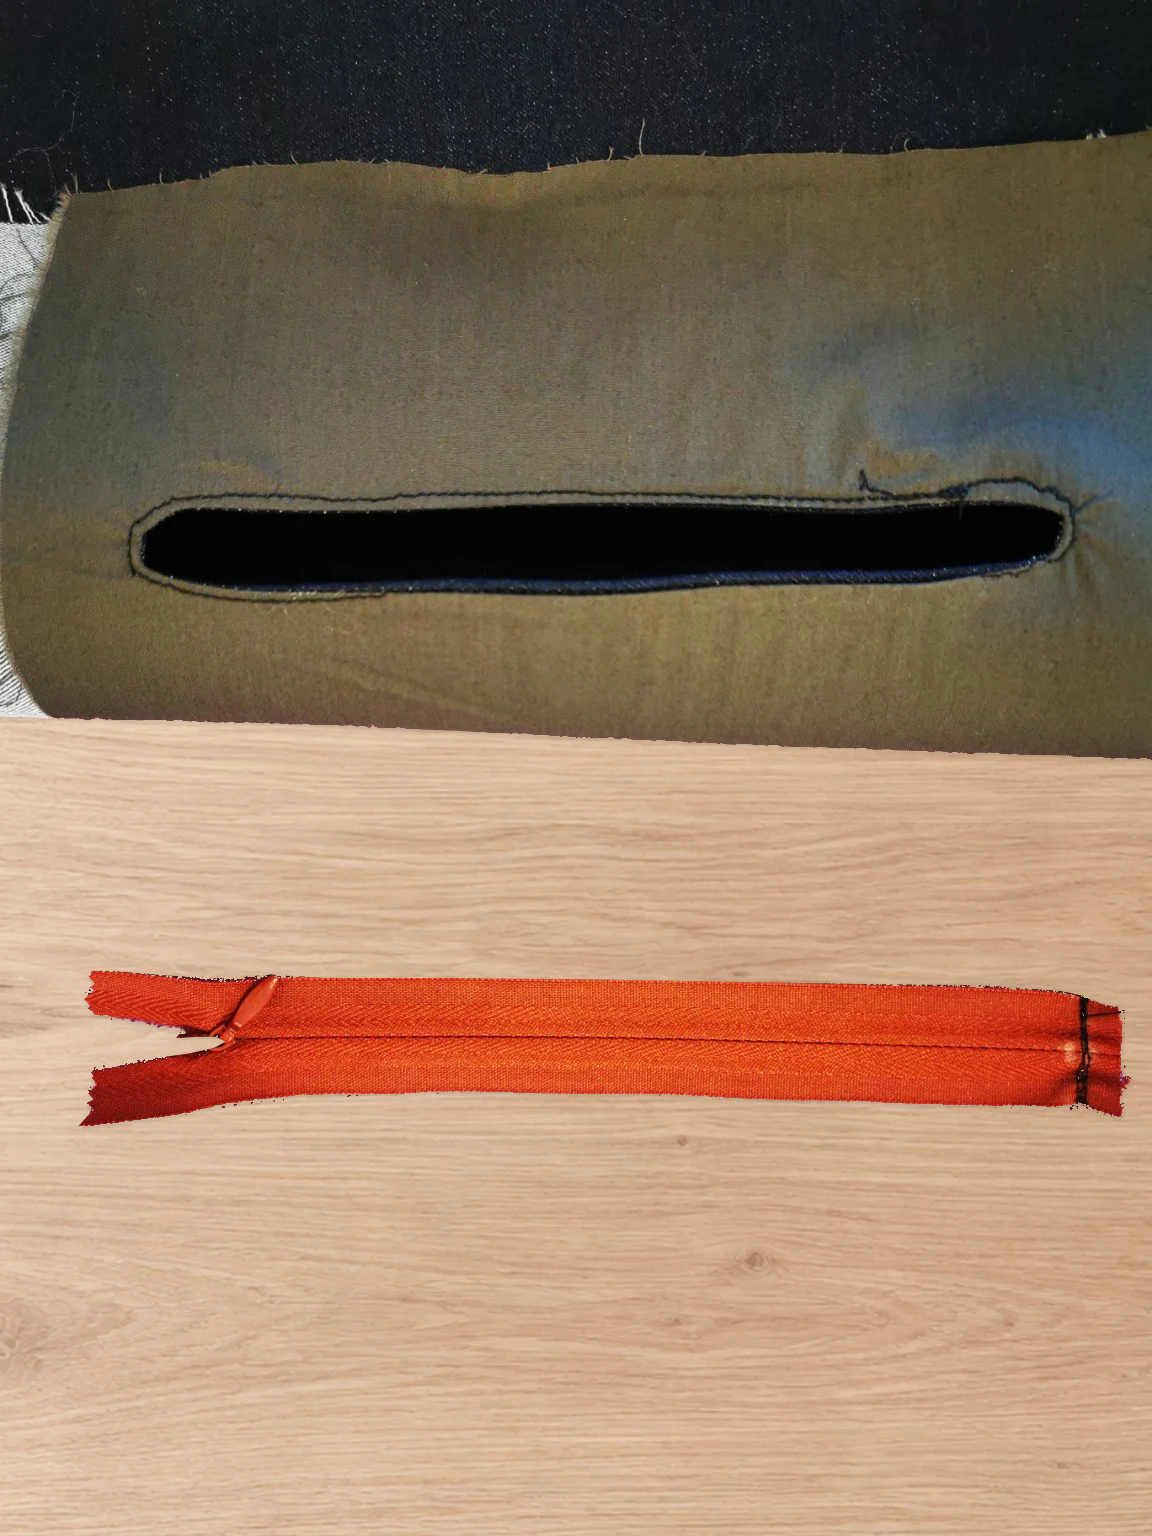
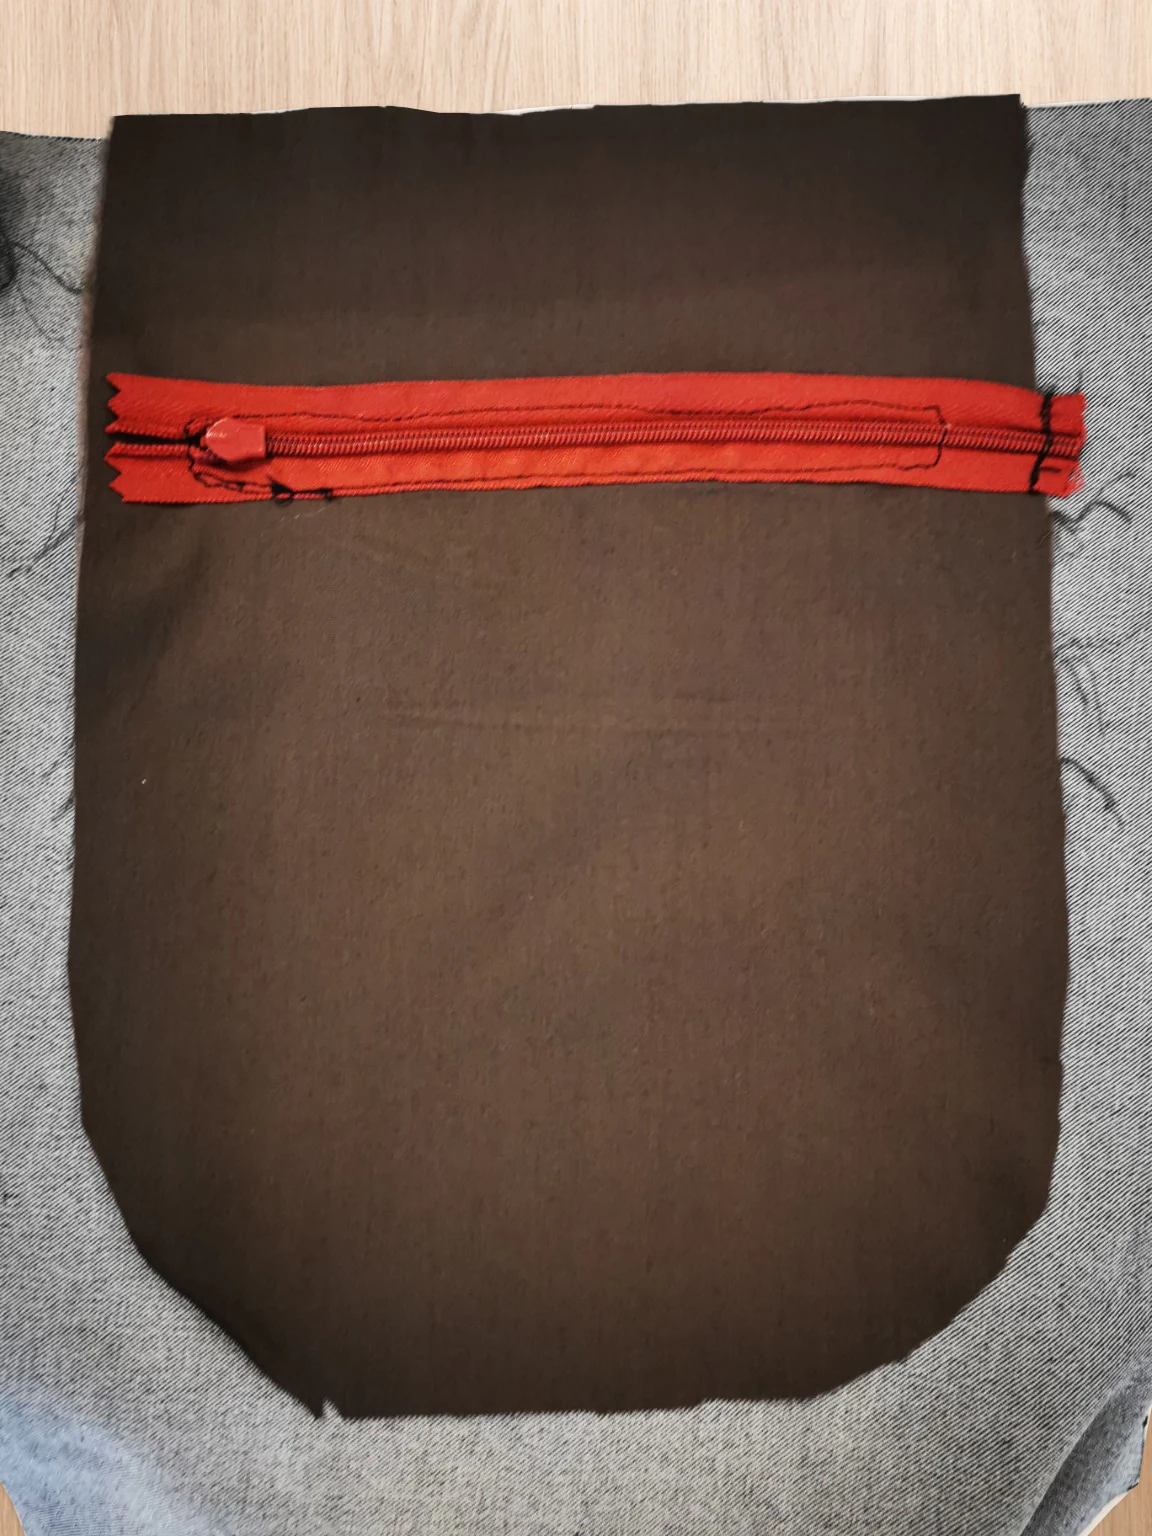
Brown back-pocket lining with its empty edgestitched opening and a separate red zipper laid below it.
Edgestitched opening and zipper, ready to fit.
Reverse of the back-pocket opening with red zipper tape attached to the brown lining and the surrounding stitch line visible.
Inside: the stitching catches the zipper tape around the opening.

Bring the prepared backing to the attached lining, right sides together, with the navy pocket facing inside the bag. Match and pin the bag edges. Fold the trouser fabric clear.
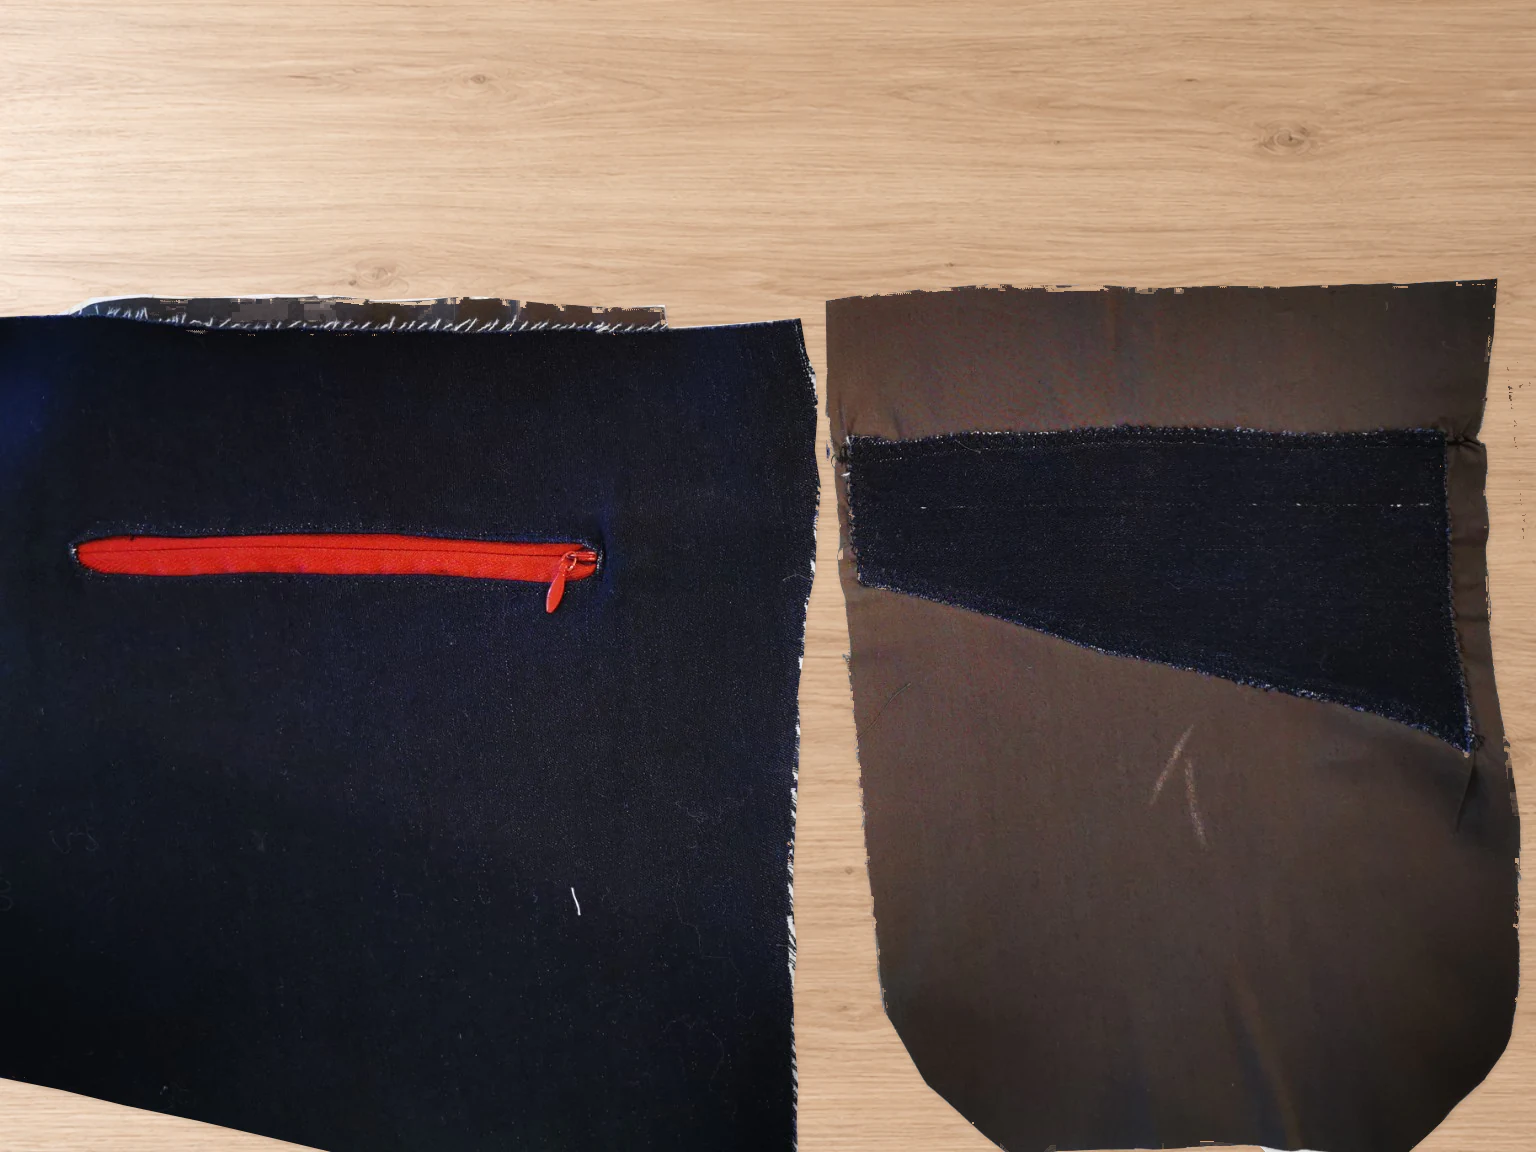
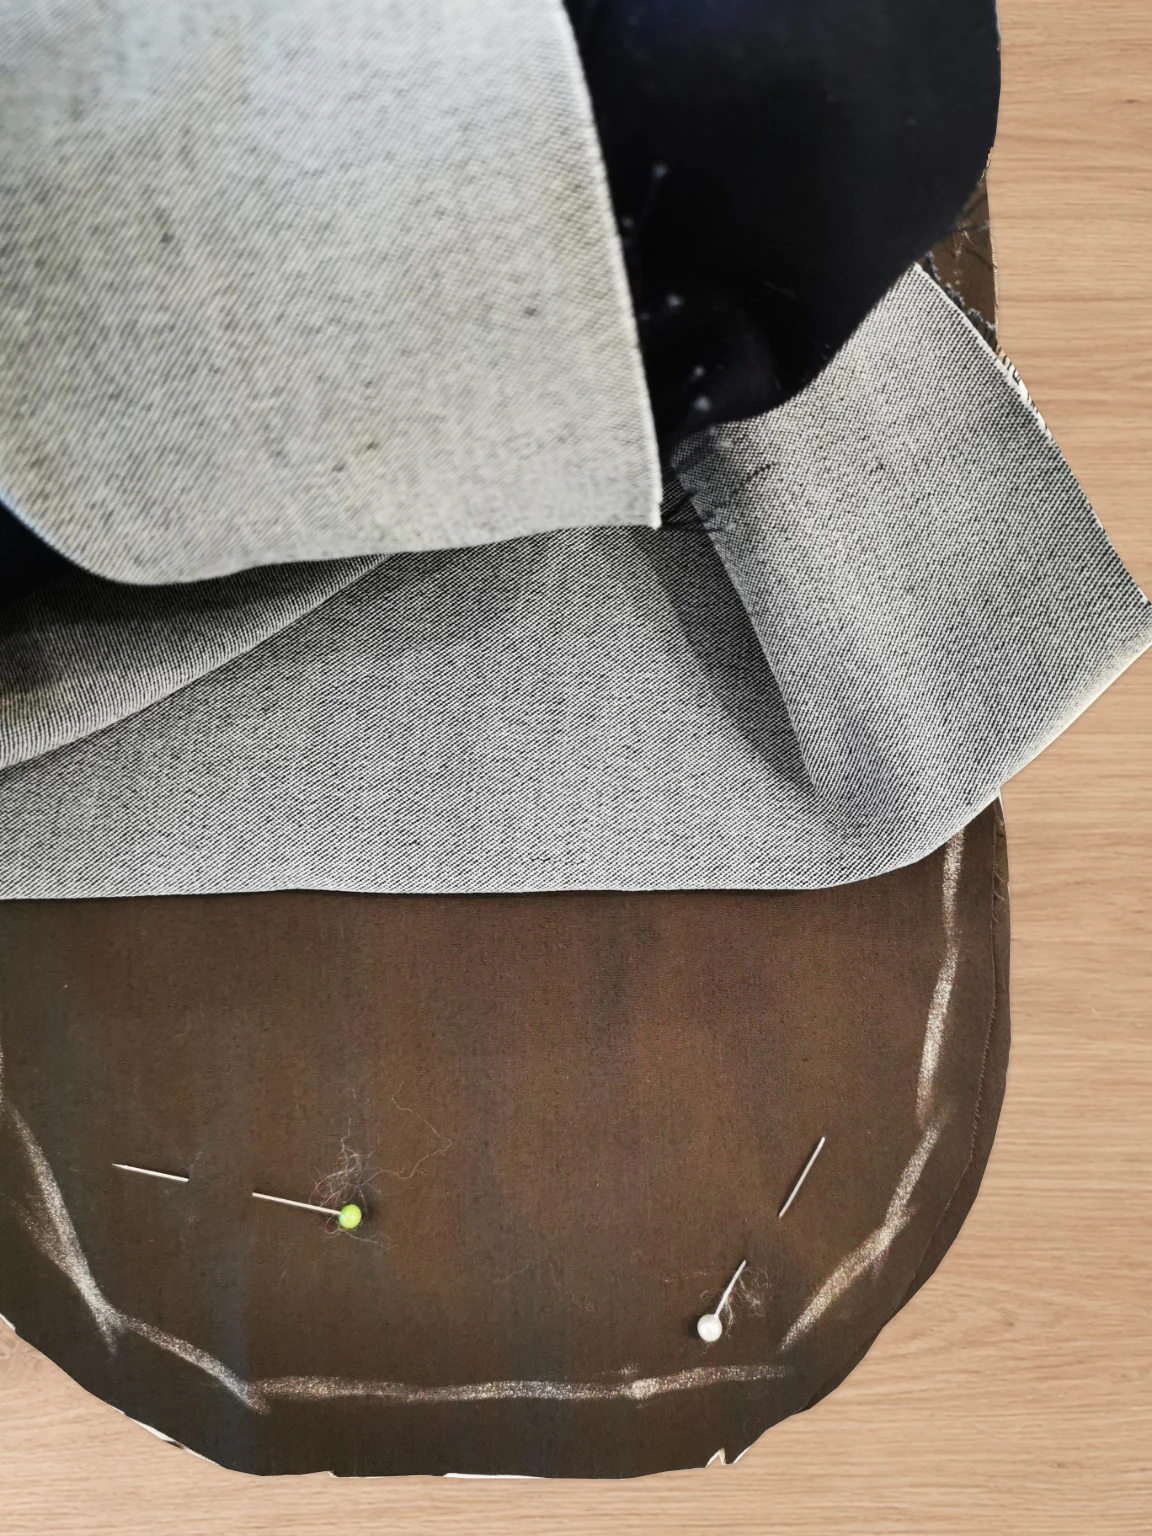
Zipped trouser back beside the prepared brown pocket-bag backing with its navy pocket facing.
The fitted zipper and prepared backing, ready to join.
Brown pocket-bag layers pinned around their curved outline while the grey trouser fabric is folded away from the sewing area.
Pin the bag layers together and fold the trouser fabric clear.

Sew the free sides and curved bottom through the two pocket layers only. Finish its raw edges, then press. This back pocket has an overlocked edge. Secure the top within the waist seam allowance, following the pattern. Open the zip and check that your hand enters freely.
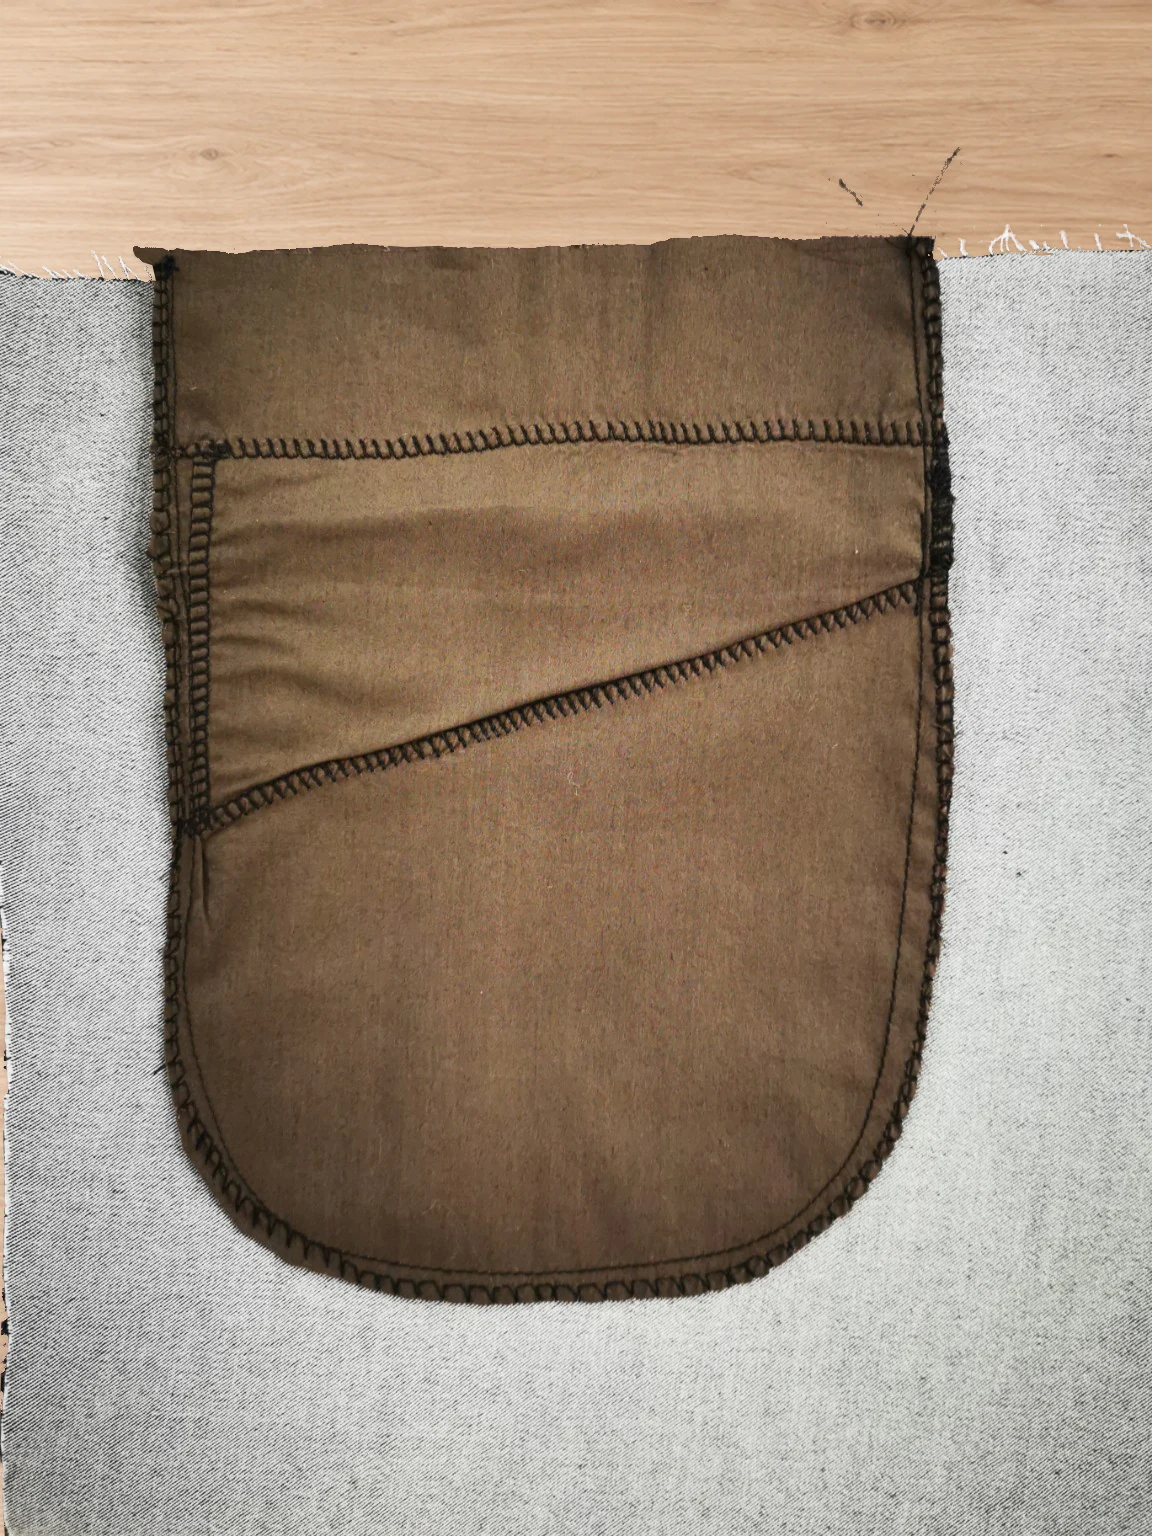
Inside of the completed back pocket: brown bag with a curved sewn outline and overlocking along its outer edge.
Back pocket bag closed, with its outer edge overlocked.
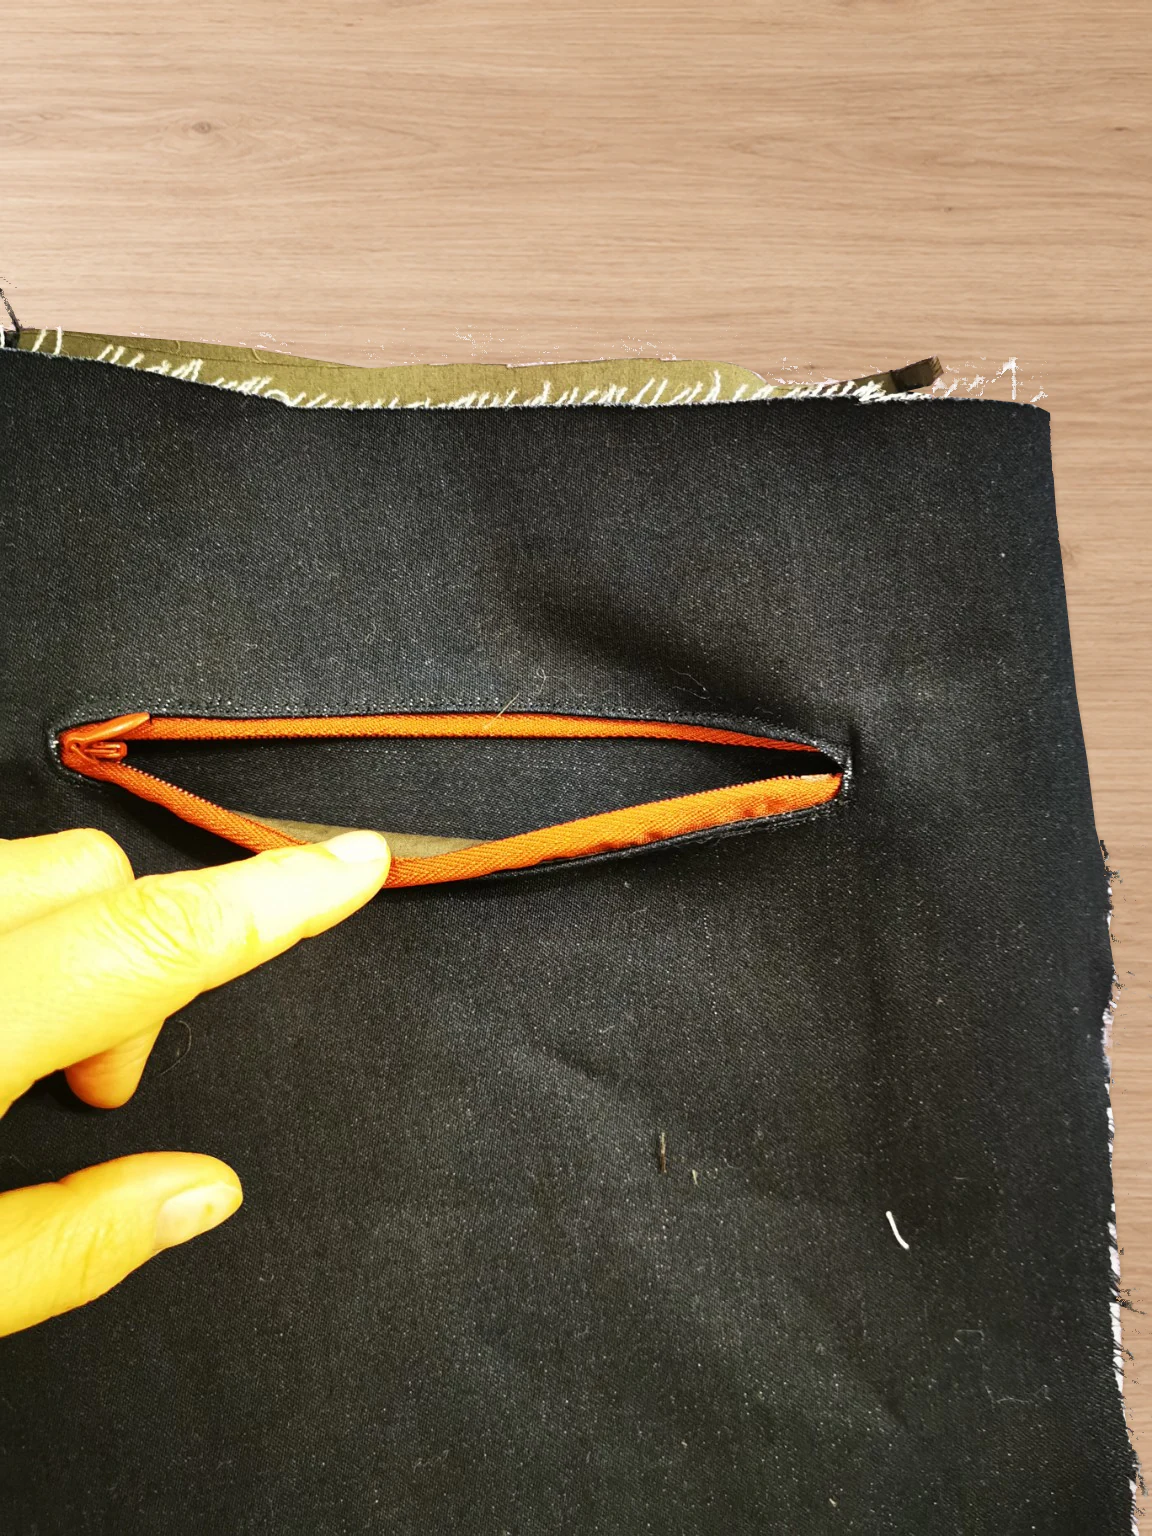
Finished red back-pocket zipper held open to reveal the navy main-fabric pocket facing inside the pocket.
Open the zip to reveal the navy pocket facing.
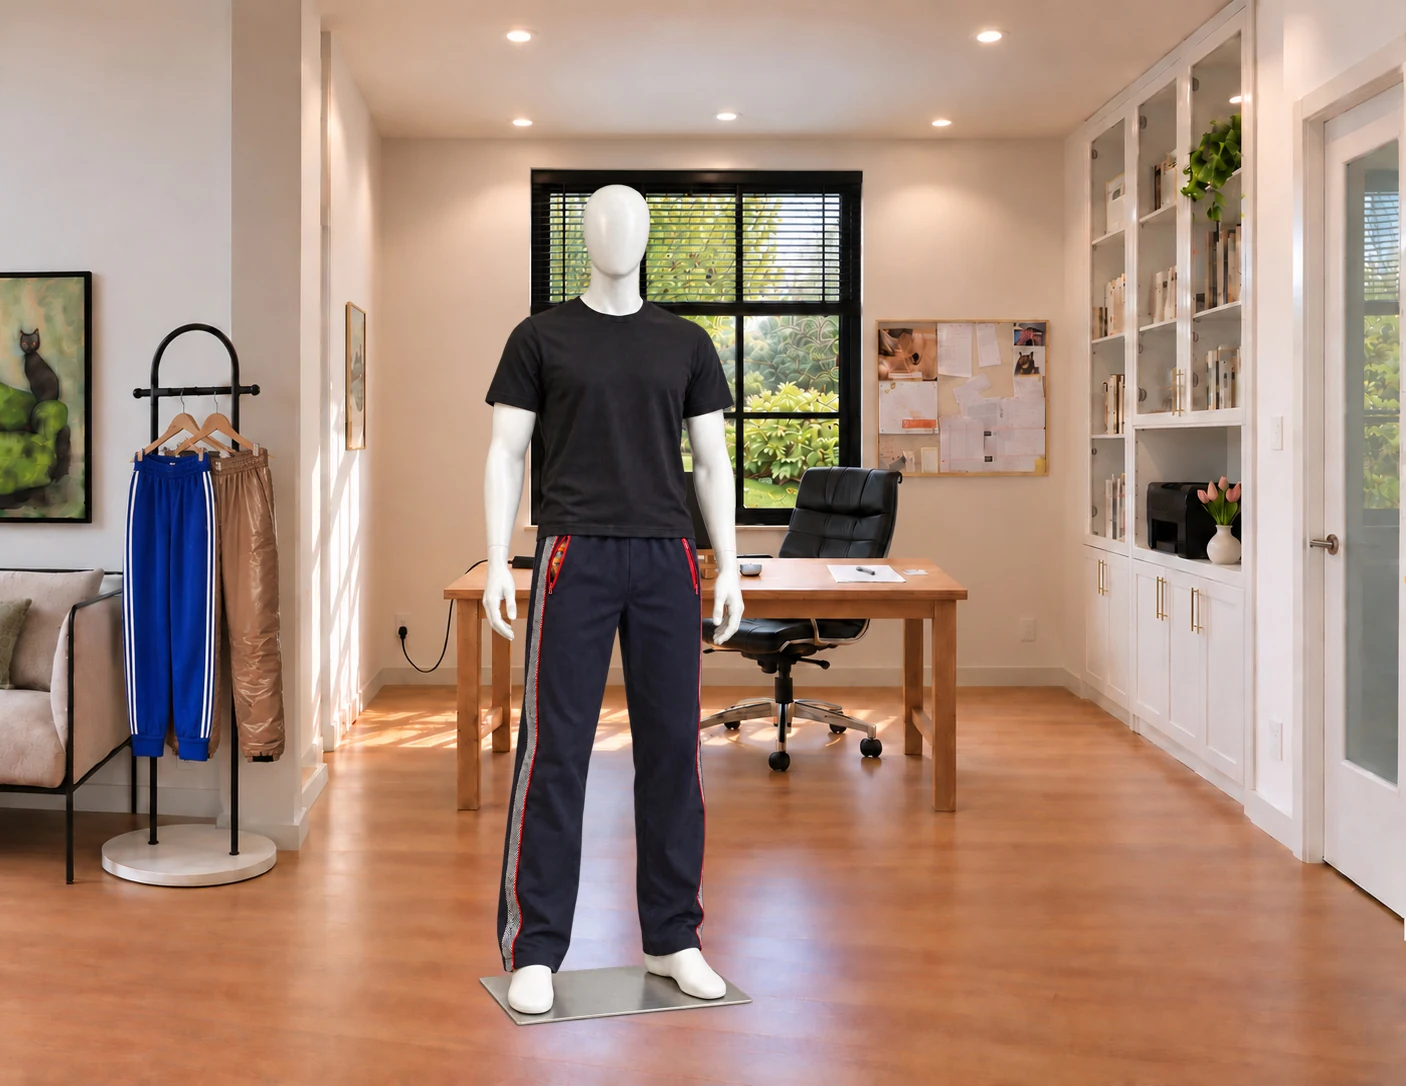
The Tobi pants on a mannequin in my workshop, with red zip pockets and contrast side trim.
The Tobi pants on a mannequin.