



Safari Jacket / Sewing detail
Sewing the inverted back pleats
I love this safari jacket pattern. It has a way of making all sorts of figures look good, even with a full waist.
I made the first version in sturdy fabric, with a slightly sporty feel, and it became a travelling jacket. Now I’m making it again in very light silk for everyday walks in our hot climate.
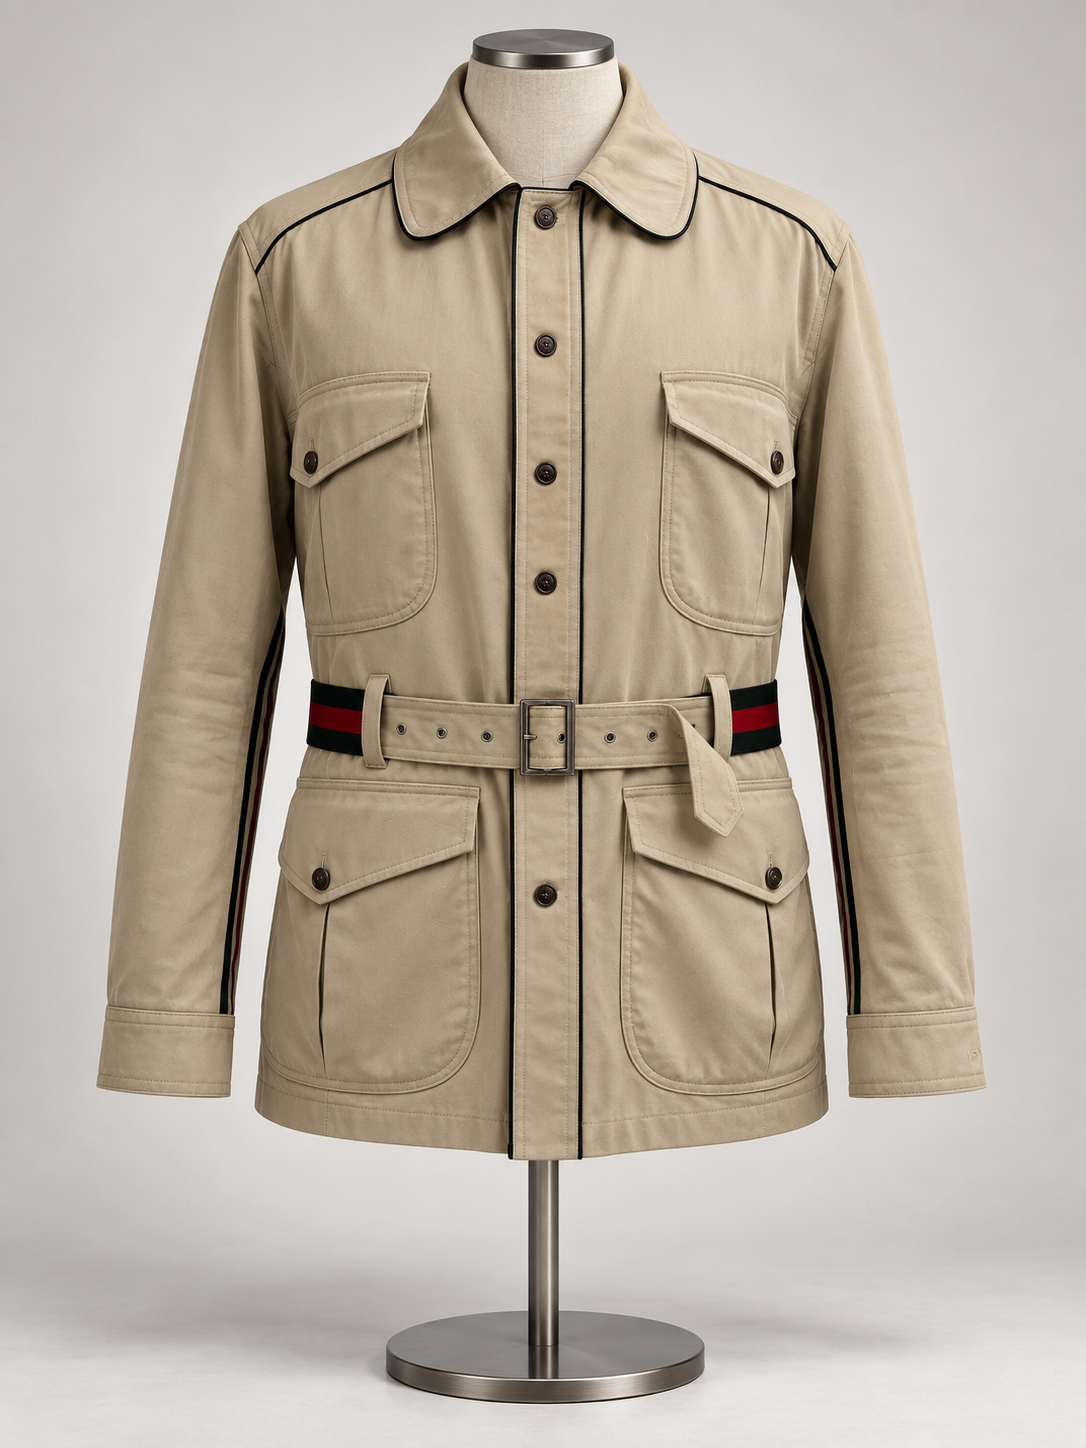
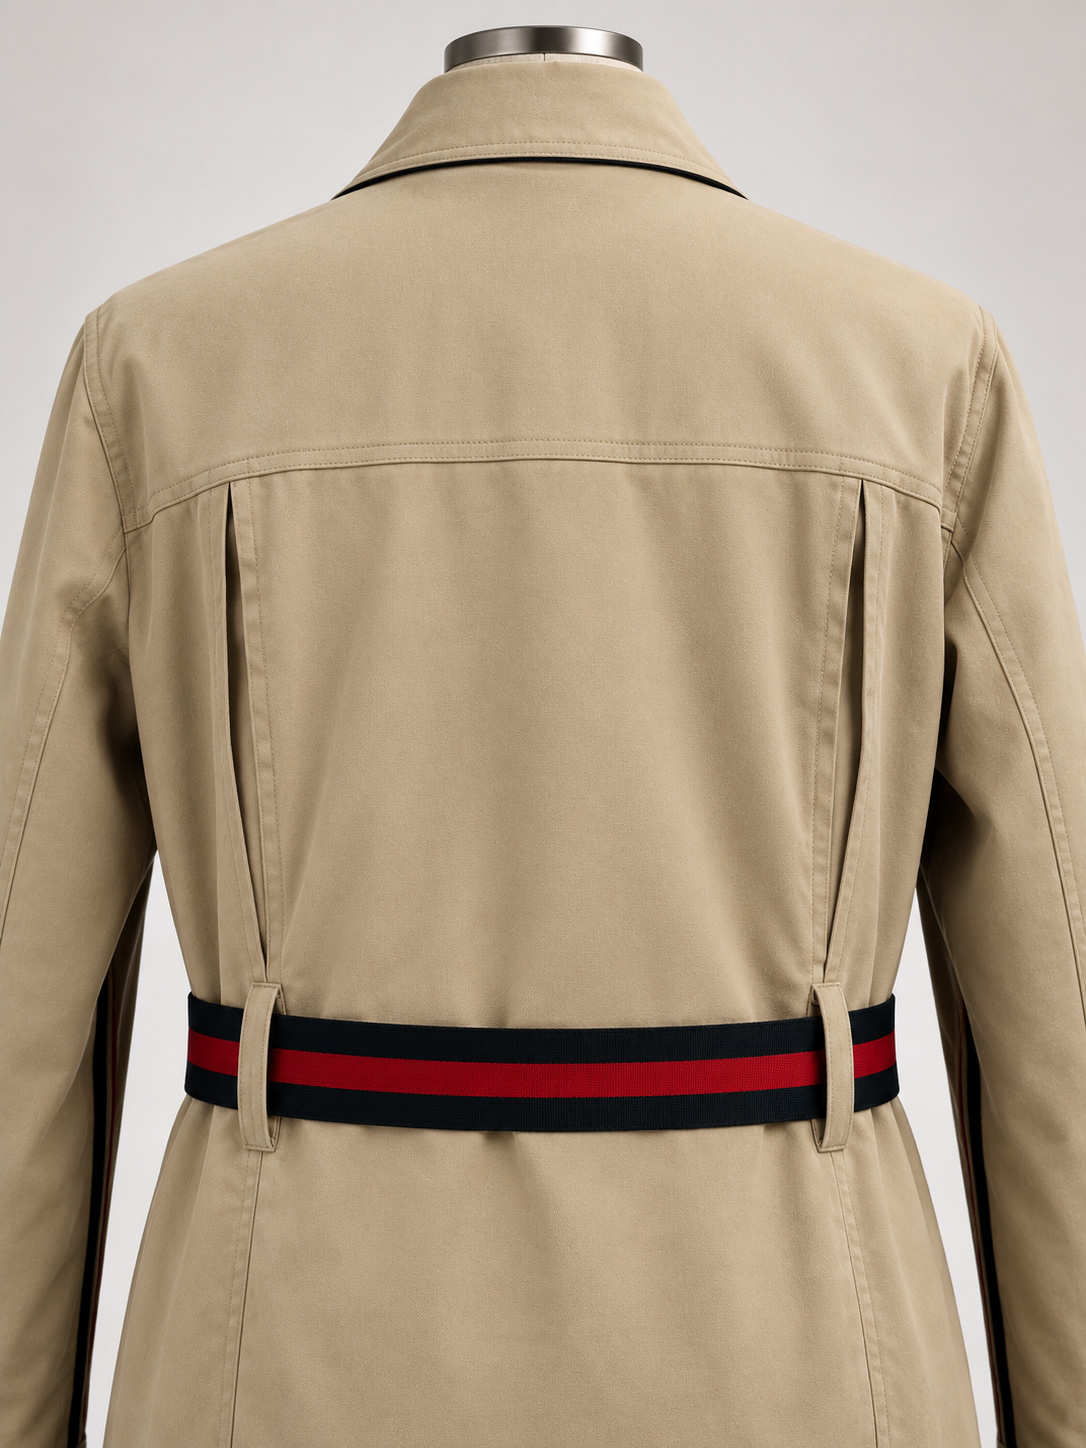
Most of the jacket is straightforward to sew. The tricky part is the pair of inverted pleats below the back yoke, so that’s what I’m showing here.
Cut the back pieces
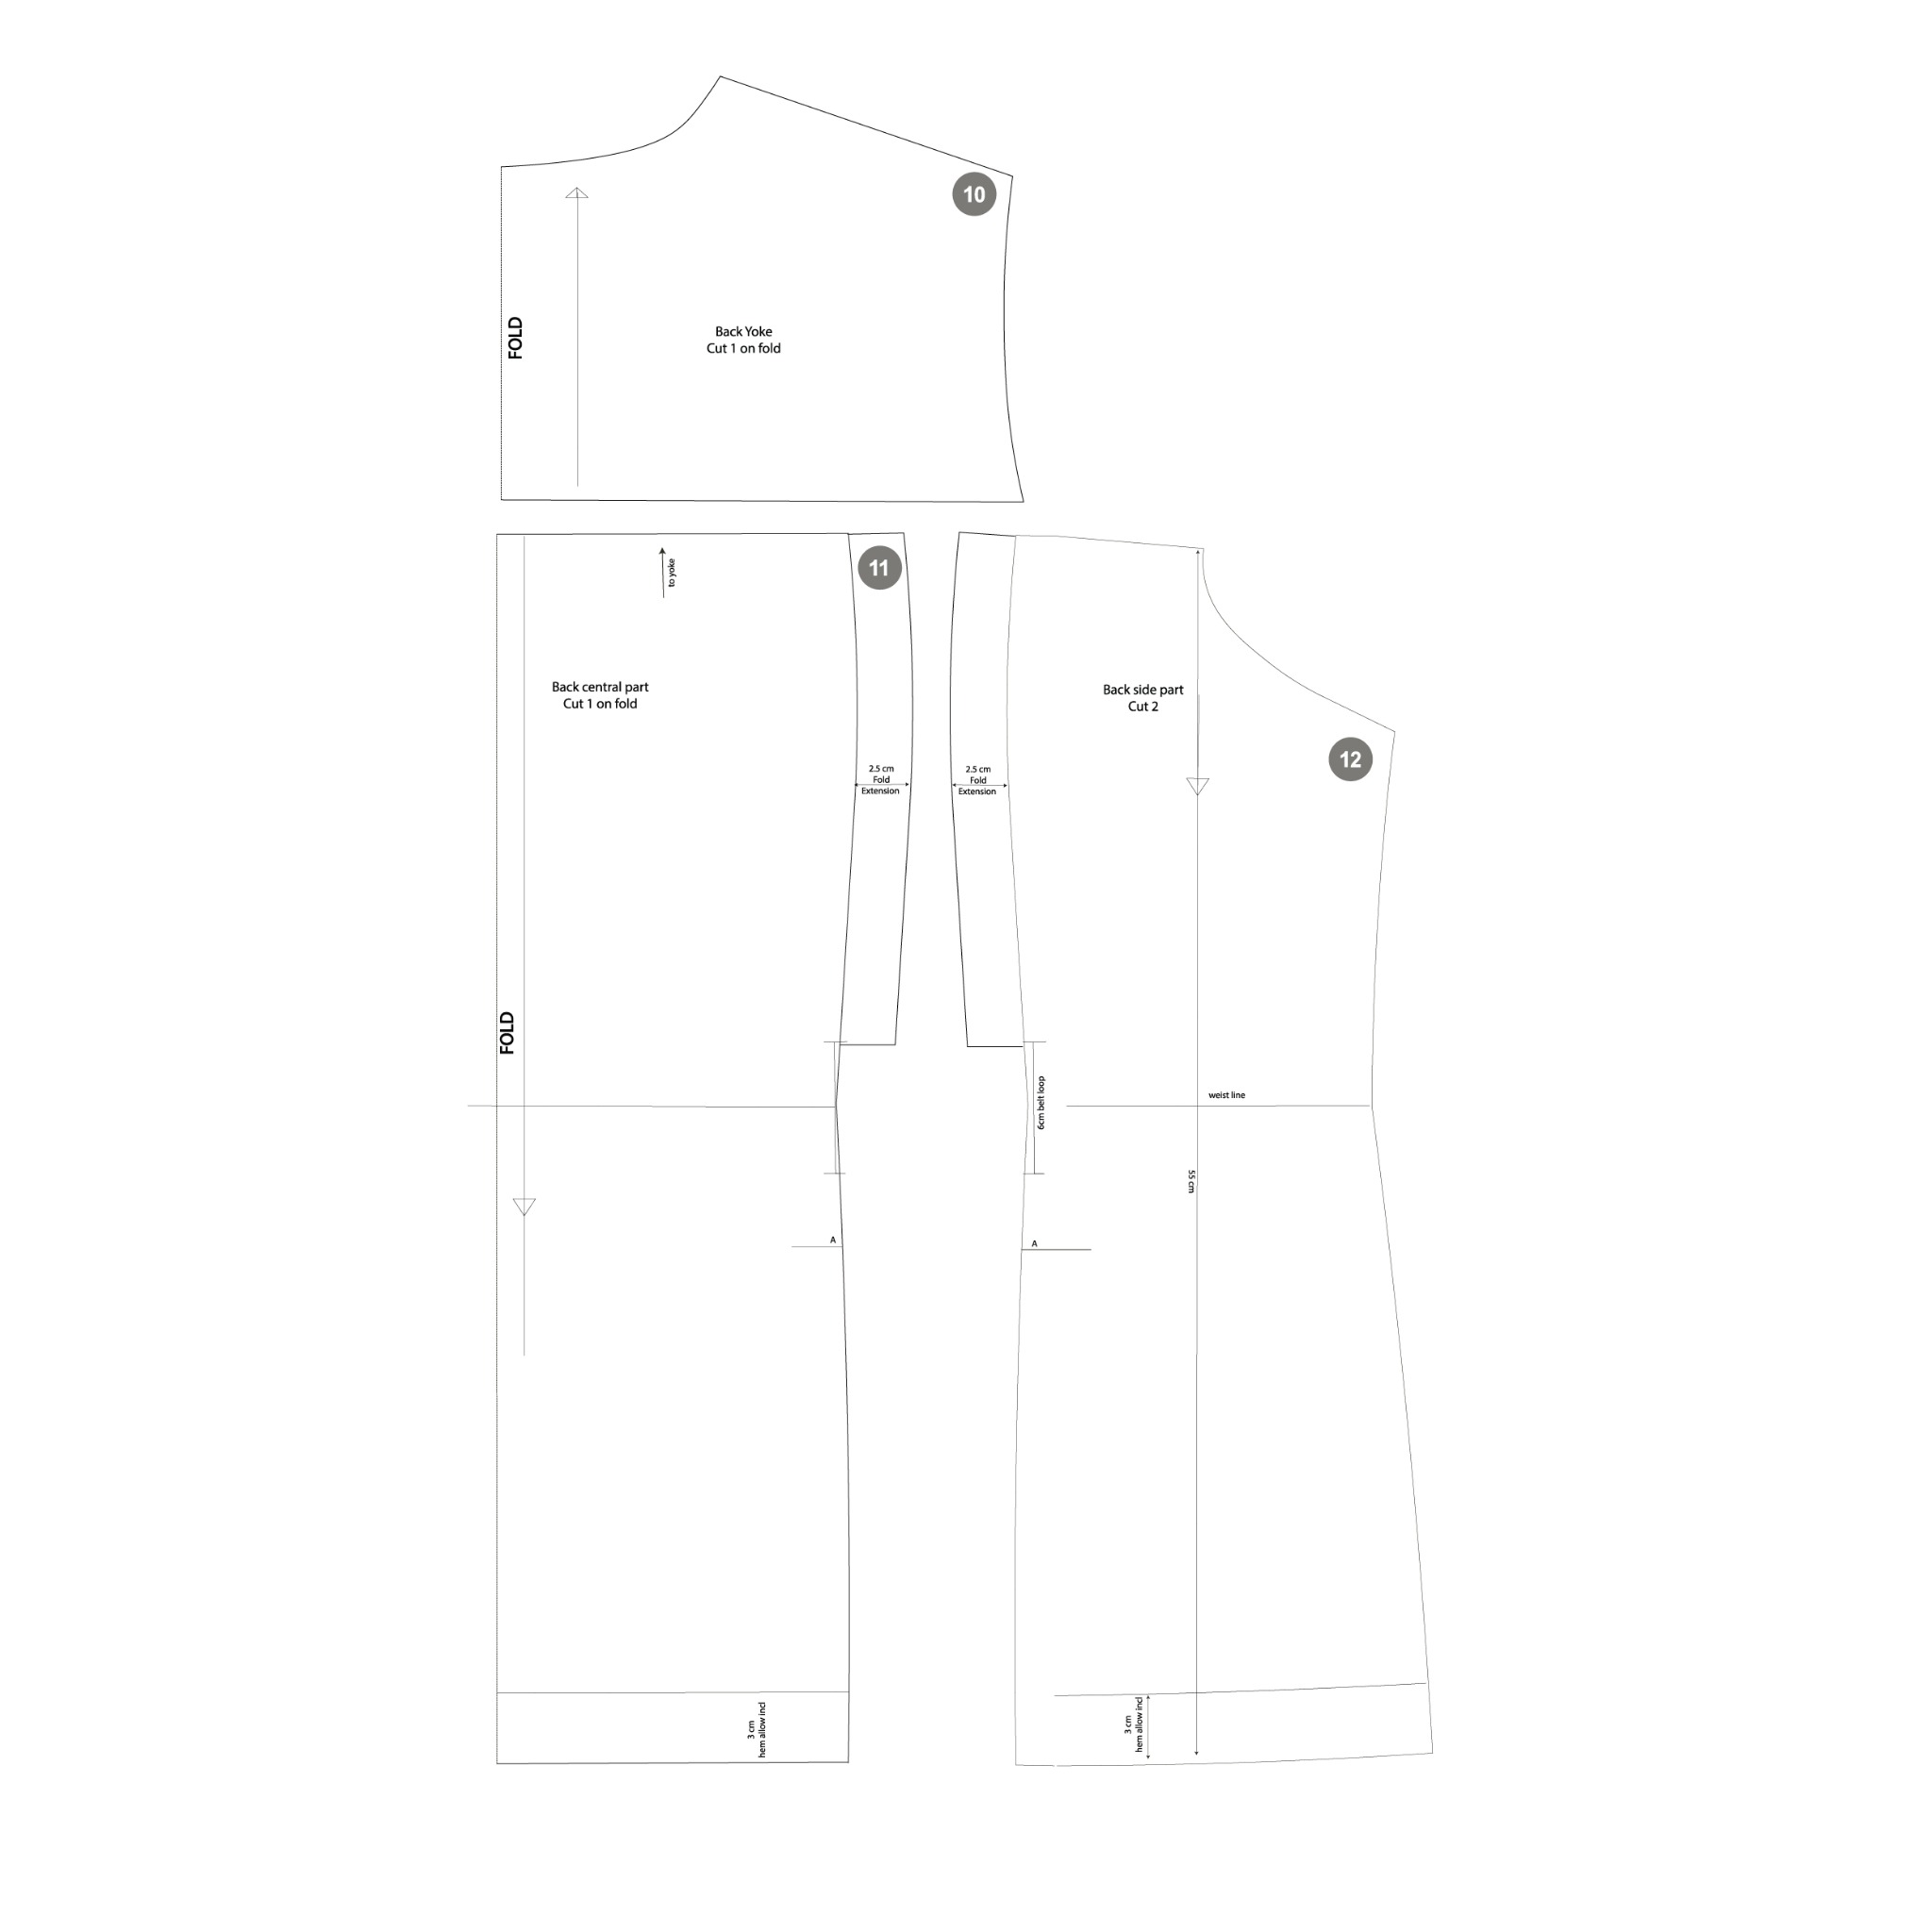
I’m using the back pieces from my safari jacket pattern: the yoke, centre back and side backs. The centre back is cut on the fold, with a pleat where it meets each side back.
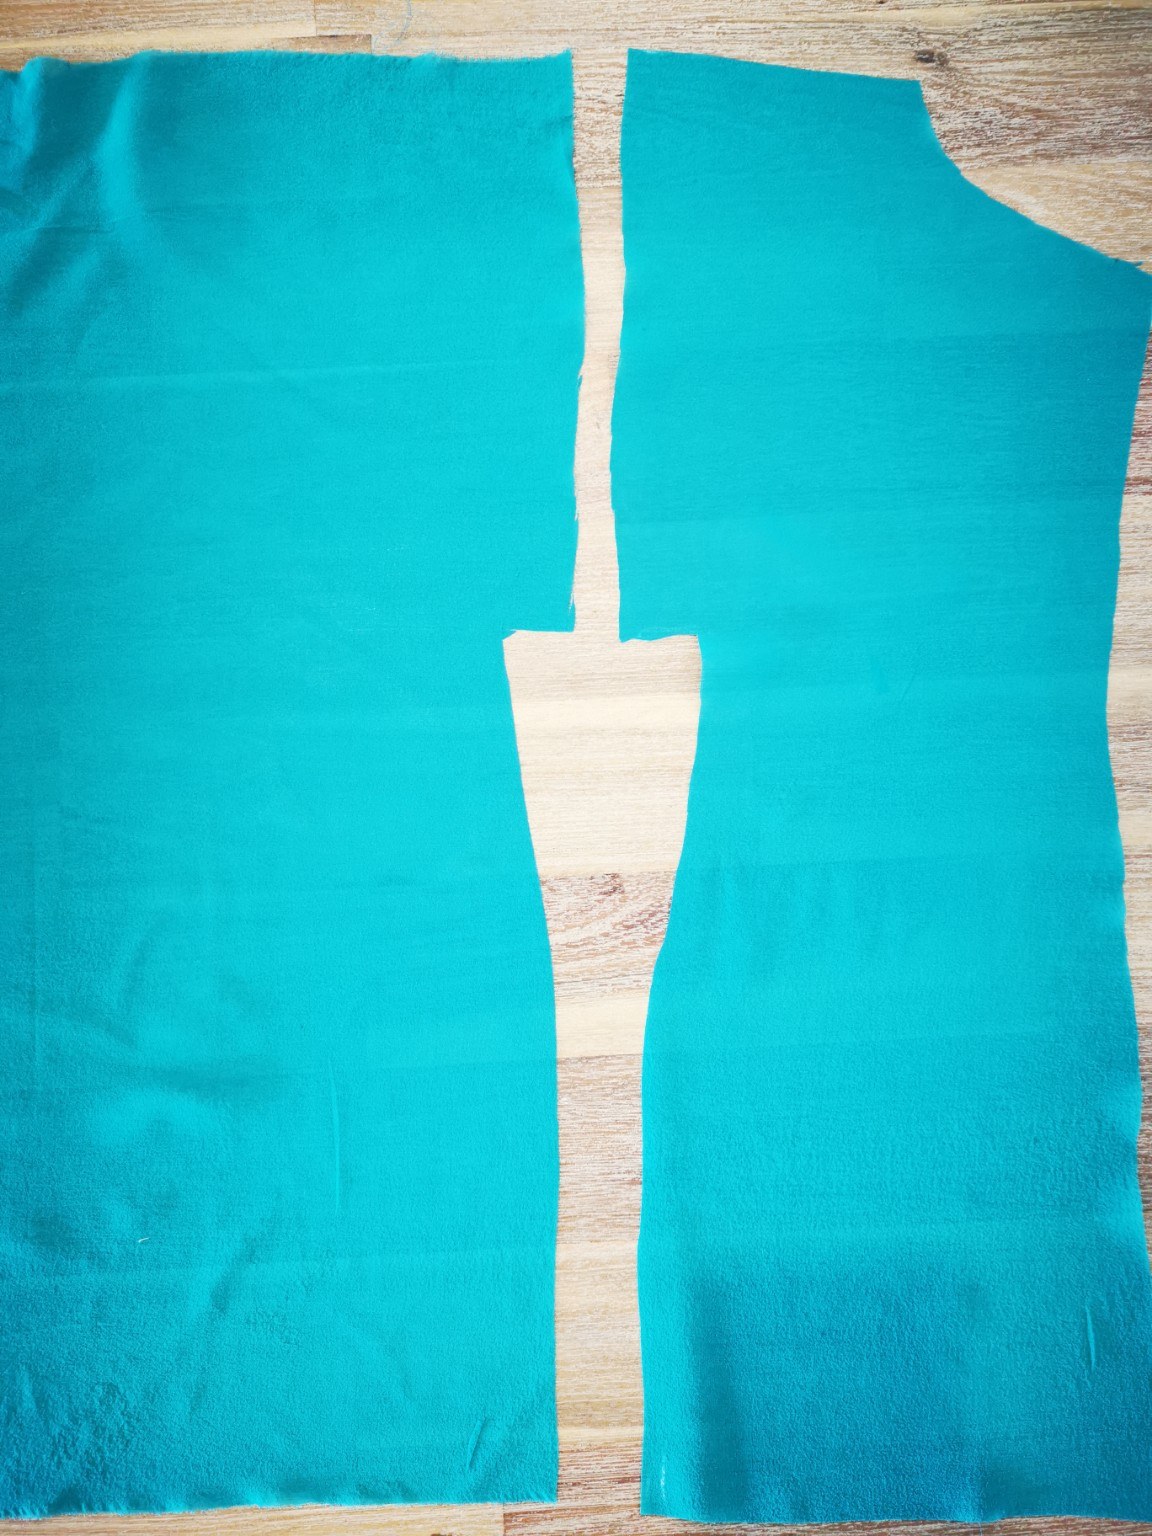
In this version, the pleats are about 23 cm long, with about 2 cm extra at the base for securing them. Below each pleat, the join continues as an ordinary seam. The turquoise photographs show one side of the back.
Step 1: Join the upper section
Join the centre-back and side-back pieces along the shoulder-blade section. Leave the lower edges separate.
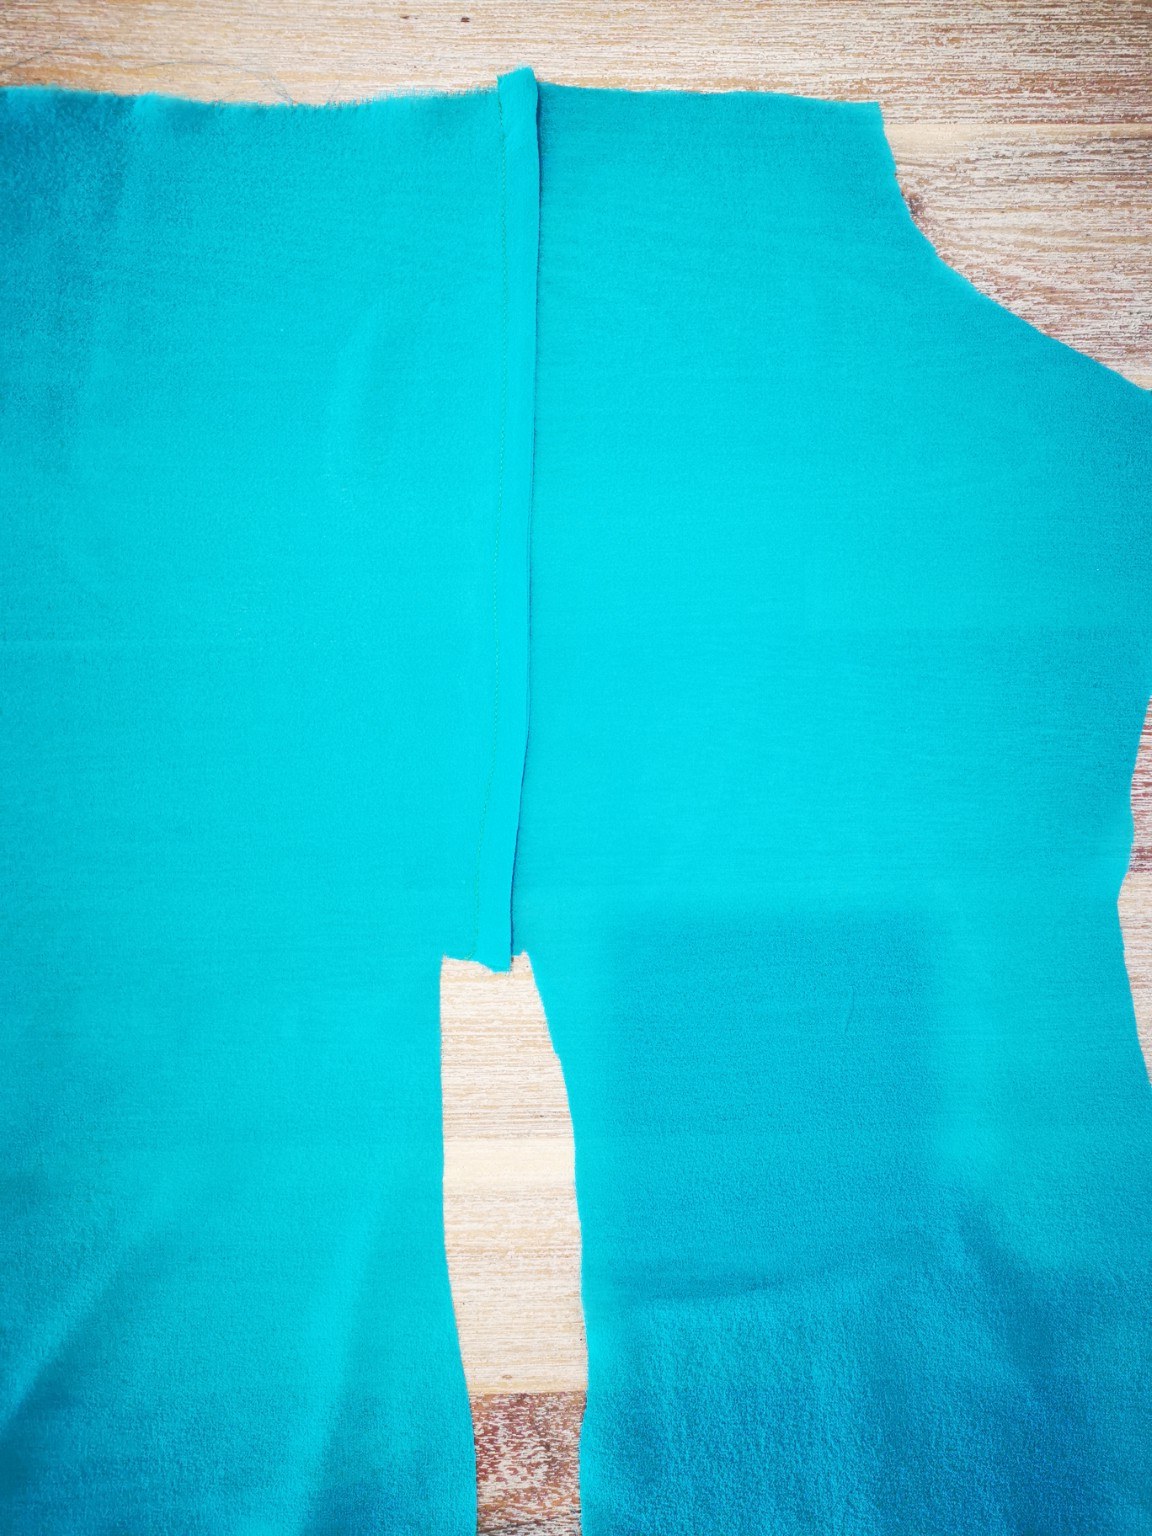
Step 2: Sew the lower seam
Join the lower section of the same seam. Leave the short crosswise opening at the base of the pleat unstitched.
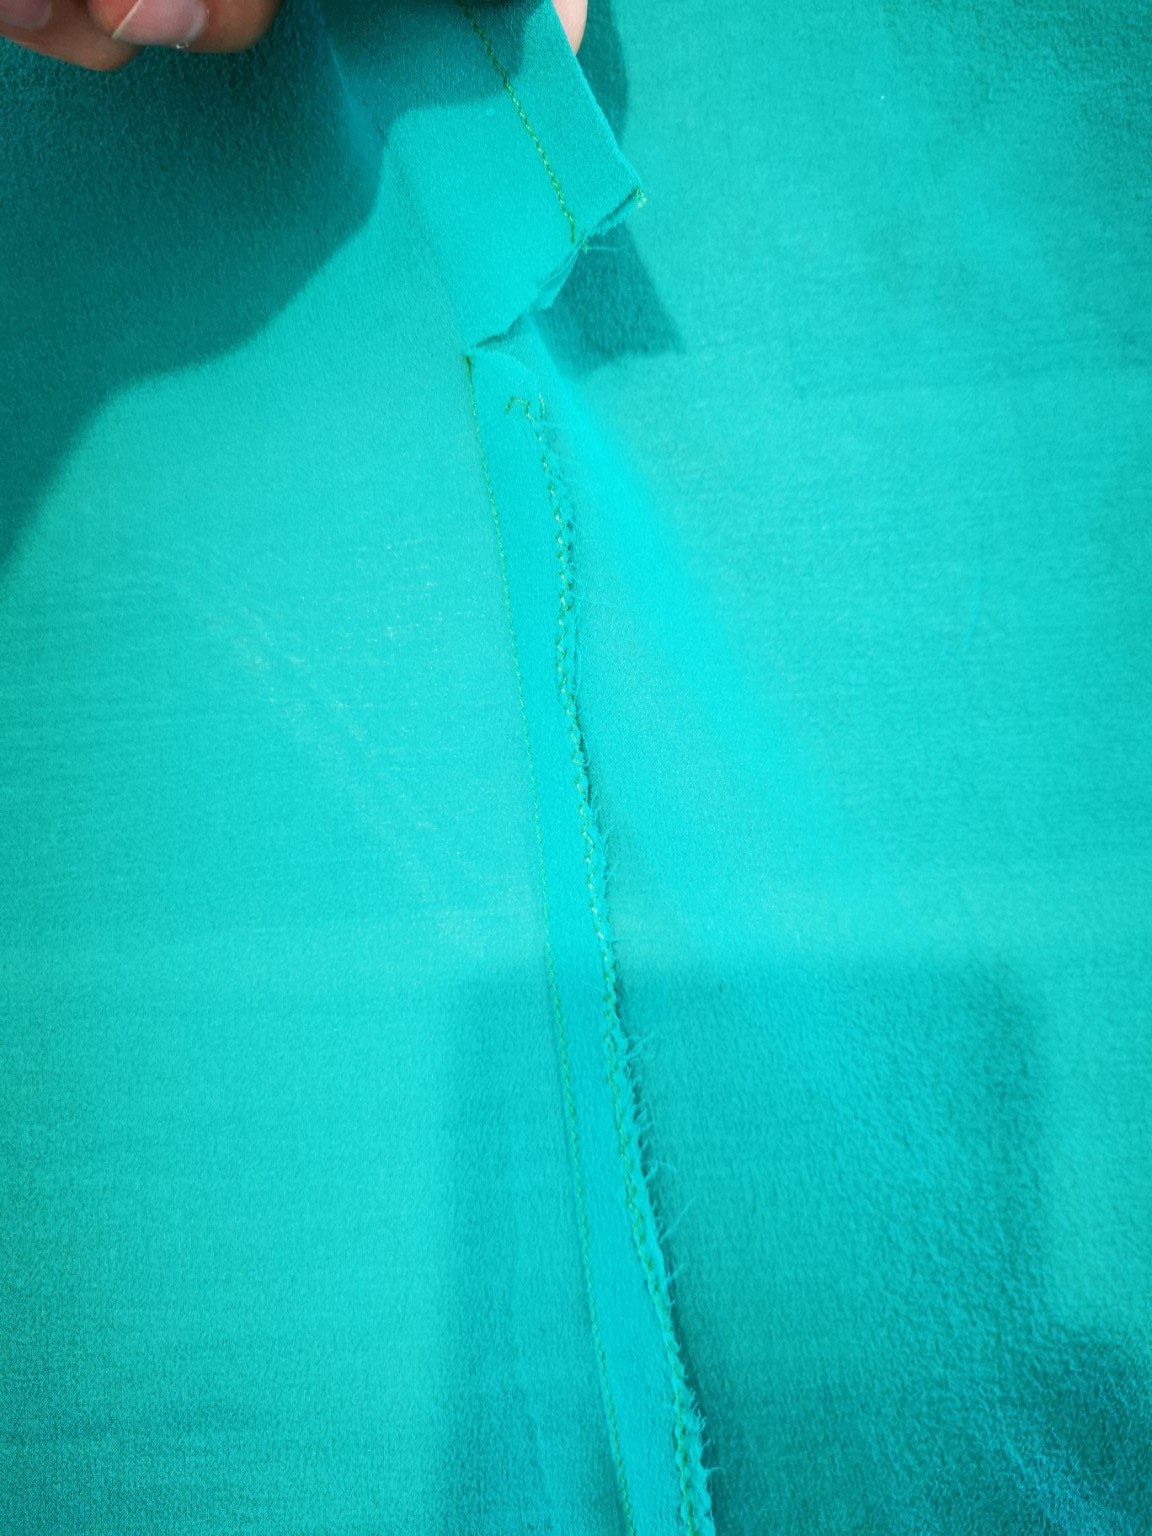
Step 3: Fold and press the pleat
Fold the 2.5 cm pleat allowances inward, bringing the folded edges together at the centre of the pleat. Press.
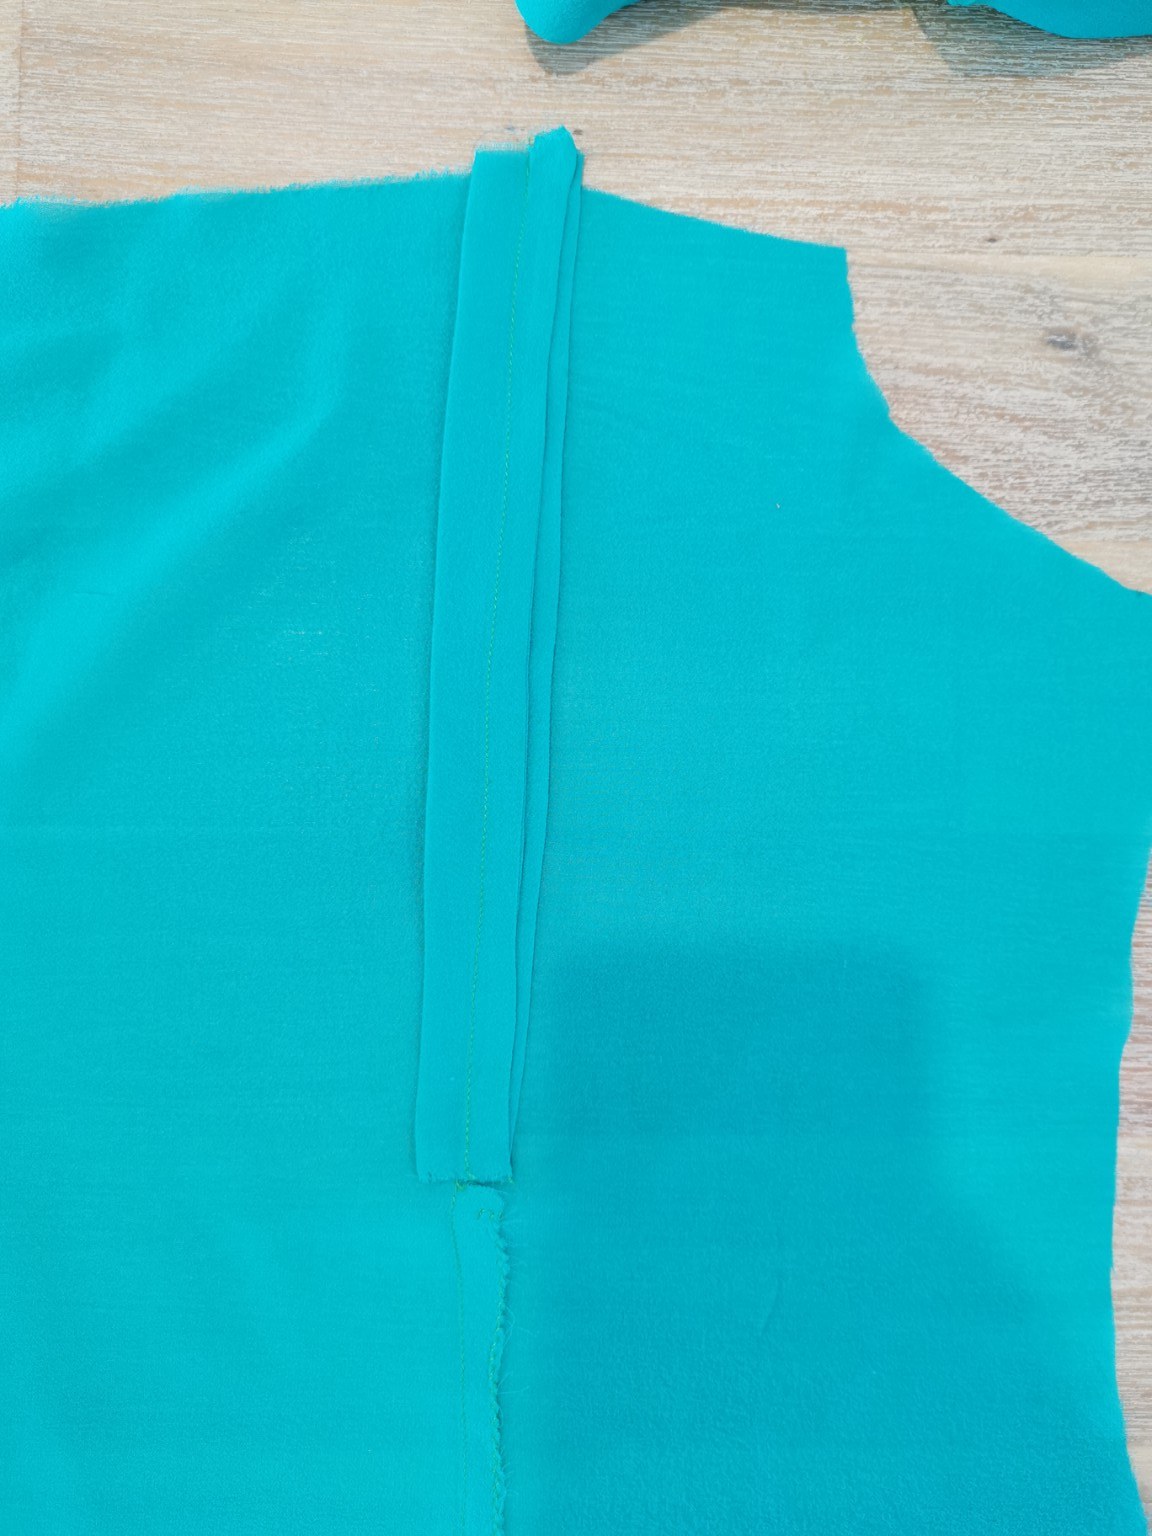
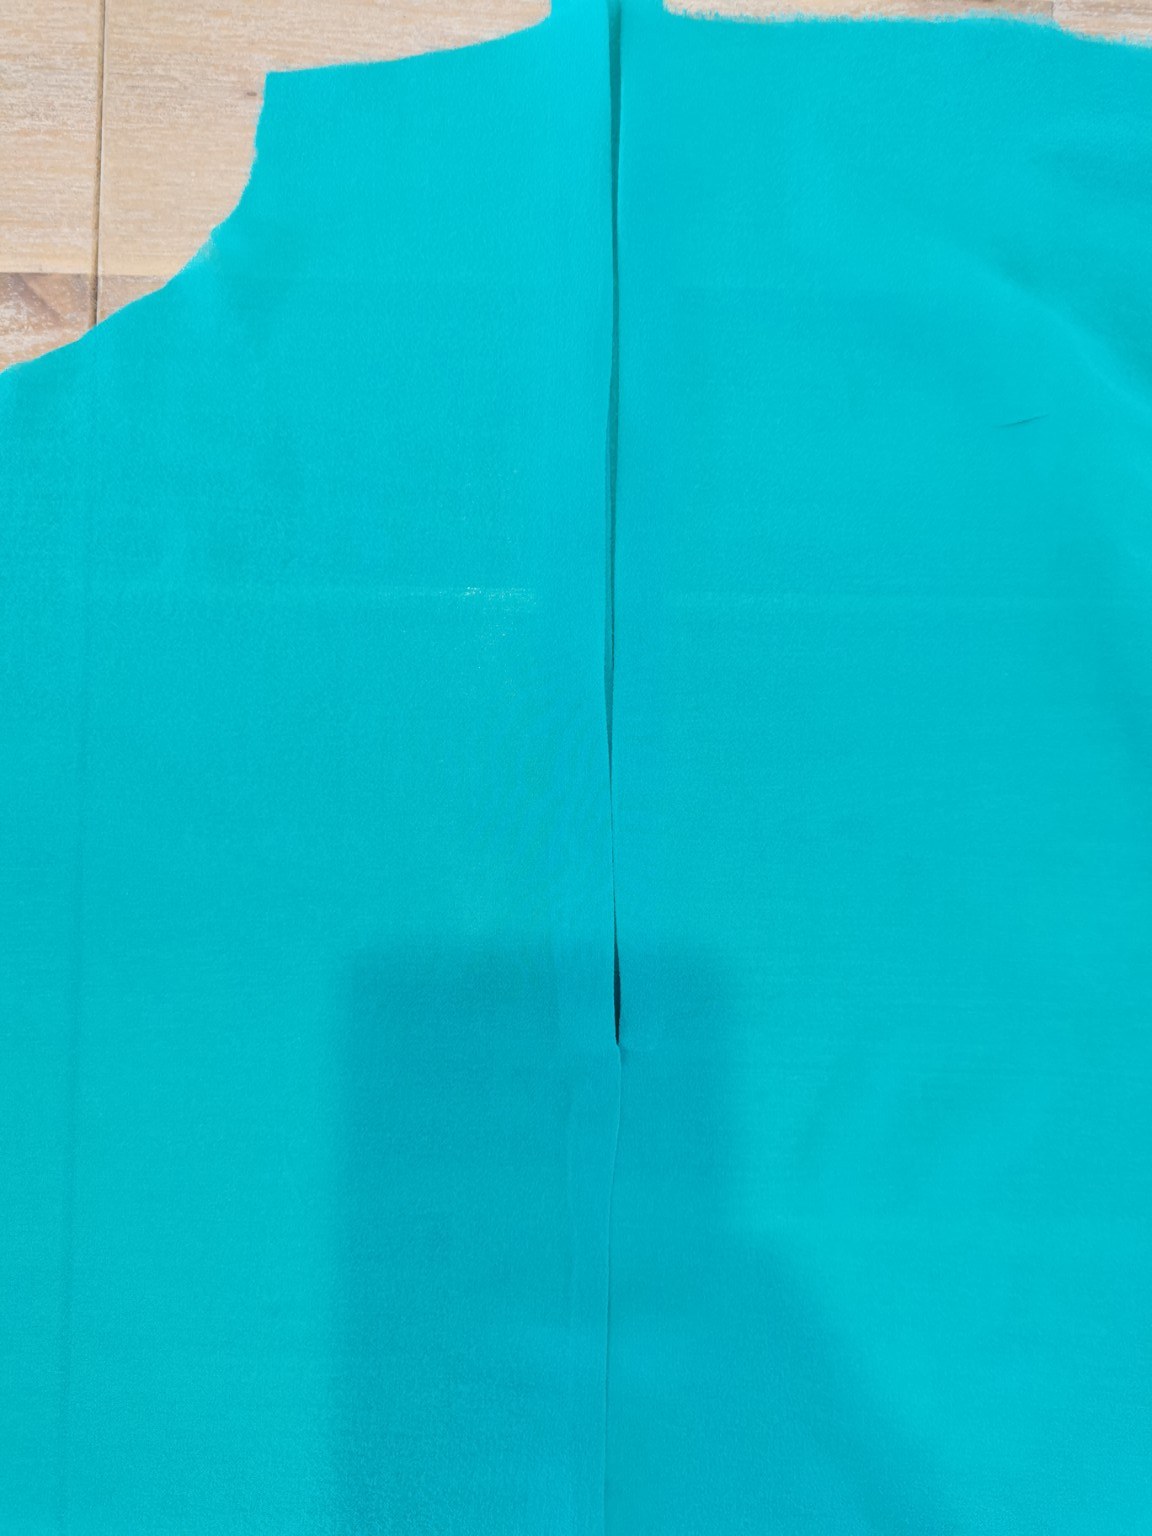
Step 4: Topstitch each side separately
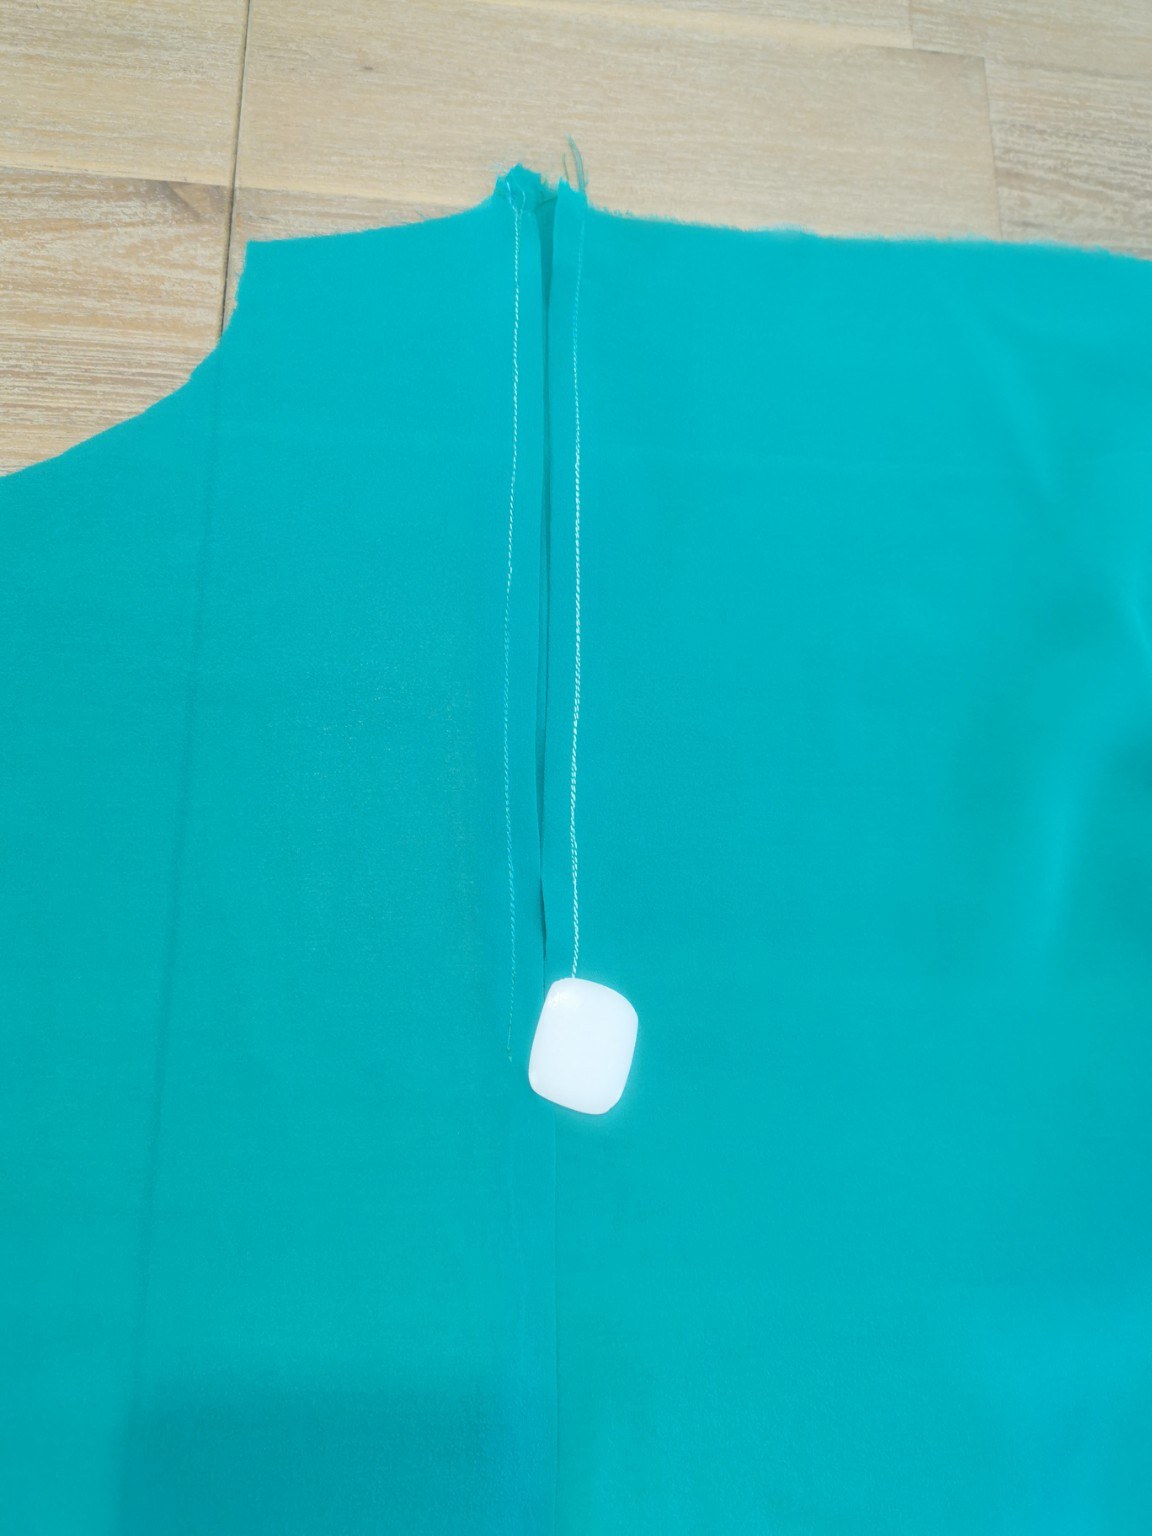
Topstitch each side of the pleat separately, 7 mm from the fold. Keep the jacket body underneath clear of the stitching so the pleat remains free to open.
Step 5: Secure the lower end
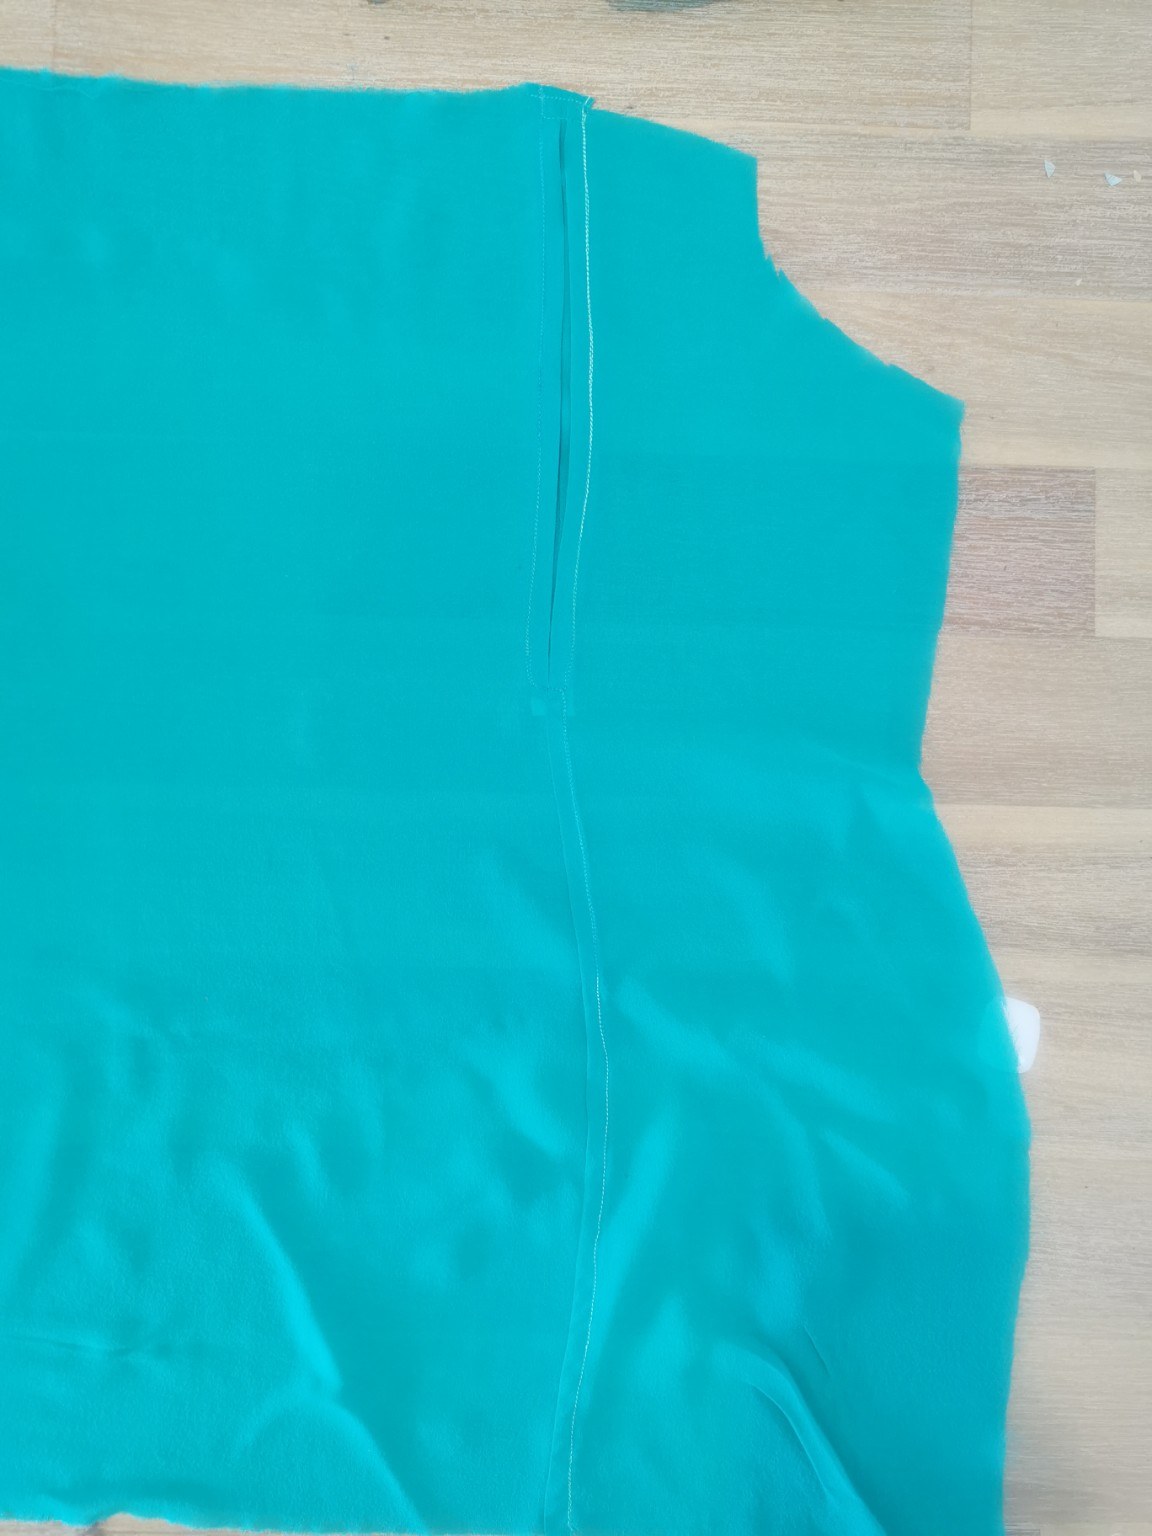
Lay the pleat flat in its pressed position. Stitch across its lower end and the short crosswise opening, then continue the same line of topstitching down the lower back seam.
Step 6: Secure the top
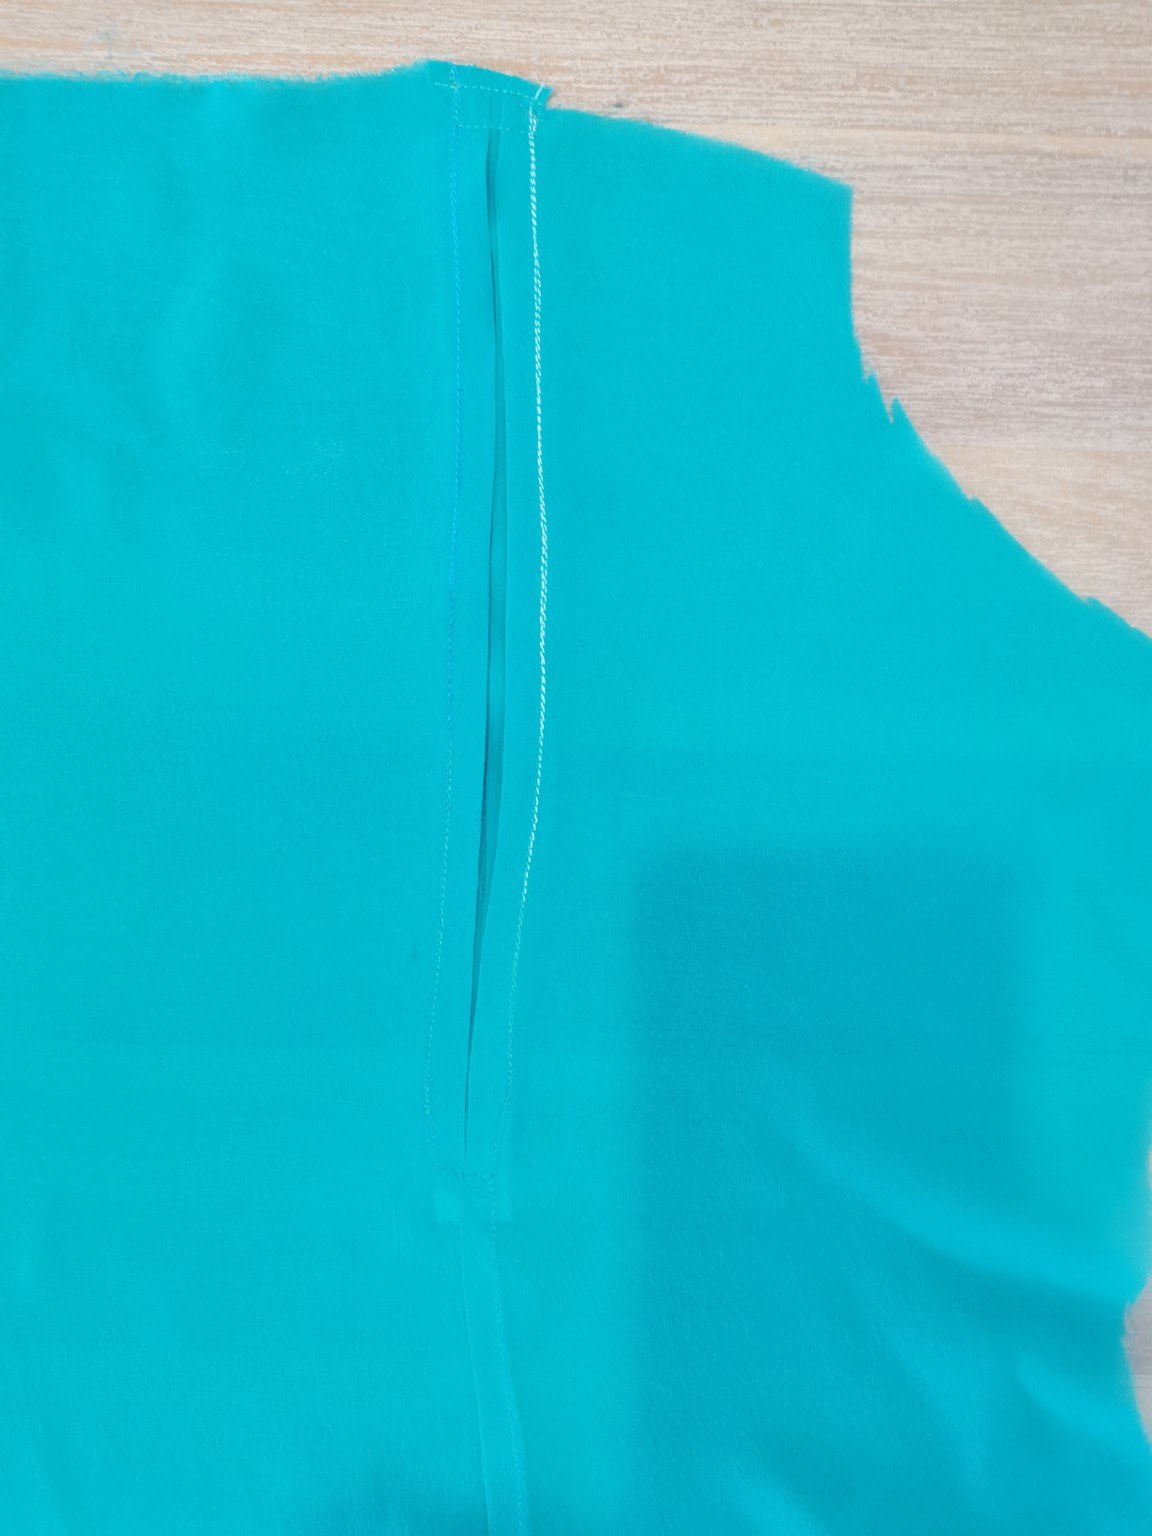
Secure the top 1.5 cm of the pleat before attaching the yoke. Repeat on the other side.
For next time
I tried several ways of sewing these pleats before settling on this one. I don’t make them every day, so these steps are a useful reminder for me, too.
The pattern behind this jacket is on my safari jacket page, and also in my portfolio on Adobe Stock.