



Safari Jacket / Sewing detail
Sewing the inverted-pleat pockets
I love this safari jacket pattern. It suits slim figures, but I especially like how well it works for a fuller waist.
My first version became a sturdy travelling jacket. The silk version is now finished too: the same fit, made light enough for everyday walks in our hot climate.
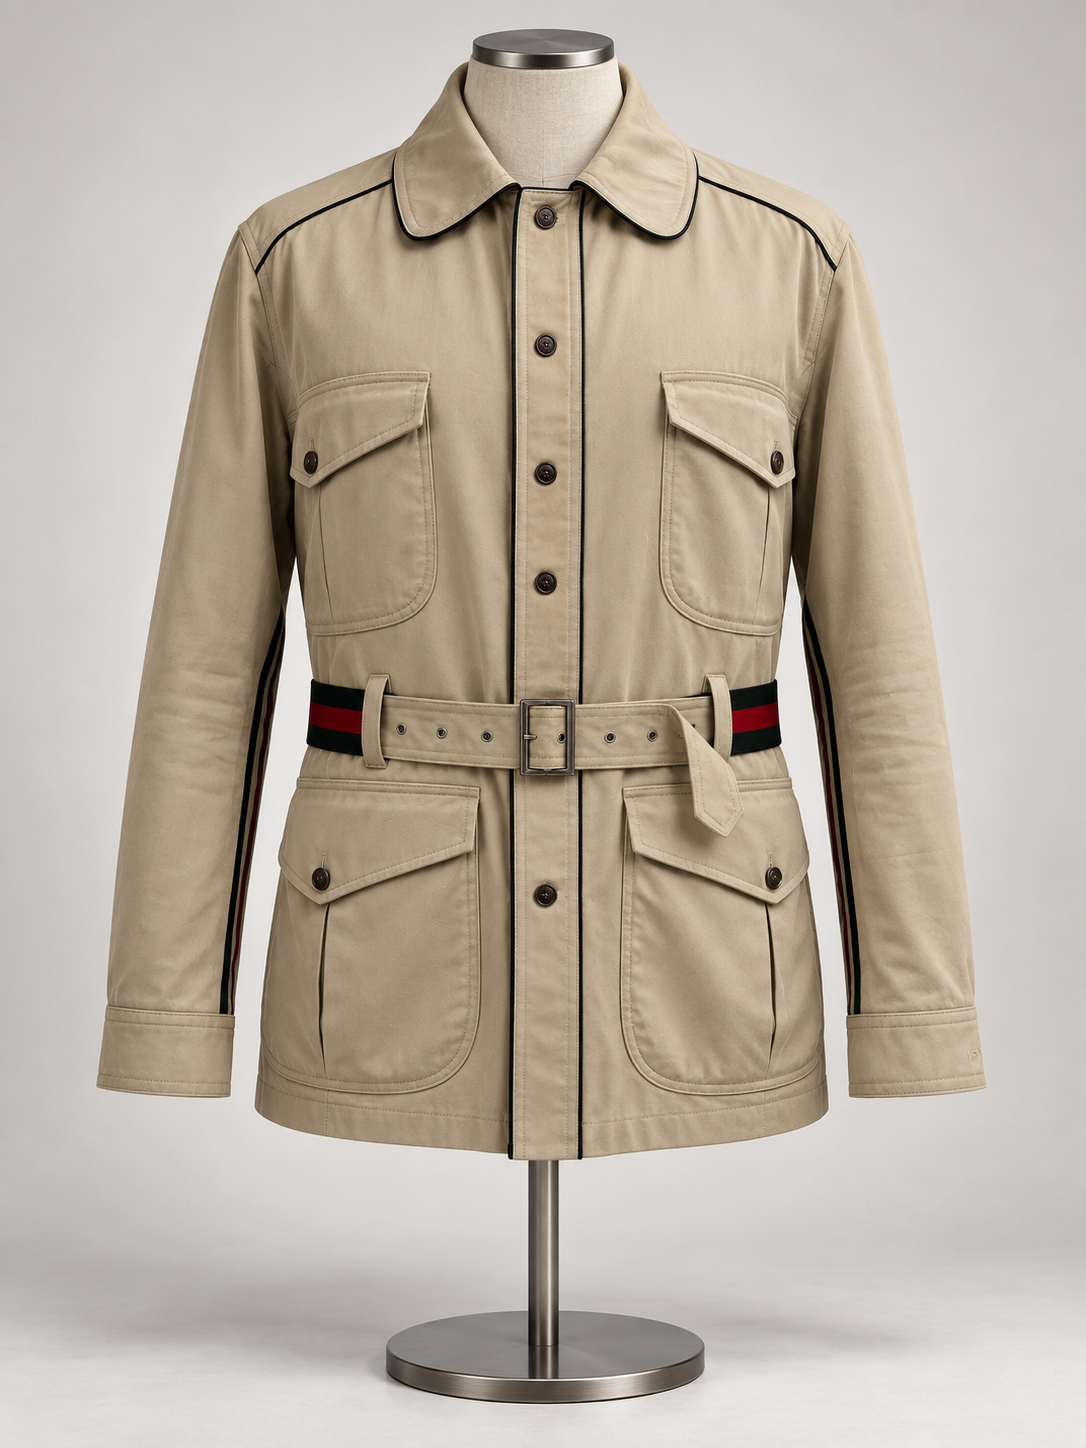
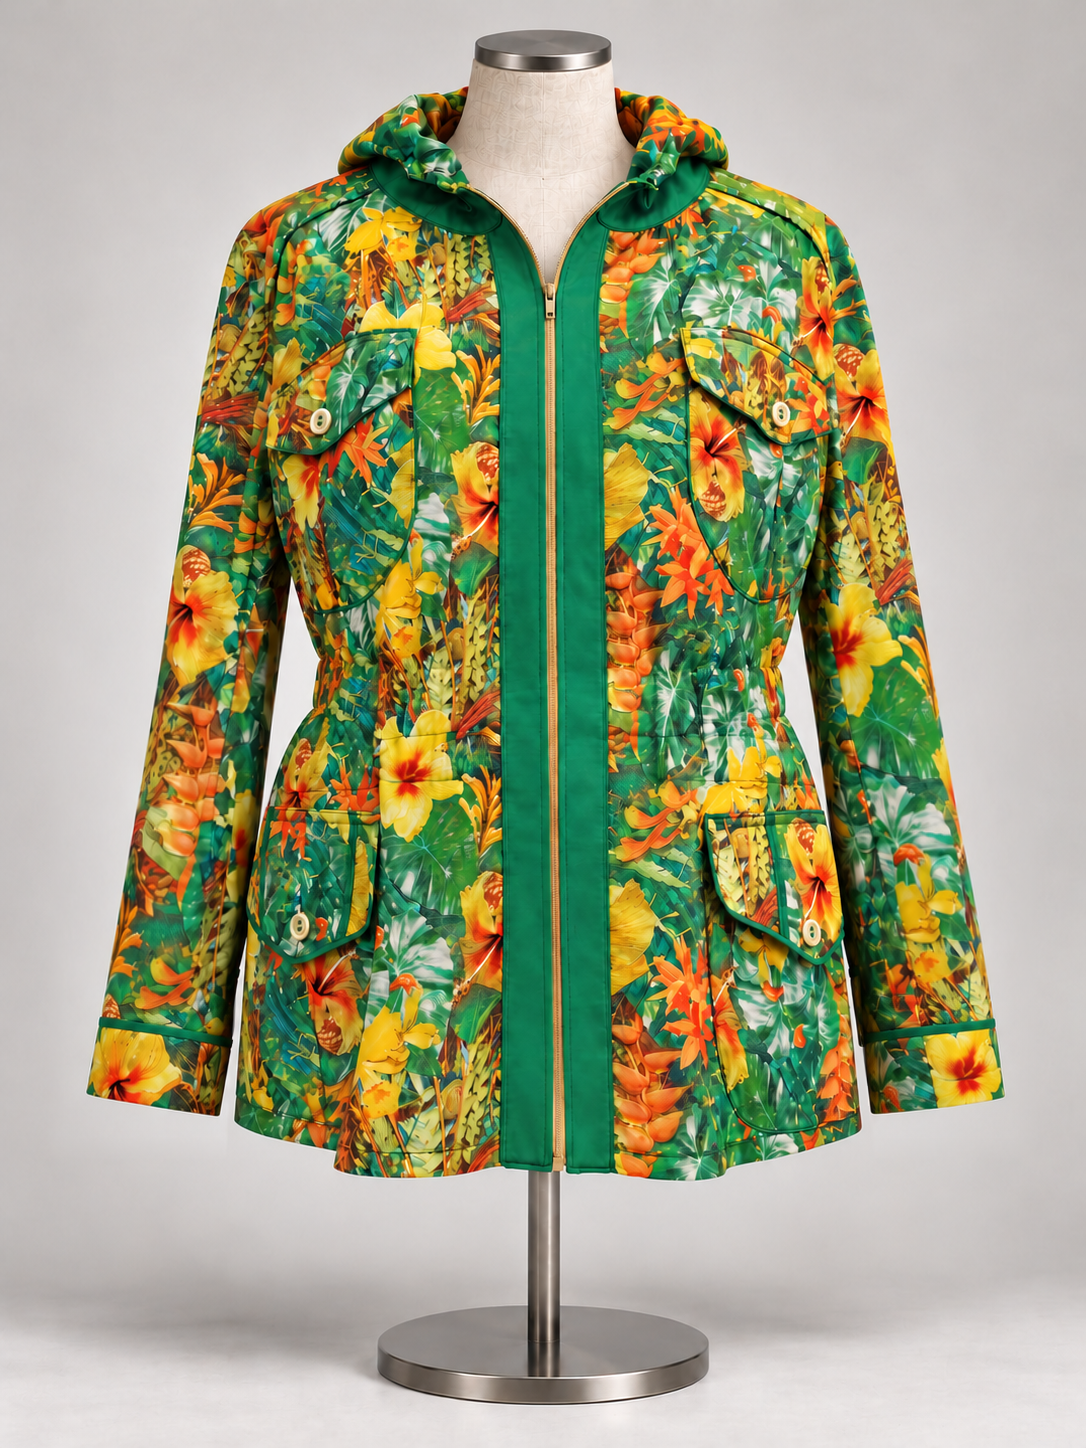
For this version I used the hood and waist-casing placement from my men’s military-style parka pattern. The hood replaces the collar, and elastic in the casing replaces the belt and loops. It keeps the waist shaped, with nothing extra to fasten or adjust.
An inverted box pleat gives these pockets room to open without a separate strip around the sides and bottom. I don’t find them difficult to sew, but the folds and lining are easier to follow step by step.
Step 1: Prepare the pocket and flap pieces
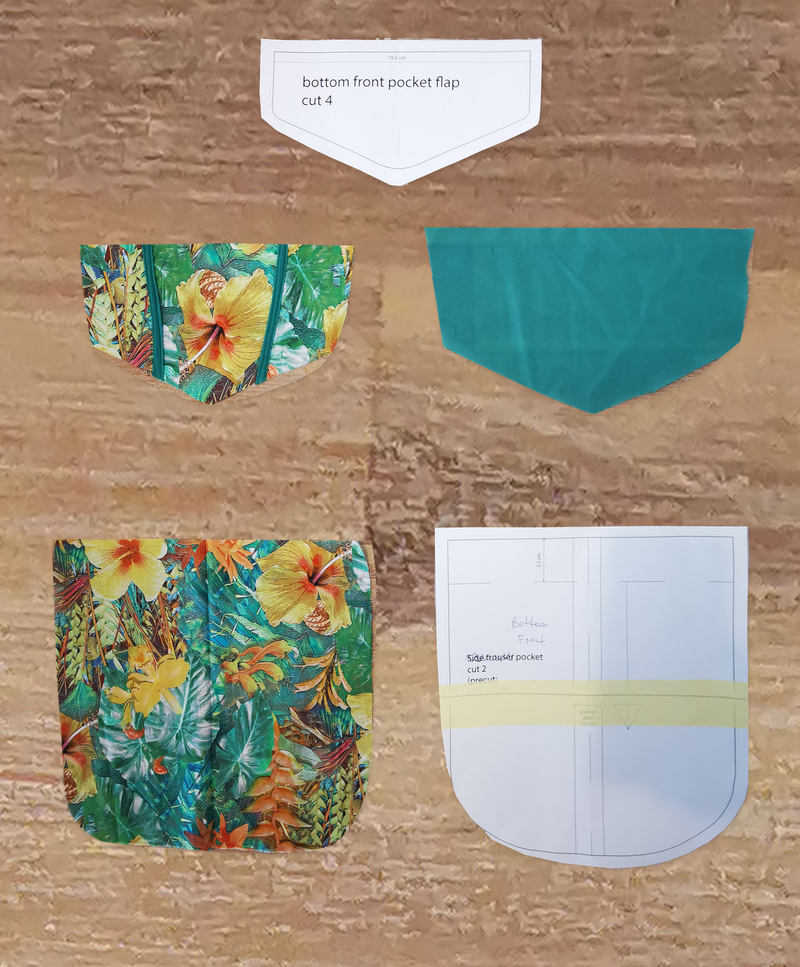
The printed silk makes the pocket and flap; the green silk lines both. The pocket has a cut-on facing: the extra fabric at the opening folds inside to finish the top edge.
Use the fold and stitching marks on the pattern. On this pocket, the facing is 3.5 cm deep and the inverted pleat is marked 1 + 1 cm.
Step 2: Piece the flap, if needed
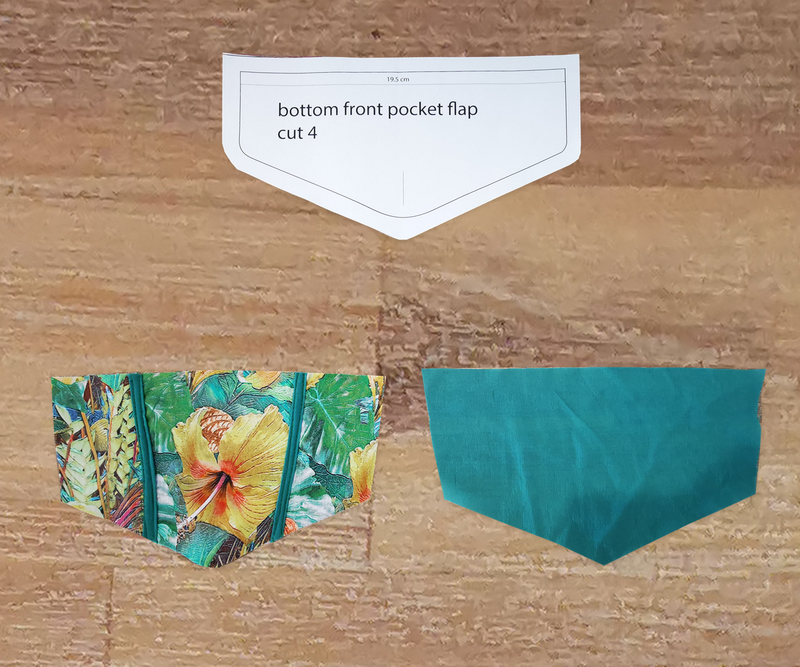
If you’re short of fabric, you can divide a piece and use colour blocking. Here, two green strips form part of the flap.
Step 3: Reinforce the opening and pleat end
On the wrong side of the pocket, fuse interfacing across the opening allowance and over the lower end of the pleat.
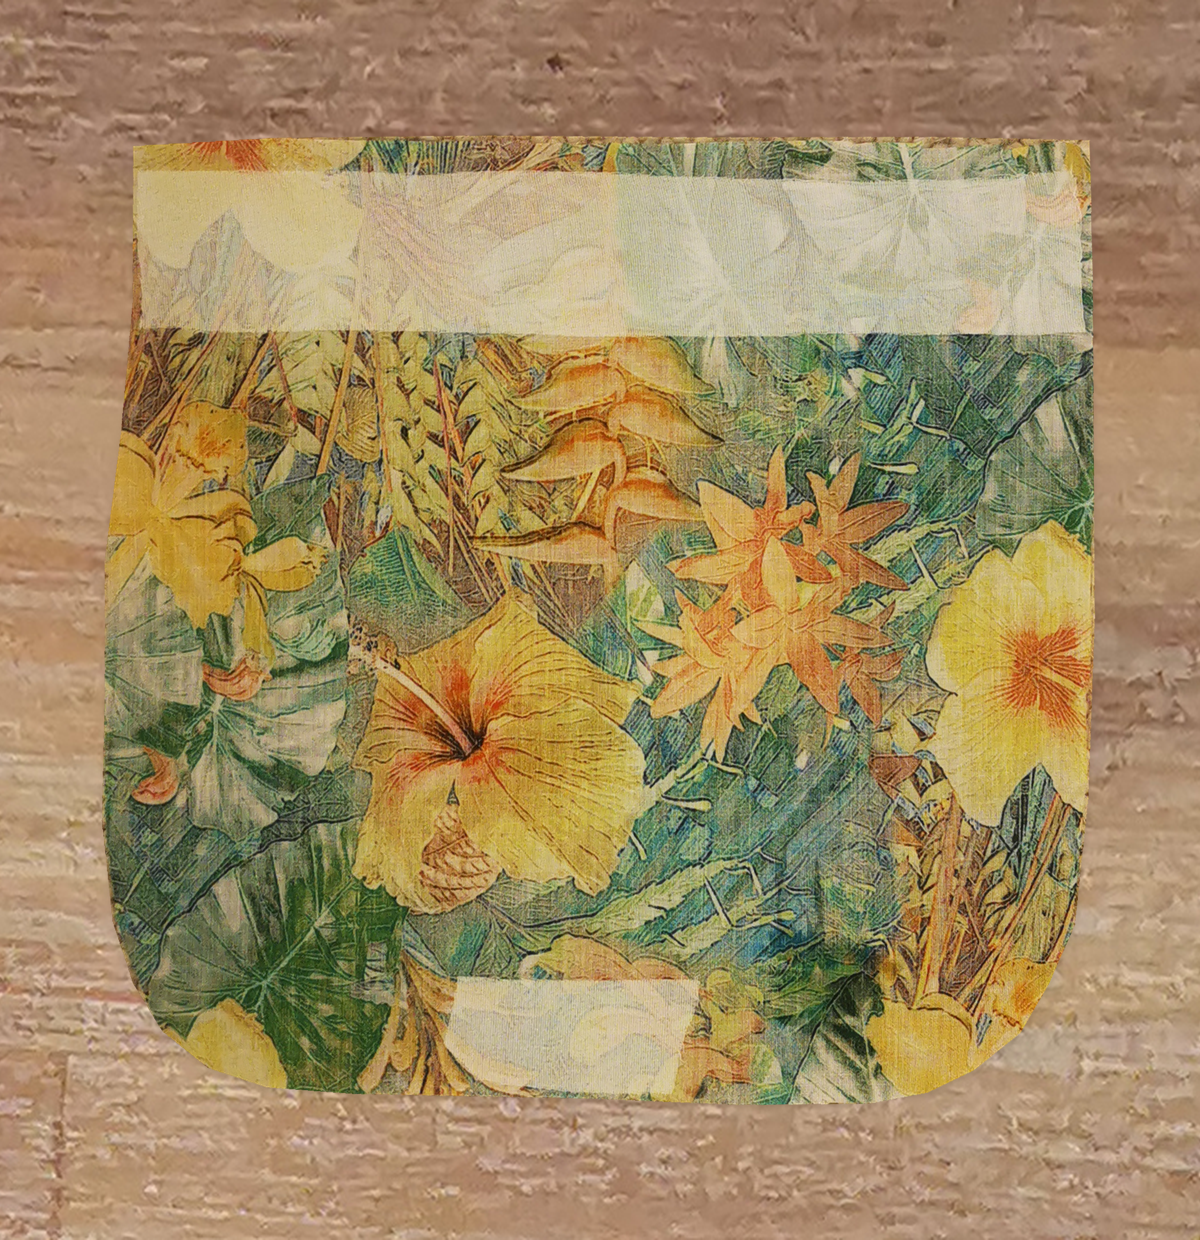
Step 4: Mark and stitch the pleat
Transfer the pleat marks to the fabric. Fold the pocket lengthwise, right sides together, matching the stitching marks. Press the centre fold.
Stitch along the marked line for 1.5–2.5 cm from the top and bottom edges. Leave the middle unstitched so the pleat can open.
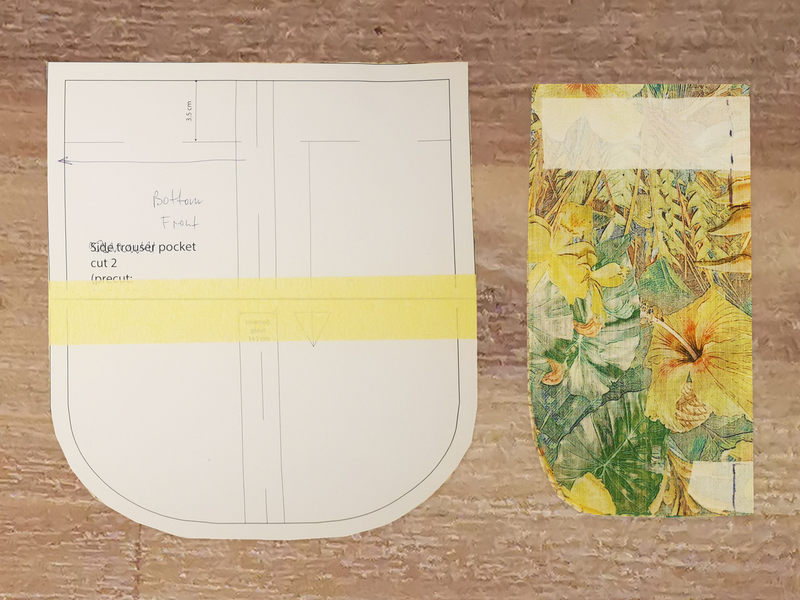
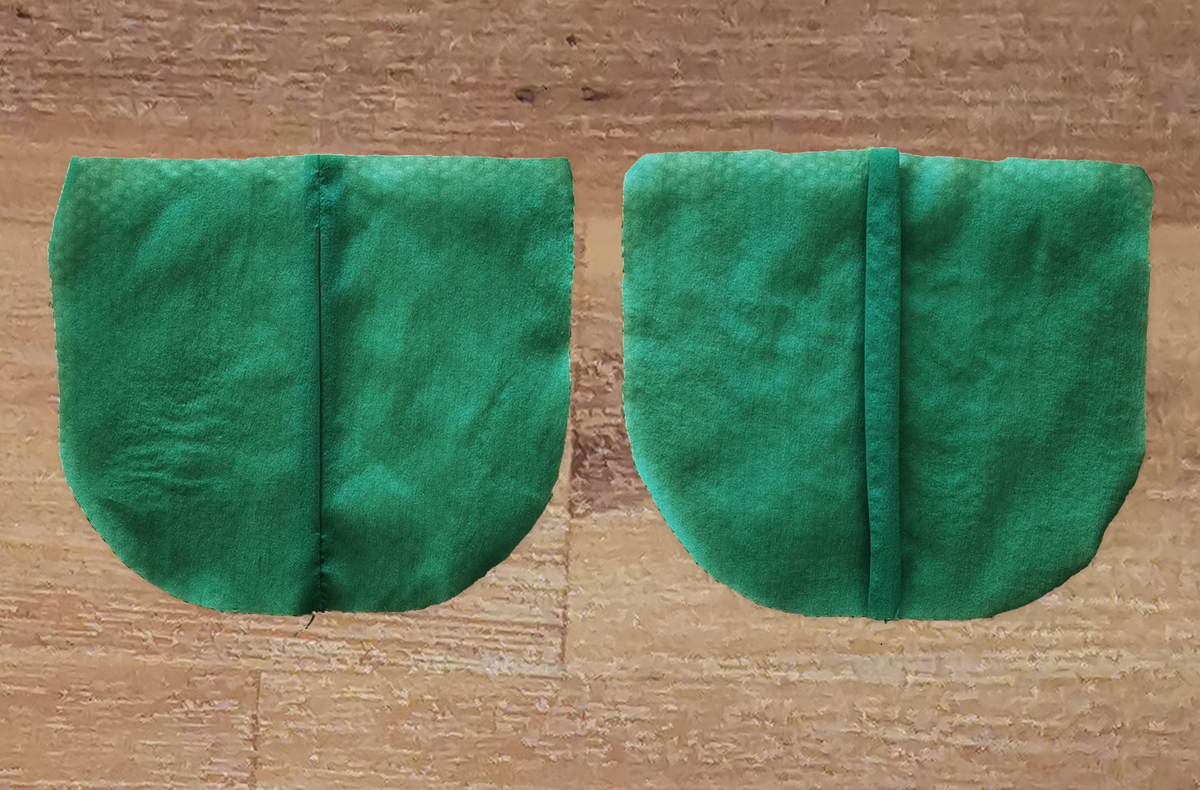
4A The stitched ends
The wrong side is facing up here. Only the two short ends are sewn; the fold between them is still free.
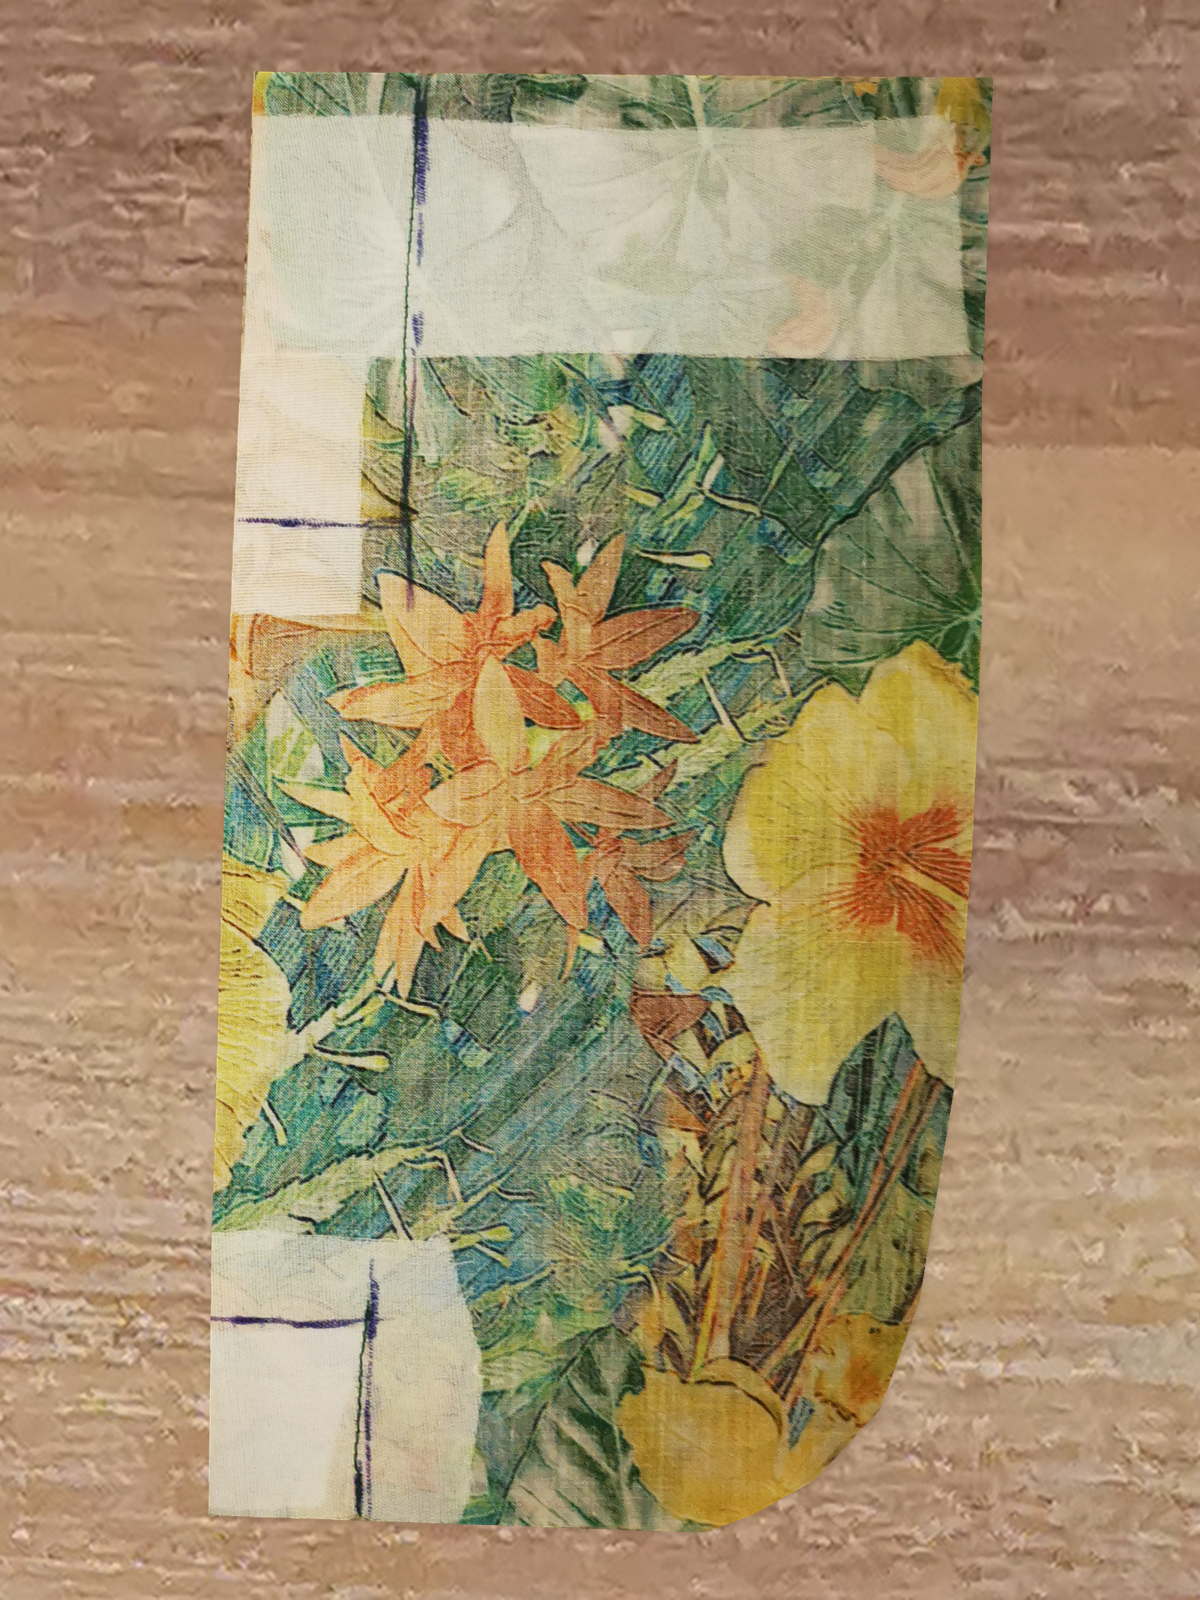
Step 5: Spread and press the pleat
On the wrong side, spread the pleat allowance evenly to either side, bringing its centre crease over the short stitched lines. Press flat.
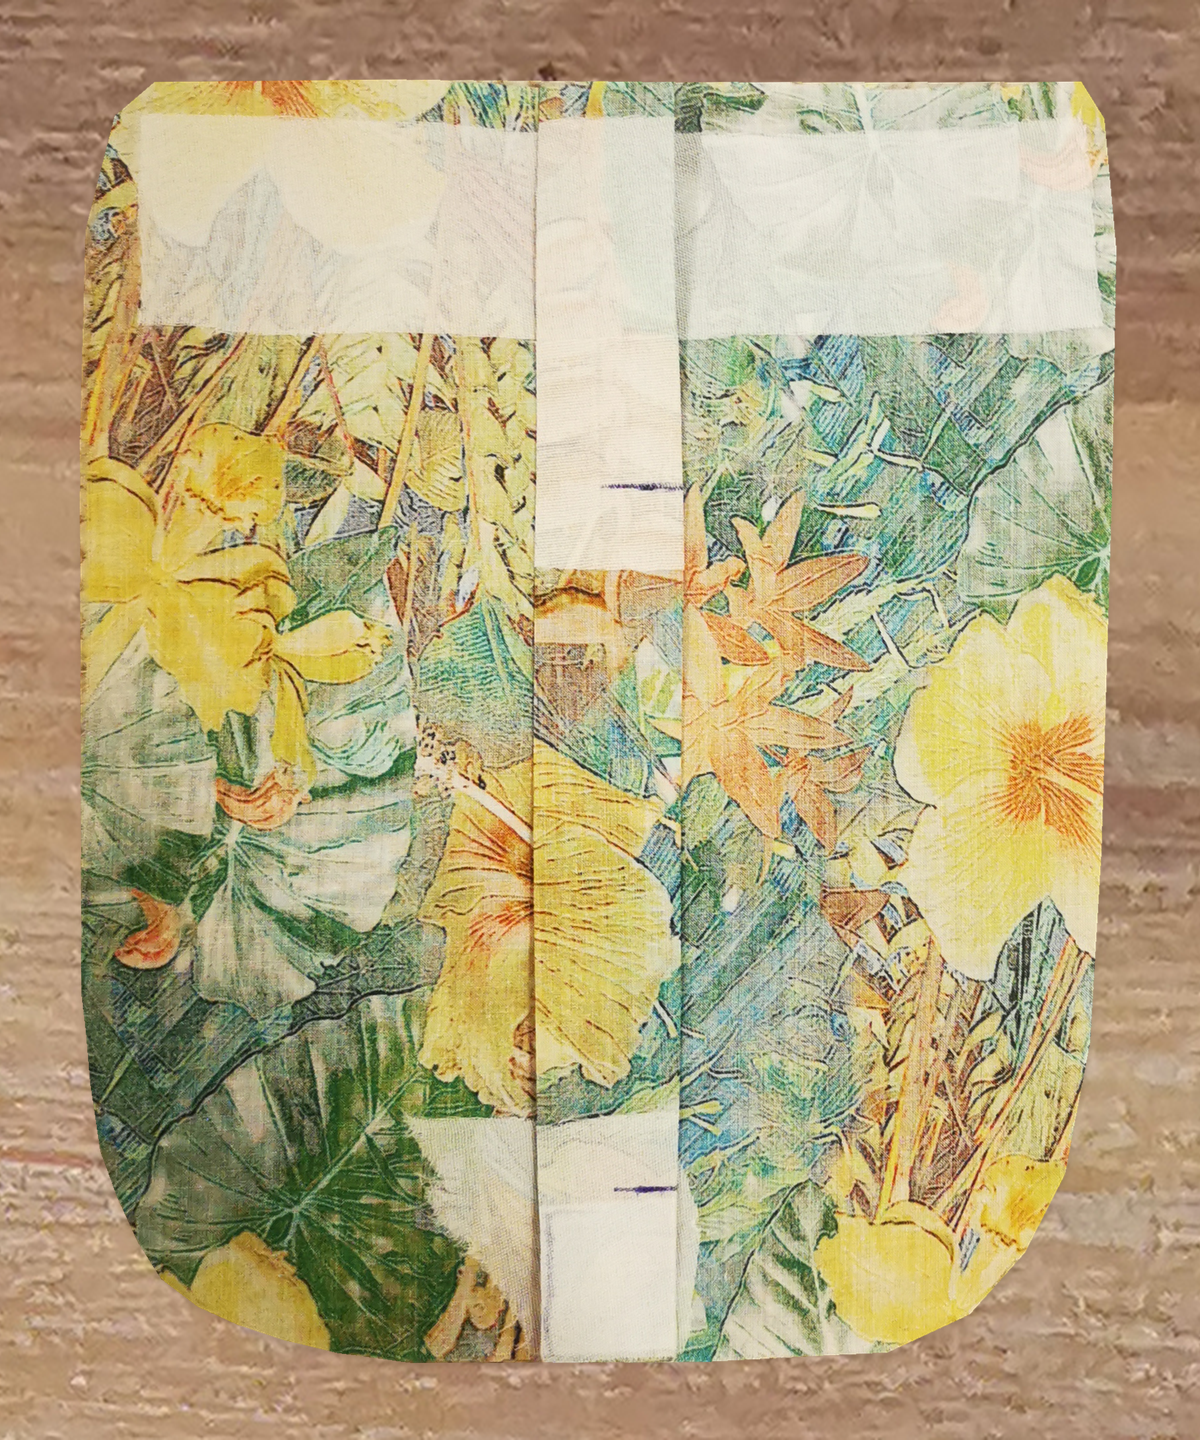
5A Keep the centre free
On the right side, the two folded edges meet down the centre. They can open between the stitched ends to give the pocket room.
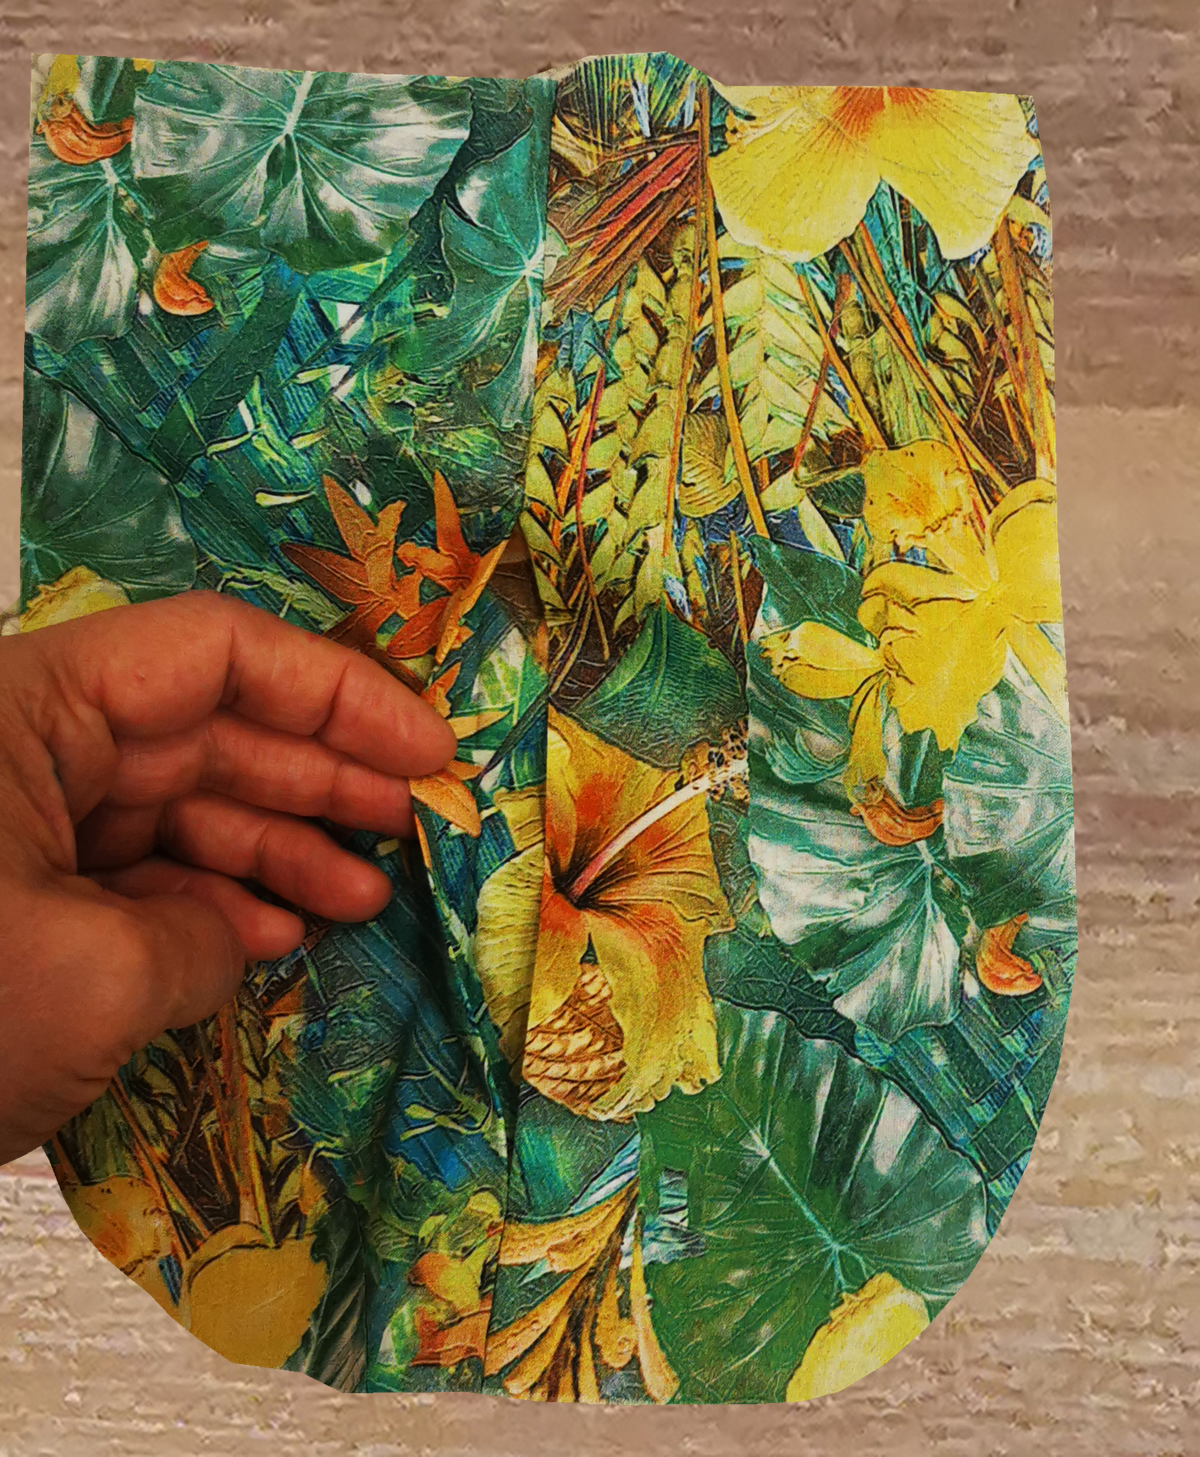
Step 6: Press the pocket opening
Fold the cut-on facing to the wrong side along the marked 3.5 cm line and press. Keep this crease: it marks the finished pocket opening and shows where the lining must reach.
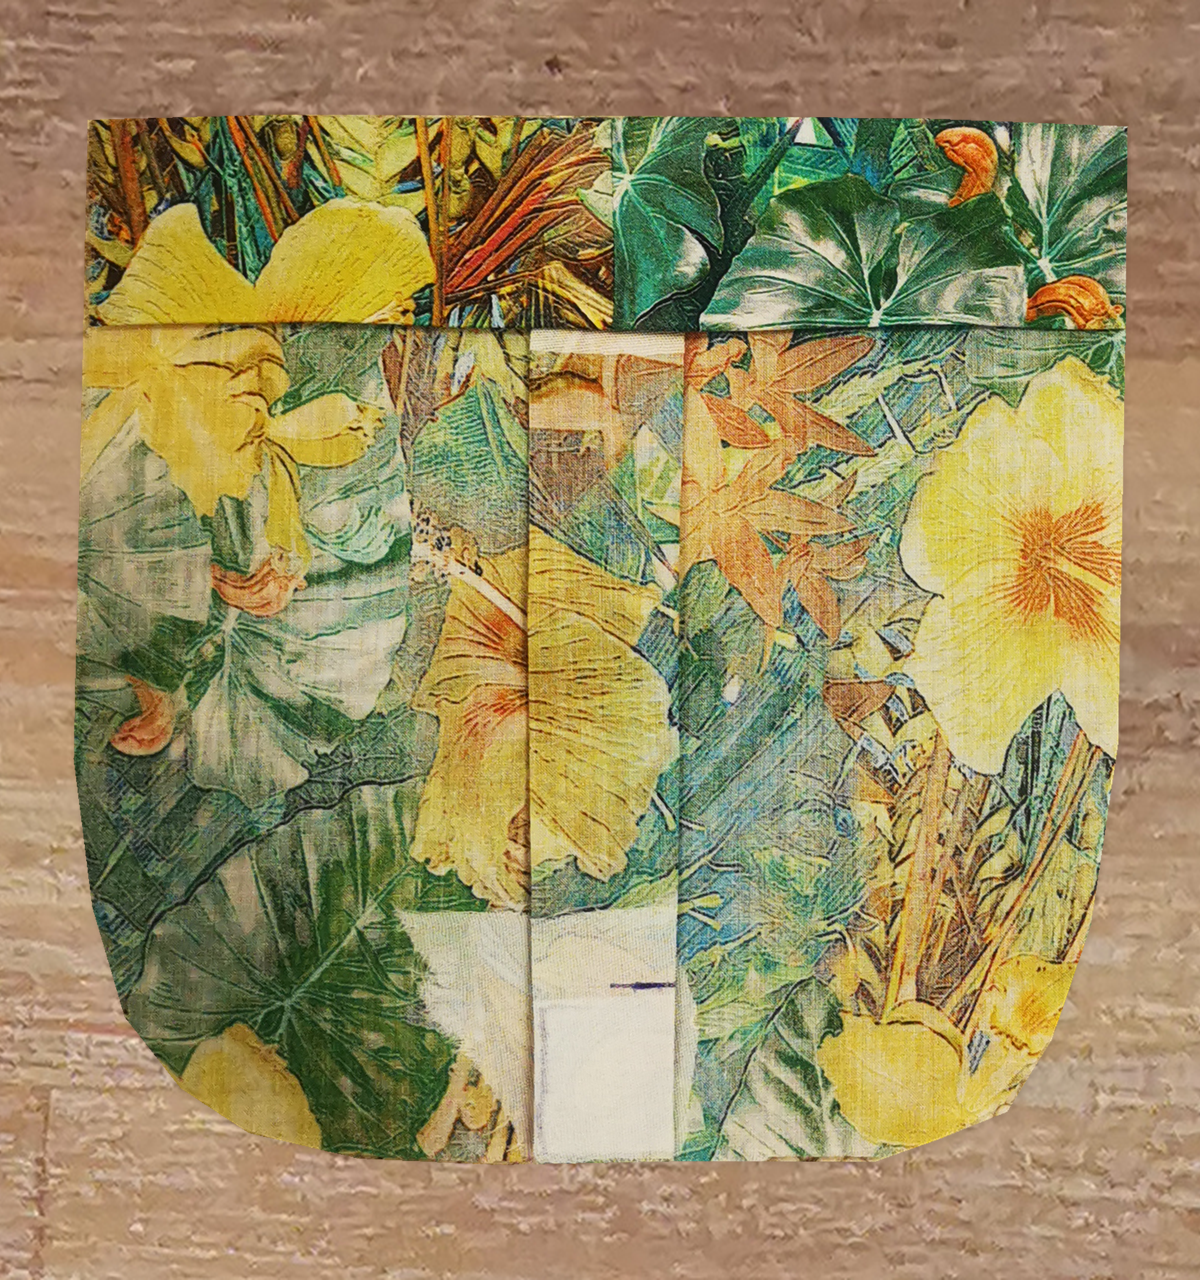
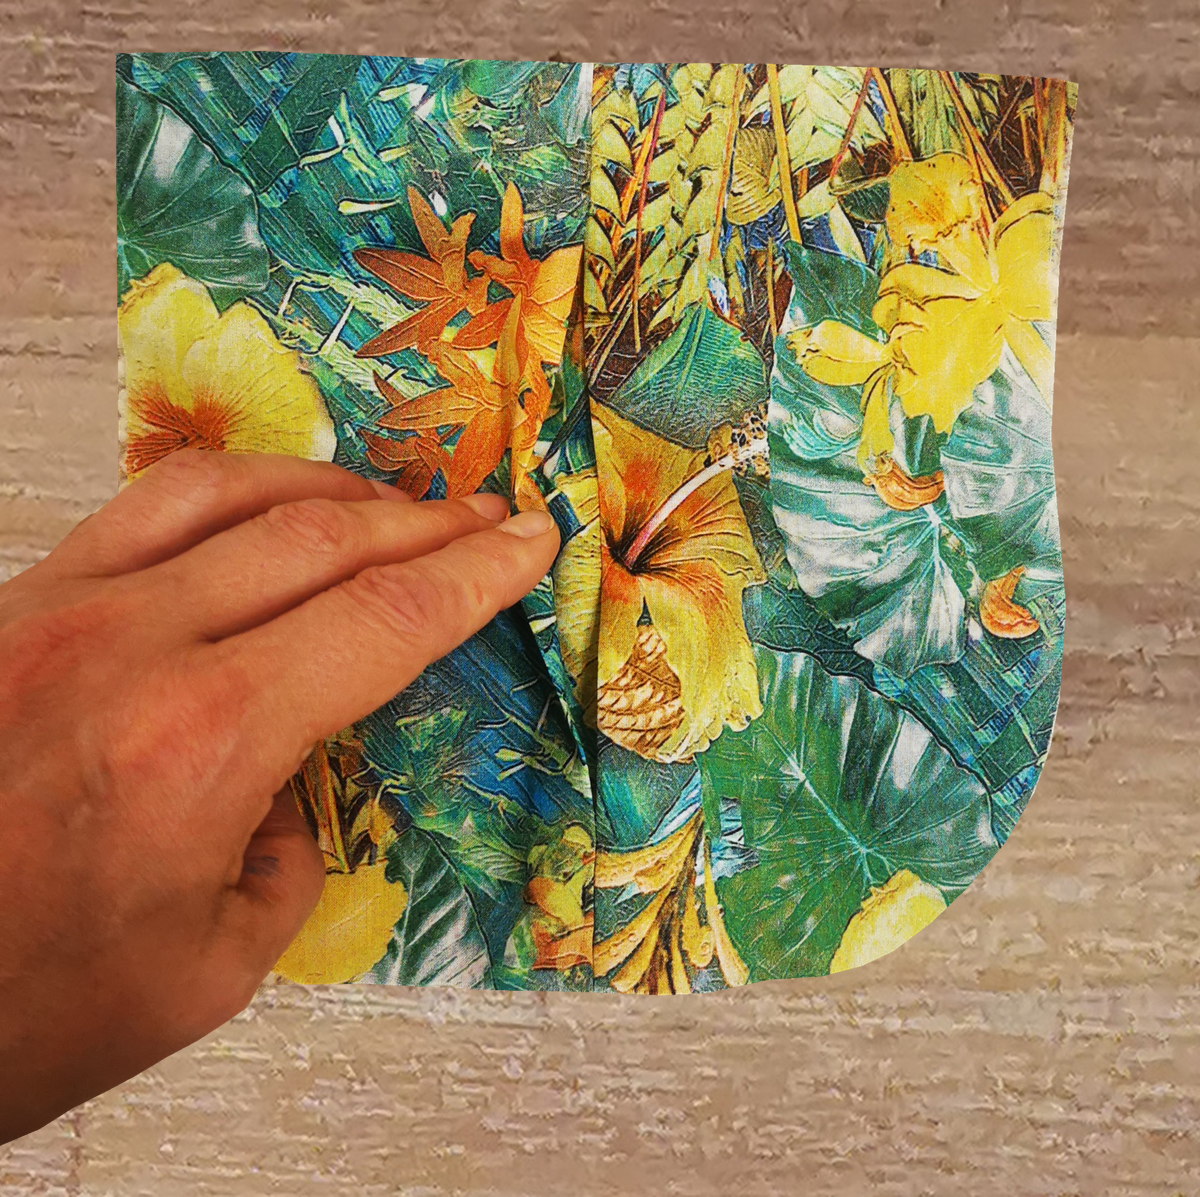
Step 7: Cut the lining
Use the same pocket pattern to cut the green lining, keeping the pleat allowance. Leave out the 3.5 cm cut-on facing: the lining finishes at its fold line.
The opening and raw edges can be finished in other ways. For this very fine silk, I chose a lining: it encloses the raw edges, and the green matches the jacket’s trim.
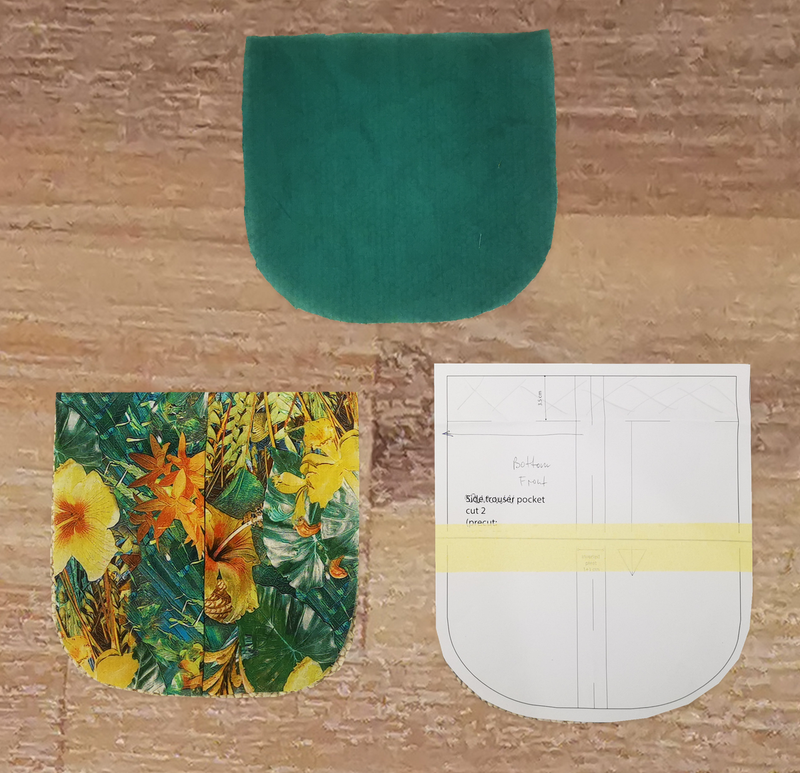
7A Make the lining pleat
Fold the lining along the pattern’s 1 + 1 cm pleat marks, right sides together. Stitch for 1 cm at each end, leaving the middle unstitched. Centre the pleat allowance over the stitching and press flat.
Step 8: Join the pocket and lining
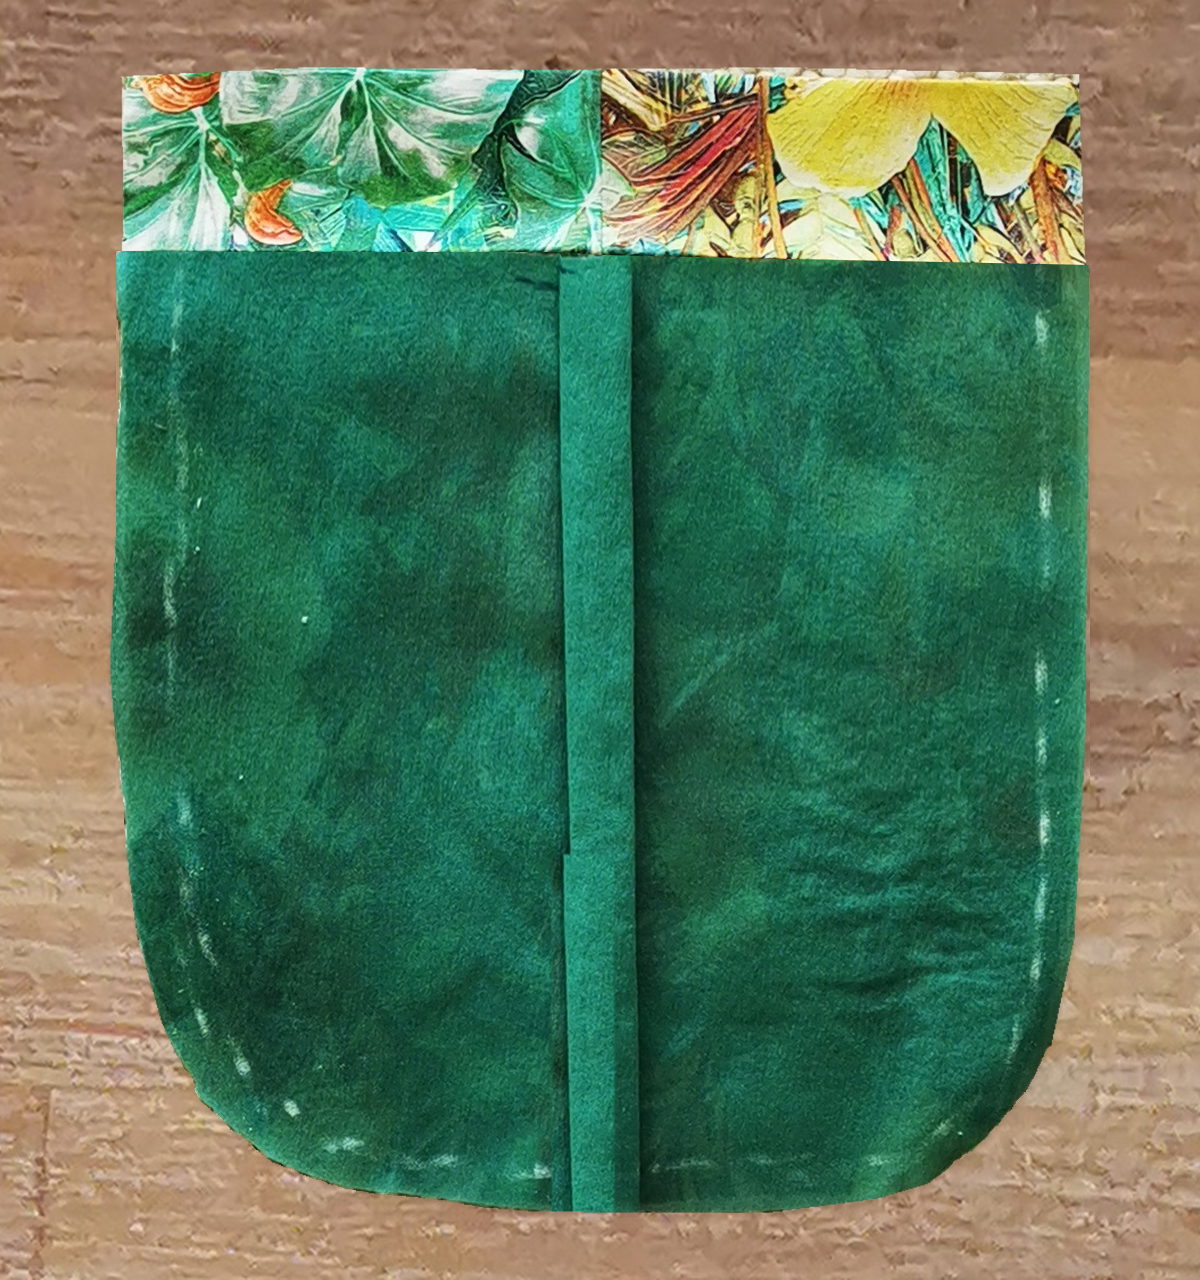
Unfold the pressed facing. Place the pocket and lining right sides together, matching the side and lower edges and the centres of the pleats. The lining’s top edge must reach the facing fold, with the facing extending beyond it.
Stitch the sides and curved lower edge, using the pattern’s seam allowance. Keep the facing clear and leave the top open for turning.
Step 9: Turn and finish the pocket
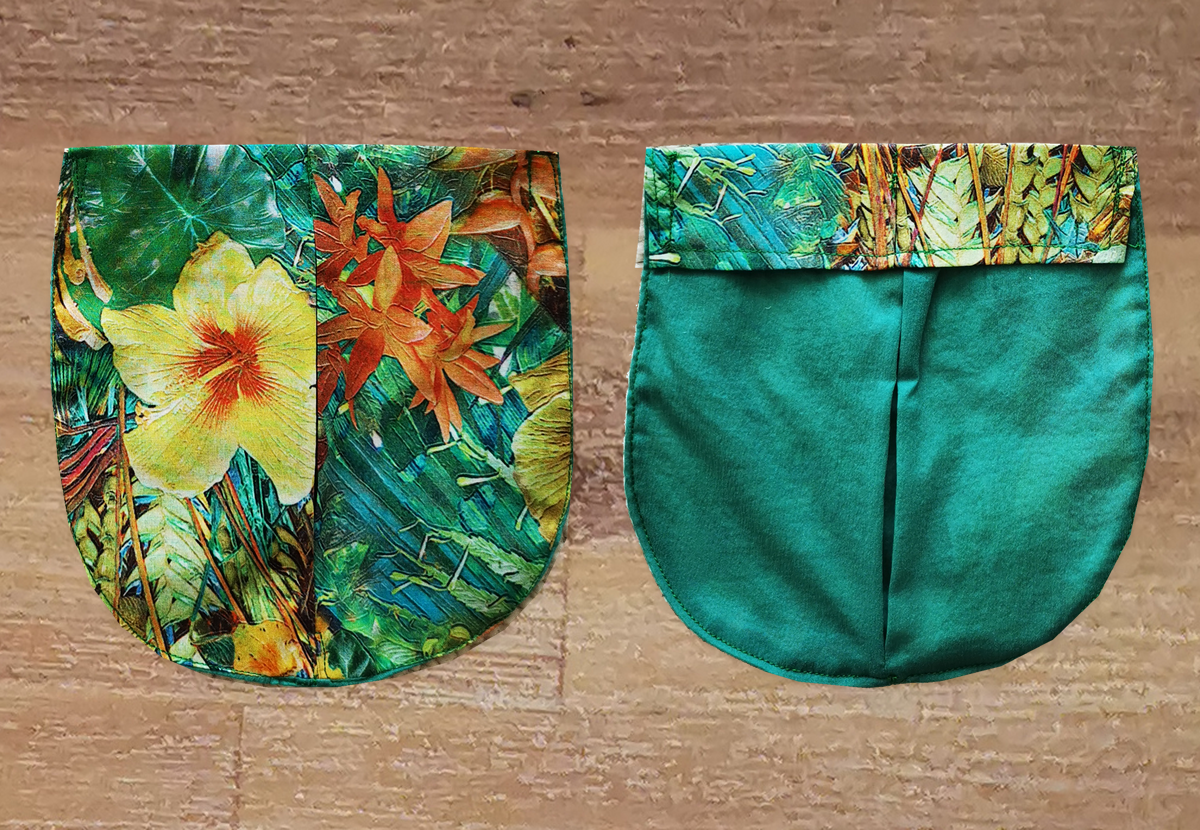
Turn the pocket right side out through the open top. Fold the facing inside along the pressed crease, covering the lining’s upper edge, and press the pocket flat.
Secure the facing at the two side edges and at the centre of the pleat. Keep the rest of the pleat free.
Step 10: Sew the flap and form the green edge
The fine green edge comes from the lining itself. Place the flap and lining right sides together, with the printed fabric uppermost and the thinner green silk underneath. Leave the straight top edge open for turning.
Stitch around the shaped edge, 3 mm from the raw edge. Alternatively, sew at presser-foot width, then trim the seam allowances to 3 mm.
With these fabrics, the machine feeds a little extra lining into the seam as it stitches. When the flap is turned, the firmer printed fabric draws the lining around the narrow seam allowance, forming the green edge on the front.
Turn the flap right side out, straighten the seam and press the green edge evenly. Topstitch the flap and make the buttonhole.
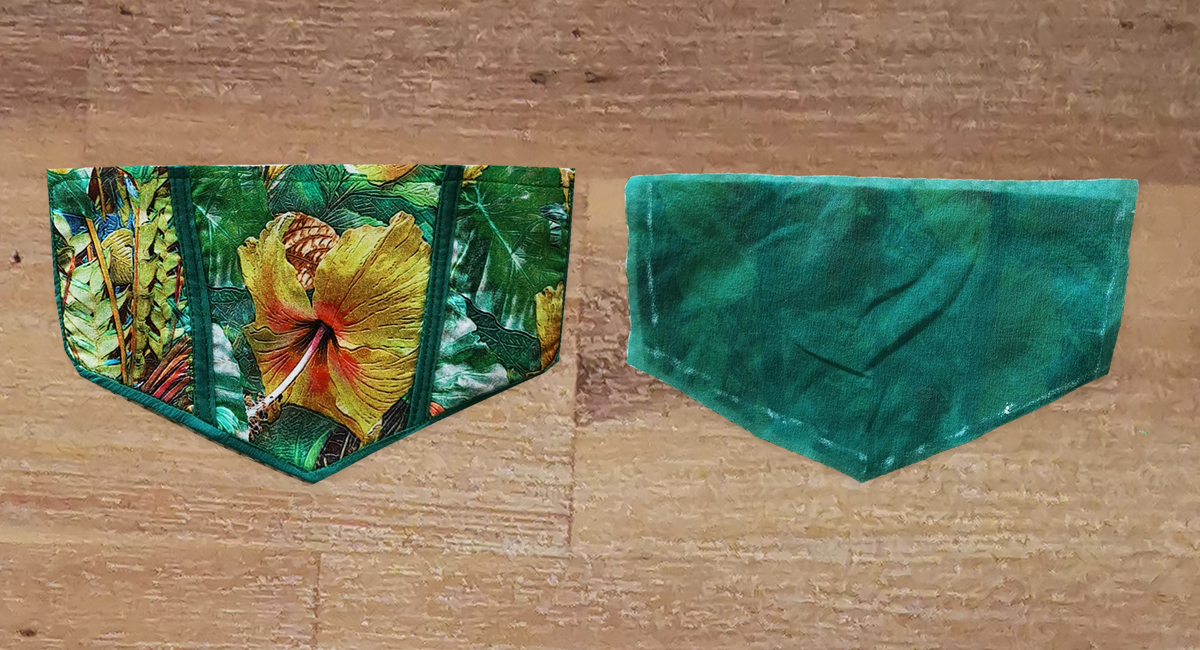
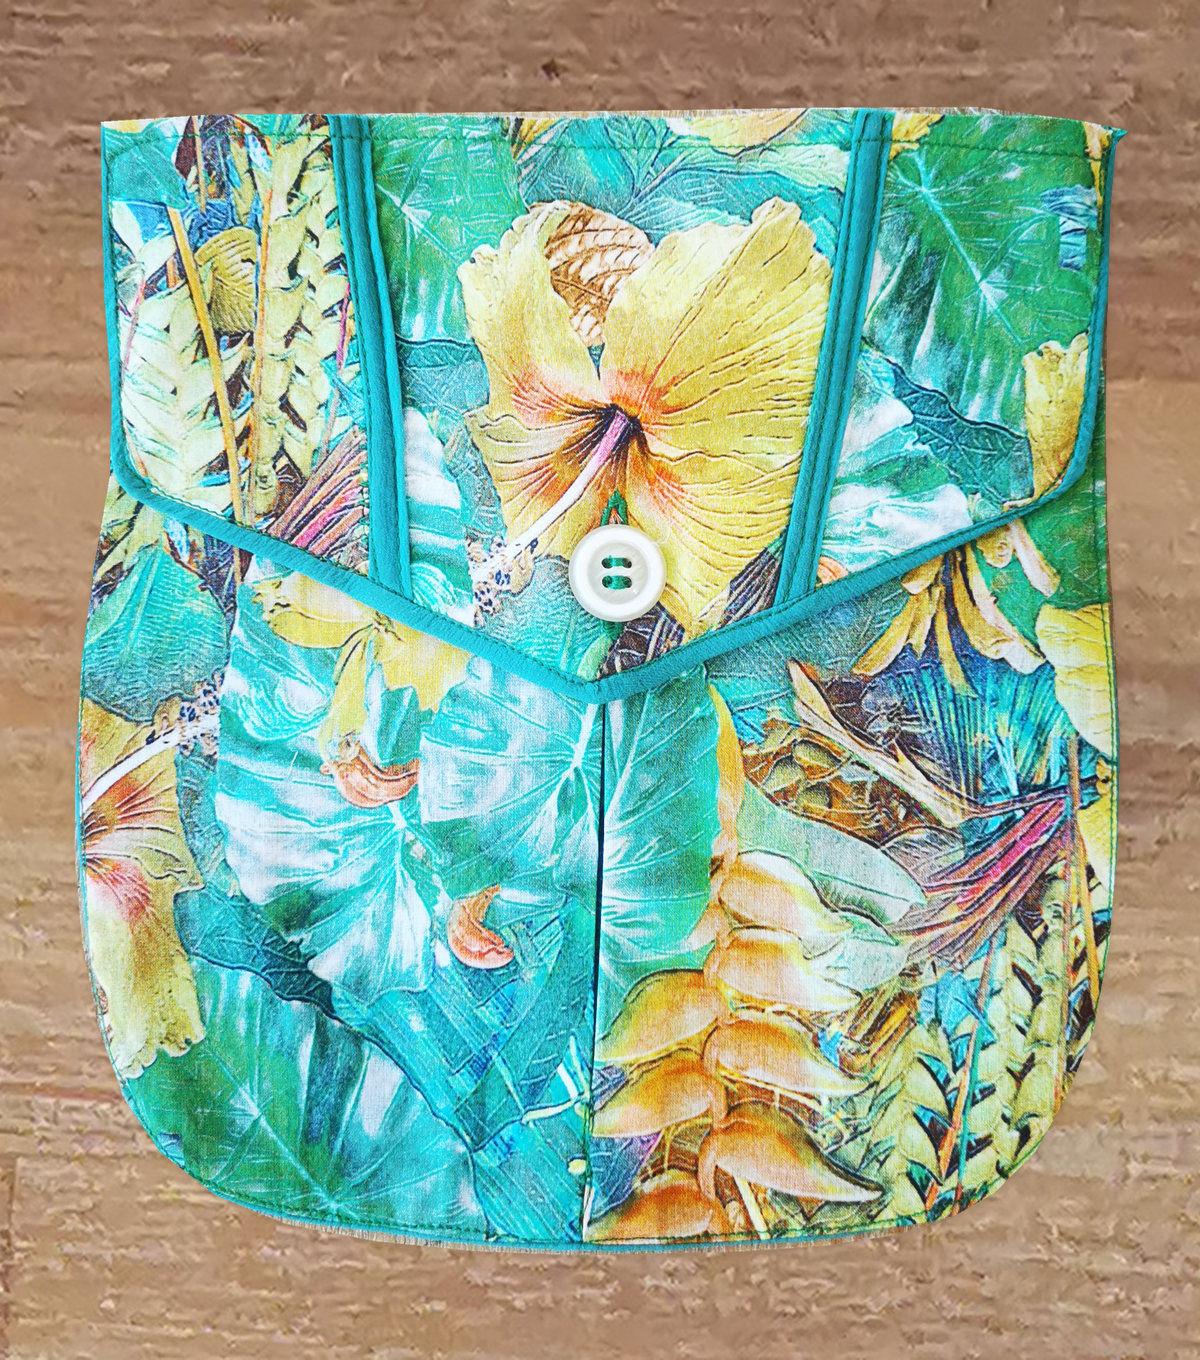
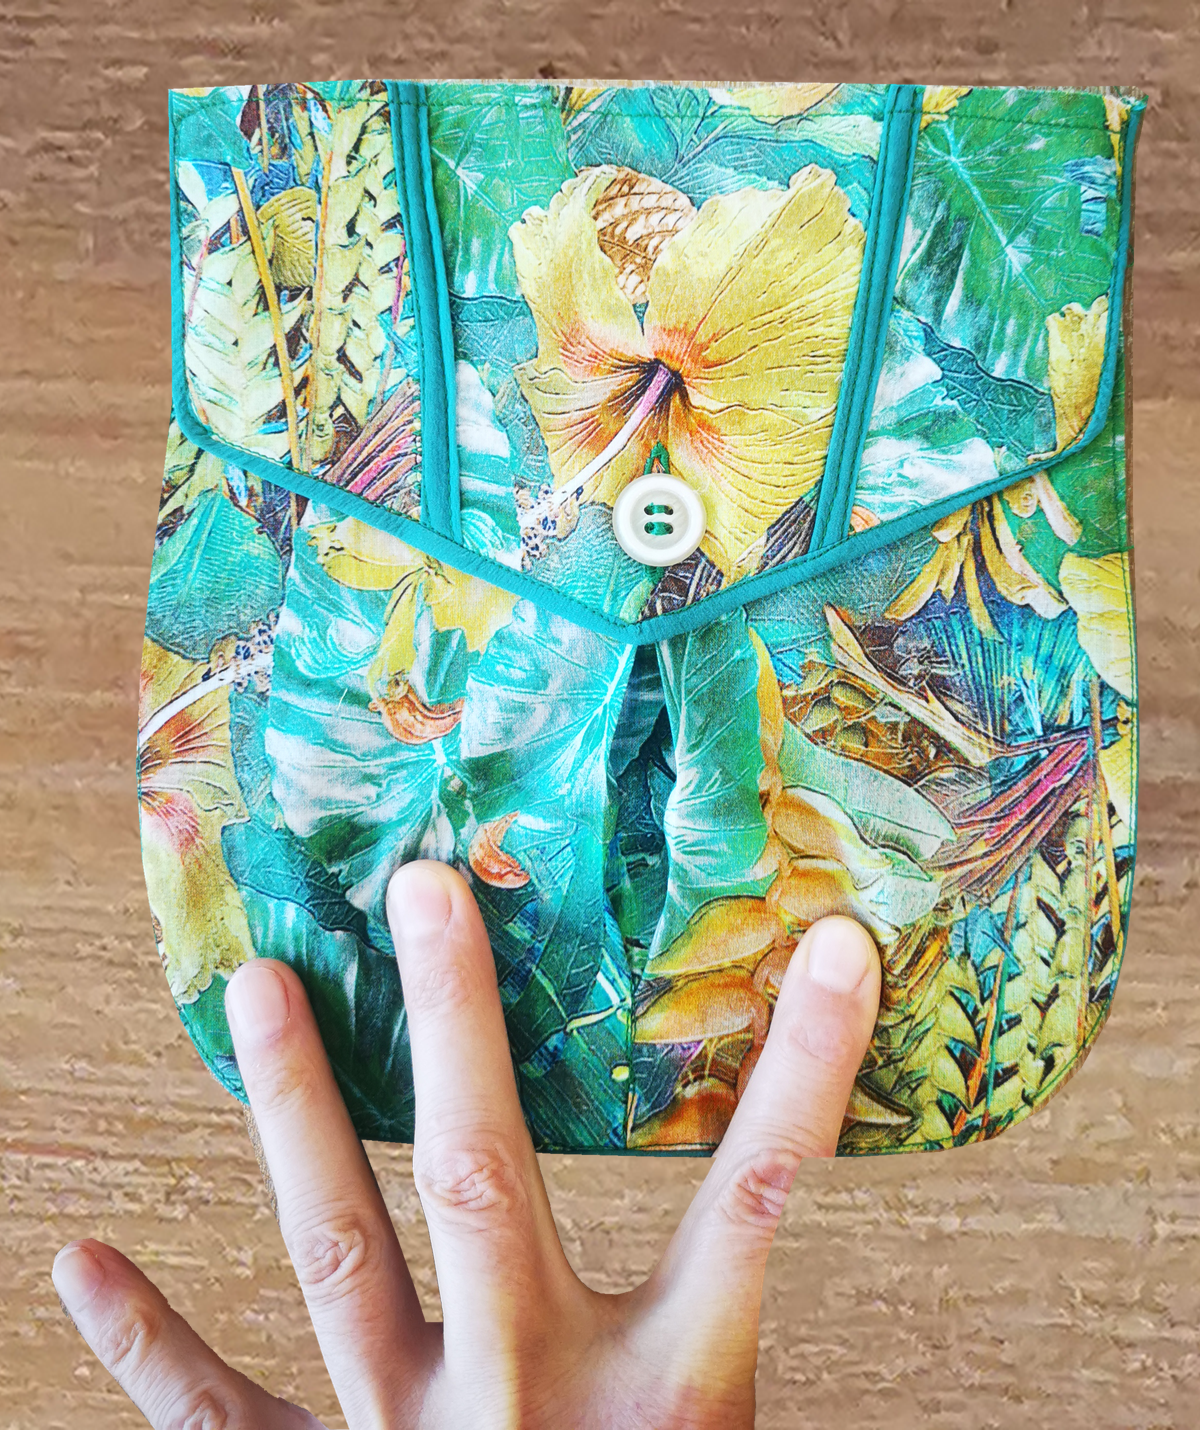
The finished pocket and flap
The pleat sits flat until the extra room is needed. Here are the finished pocket and flap, ready for the jacket.
More from this jacket
There’s a separate masterclass for sewing the inverted back pleats.
You’ll find the pattern on my safari jacket page and in my portfolio on Adobe Stock.